


This blackberry cobbler recipe tops a sweet blackberry filling with a simple drop-biscuit dough for a summer dessert that’s as easy as it is delicious. Ready in just 45 minutes, this recipe can be made with fresh or frozen blackberries and is perfect for taking to your next cookout.
Want to save this recipe for later?
If you’ve made my blackberry pie recipe, then you might remember that my grandpa had a ton of blackberry bushes when I was growing up. As such, my grandma got really good at coming up with recipes for them.
She made blackberry cobbler a lot. Sometimes she’d make an all-blackberry version of my mixed berry cobbler, but other times it was this easy biscuit-topped blackberry cobbler.
This recipe comes together in just 45 minutes with minimal hands-on time. You can also use fresh blackberries or frozen berries, making it easy to enjoy any time of year.
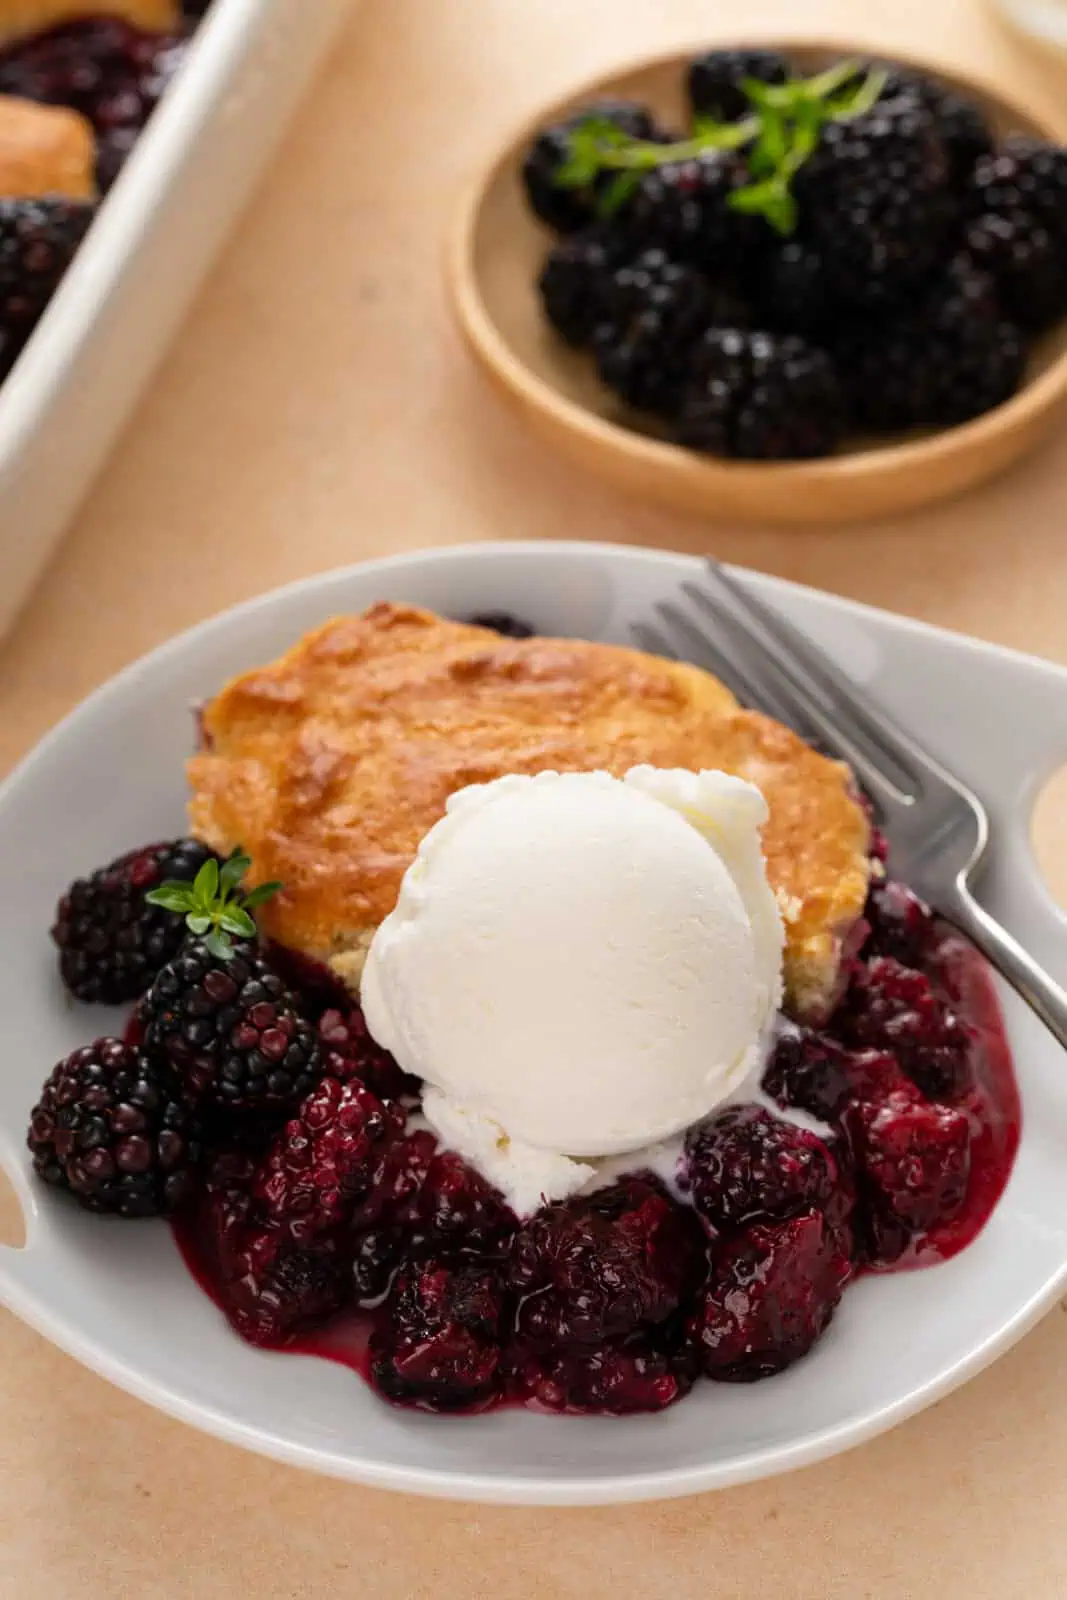
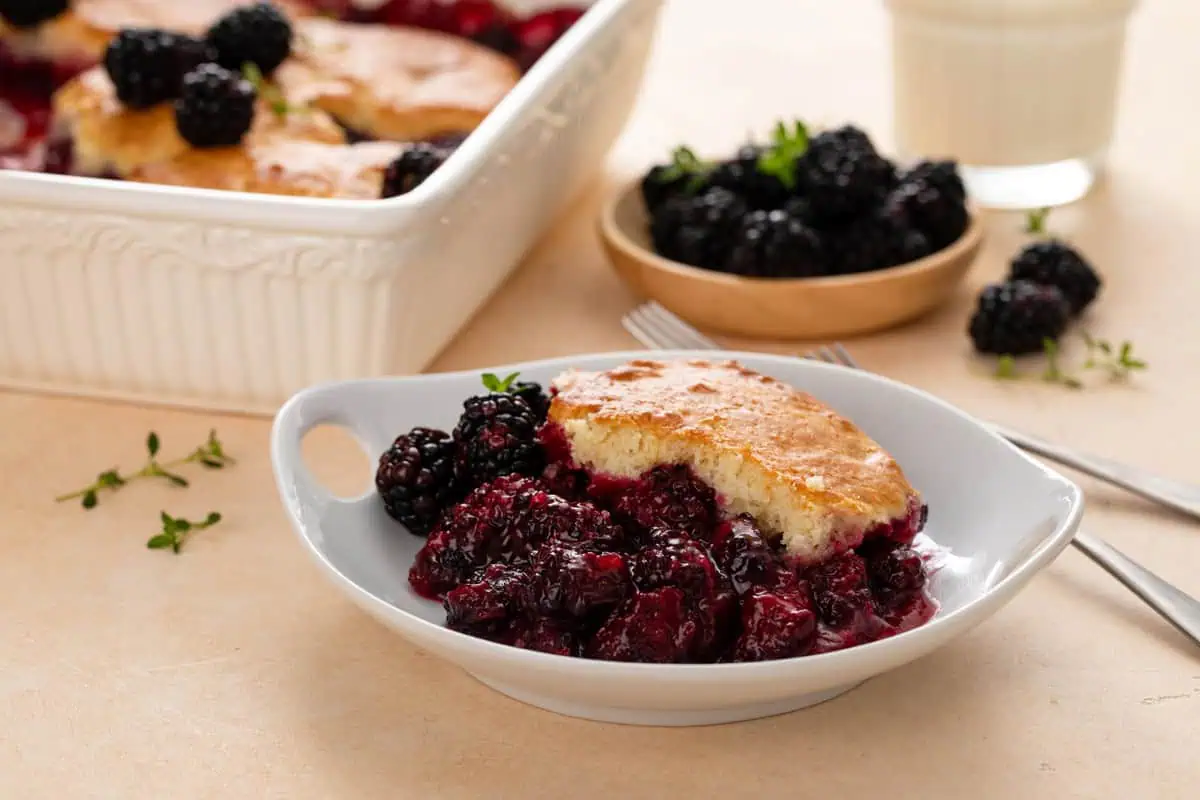
Take this one to your next summer gathering or enjoy it at home topped with a scoop of vanilla ice cream. You can’t go wrong either way!
Stephie’s testing notes
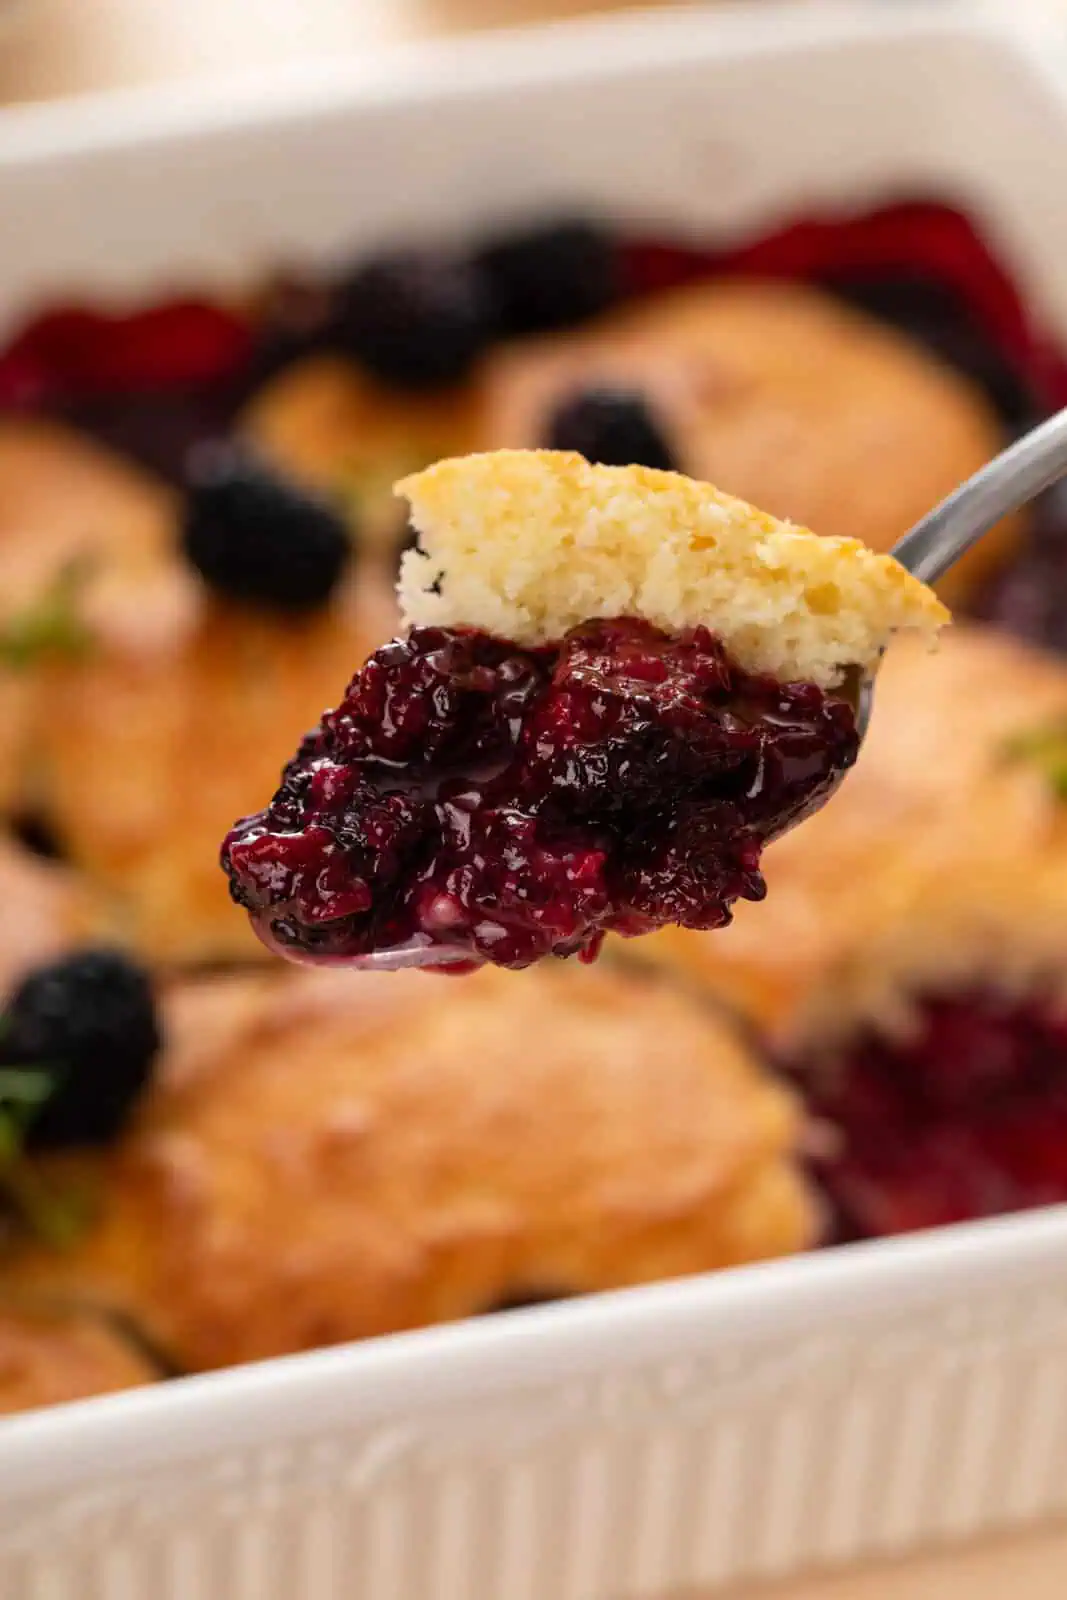
- Baking the cobbler in two stages gives you the perfect filling and topping. For this recipe, we assemble the filling and bake that by itself for 15 minutes while mixing together the biscuit topping. After 15 minutes, we add the topping and then finish baking. This allows the filling to reach the perfect consistency without risking over-baking the topping.
- If you use frozen berries, don’t thaw them first. I’ve tried it both ways, but I prefer leaving the blackberries frozen for a filling that is nicely thickened but not goopy.
- Use a fork to stir together the biscuit topping. Just like when you’re making homemade pie crust, using a fork allows you to bring the ingredients together without over mixing. After all, we don’t want the topping to be tough!
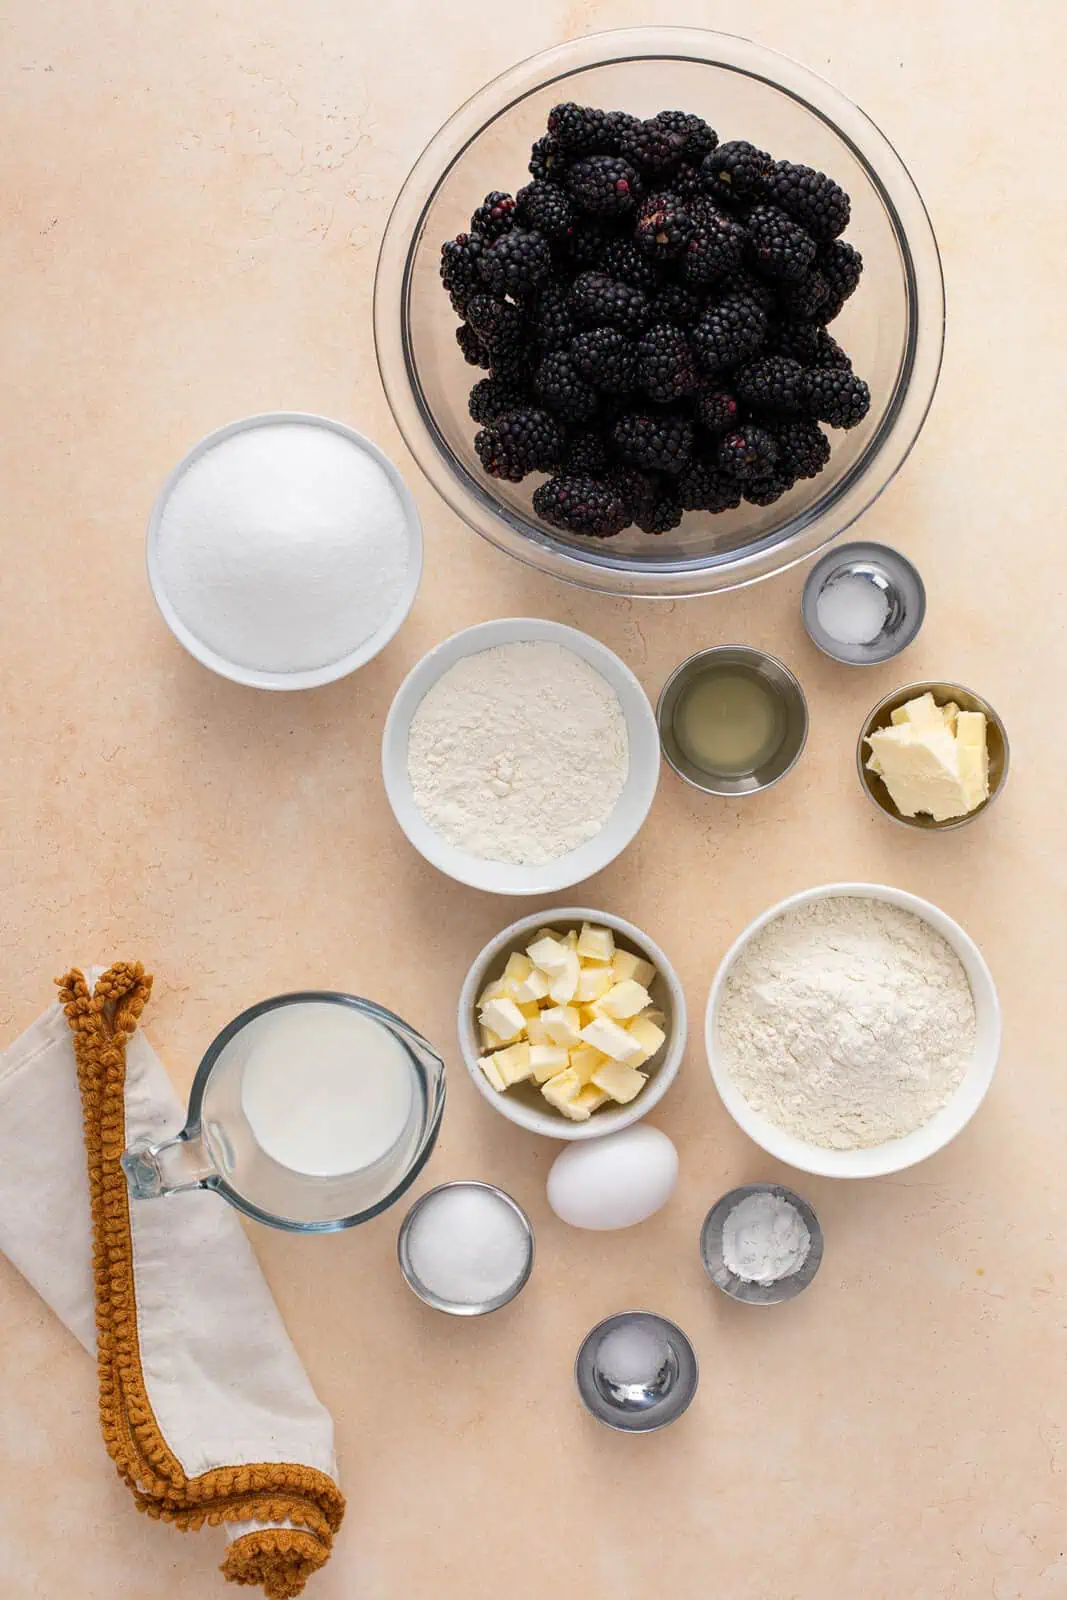
Ingredients notes
For full measurements and step-by-step instructions, scroll down to the printable recipe card.
Most of the ingredients for this blackberry cobbler recipe are pretty standard for most fruit desserts, but there are a couple things to note about some of them:
- Blackberries: Use fresh blackberries when they’re in season, but frozen berries work great the rest of the year. Don’t thaw the frozen blackberries first.
- Lemon juice: This is one of those rare instances where it’s actually fine to use bottled lemon juice if that’s all you have.
- Butter: This goes on top of the filling and in the biscuit dough. If you need a dairy-free version, feel free to use your favorite vegan butter.
- Milk: I typically bake with whole milk, but you can use 2% milk or your preferred dairy-free milk.
How to make Grandma’s blackberry cobbler recipe
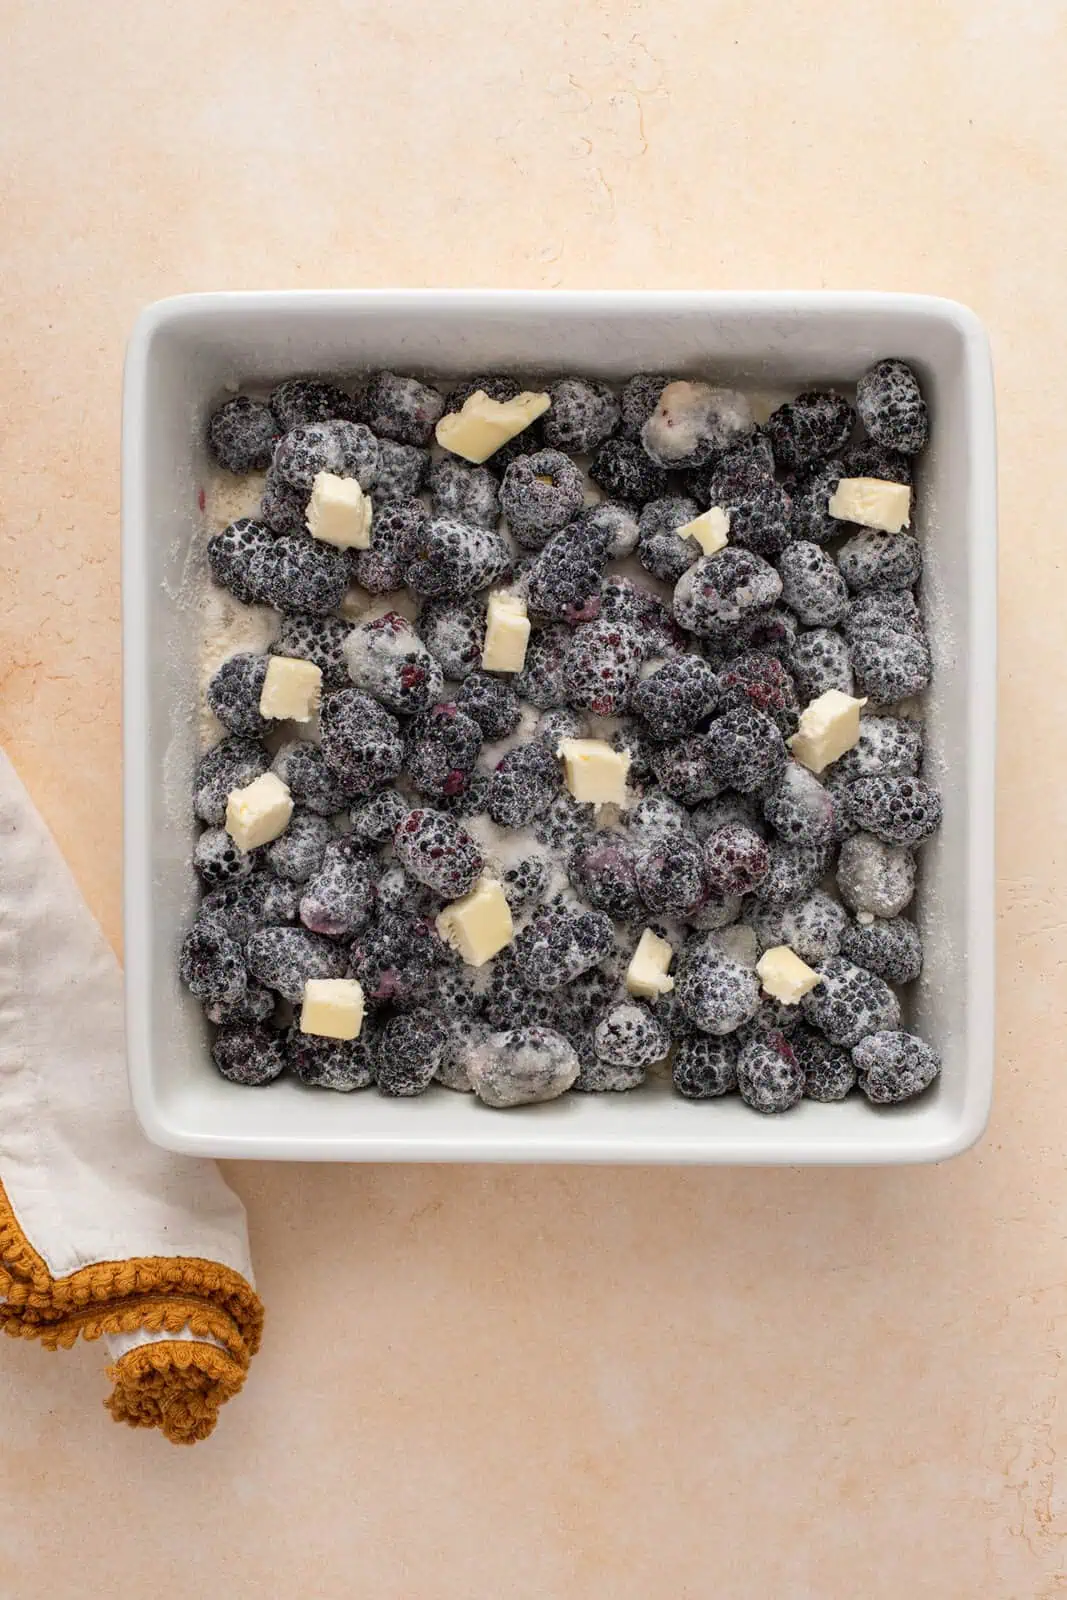
Gently stir the blackberries with the sugar, flour, salt, and lemon juice. Pour this into a 9×9-inch dish—you can use a casserole dish or cake pan. You could also use a cast iron skillet.
Dot the top with the butter, then bake the filling for 15 minutes. During this time, the berries will start to get juicy and bubbly, but the filling won’t be fully thickened yet.

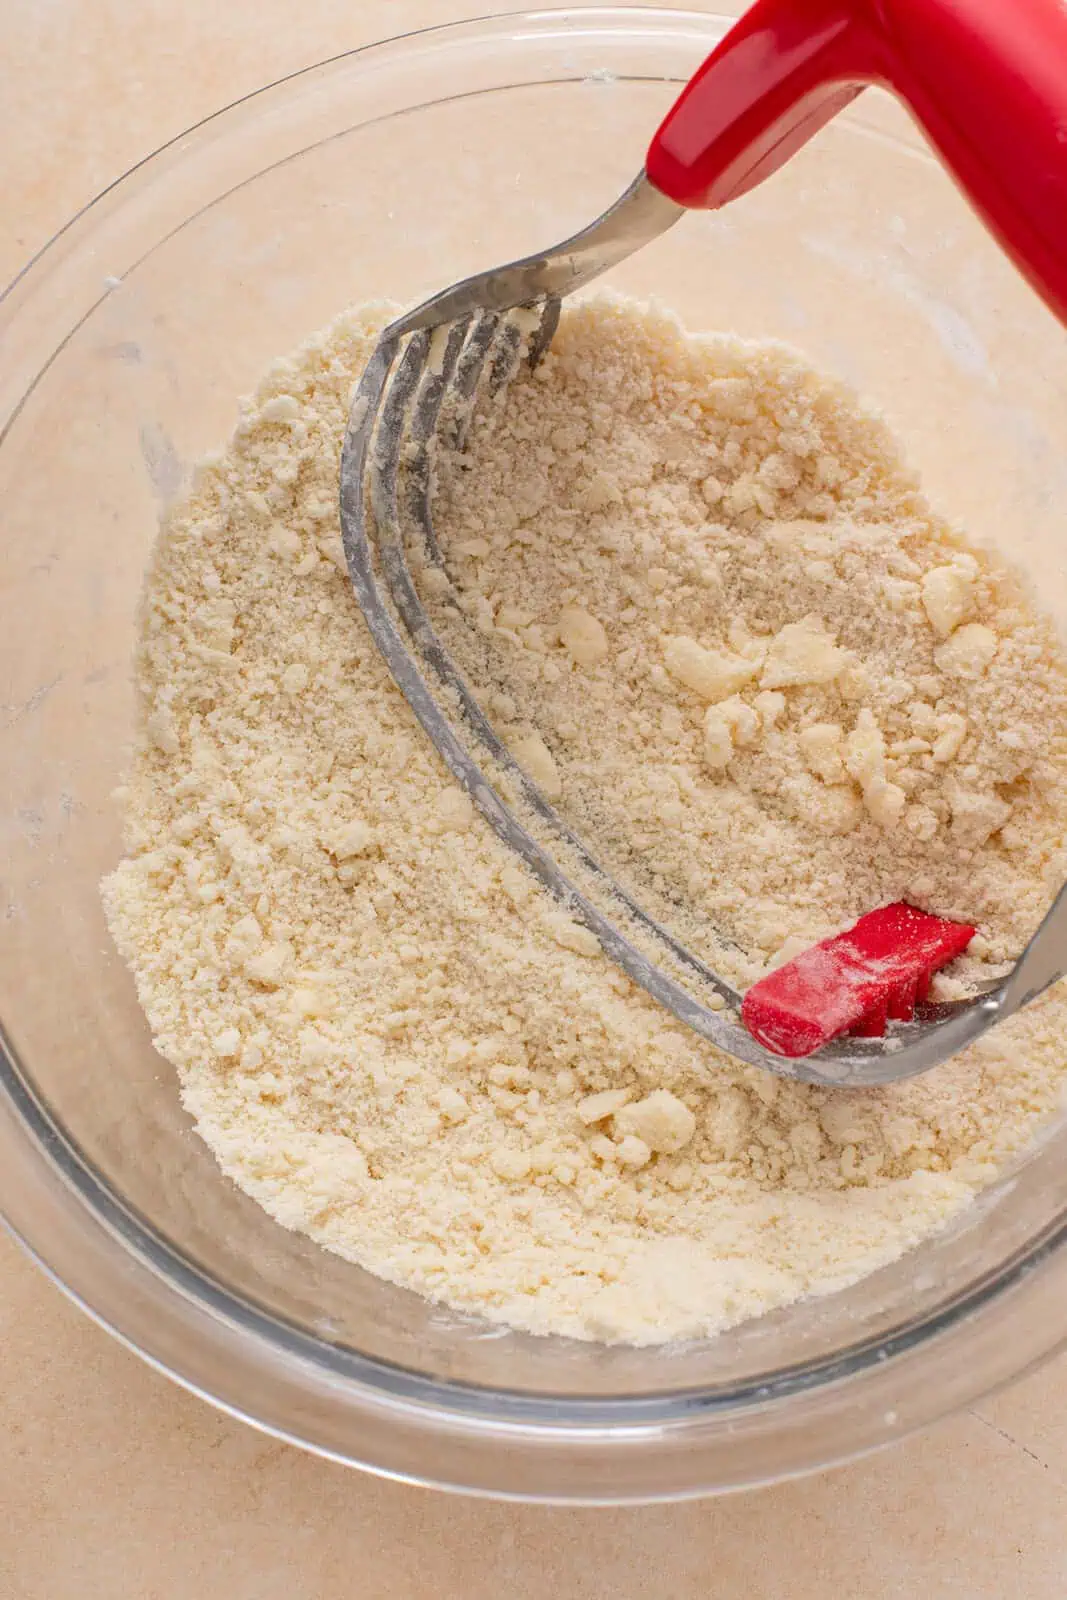
While the filling bakes, make the biscuit dough for the topping. Whisk together the dry ingredients, then cut the butter in until the mixture resembled coarse crumbs with a few pea-sized pieces of butter mixed in. I find it easiest to do this with a pastry blender.
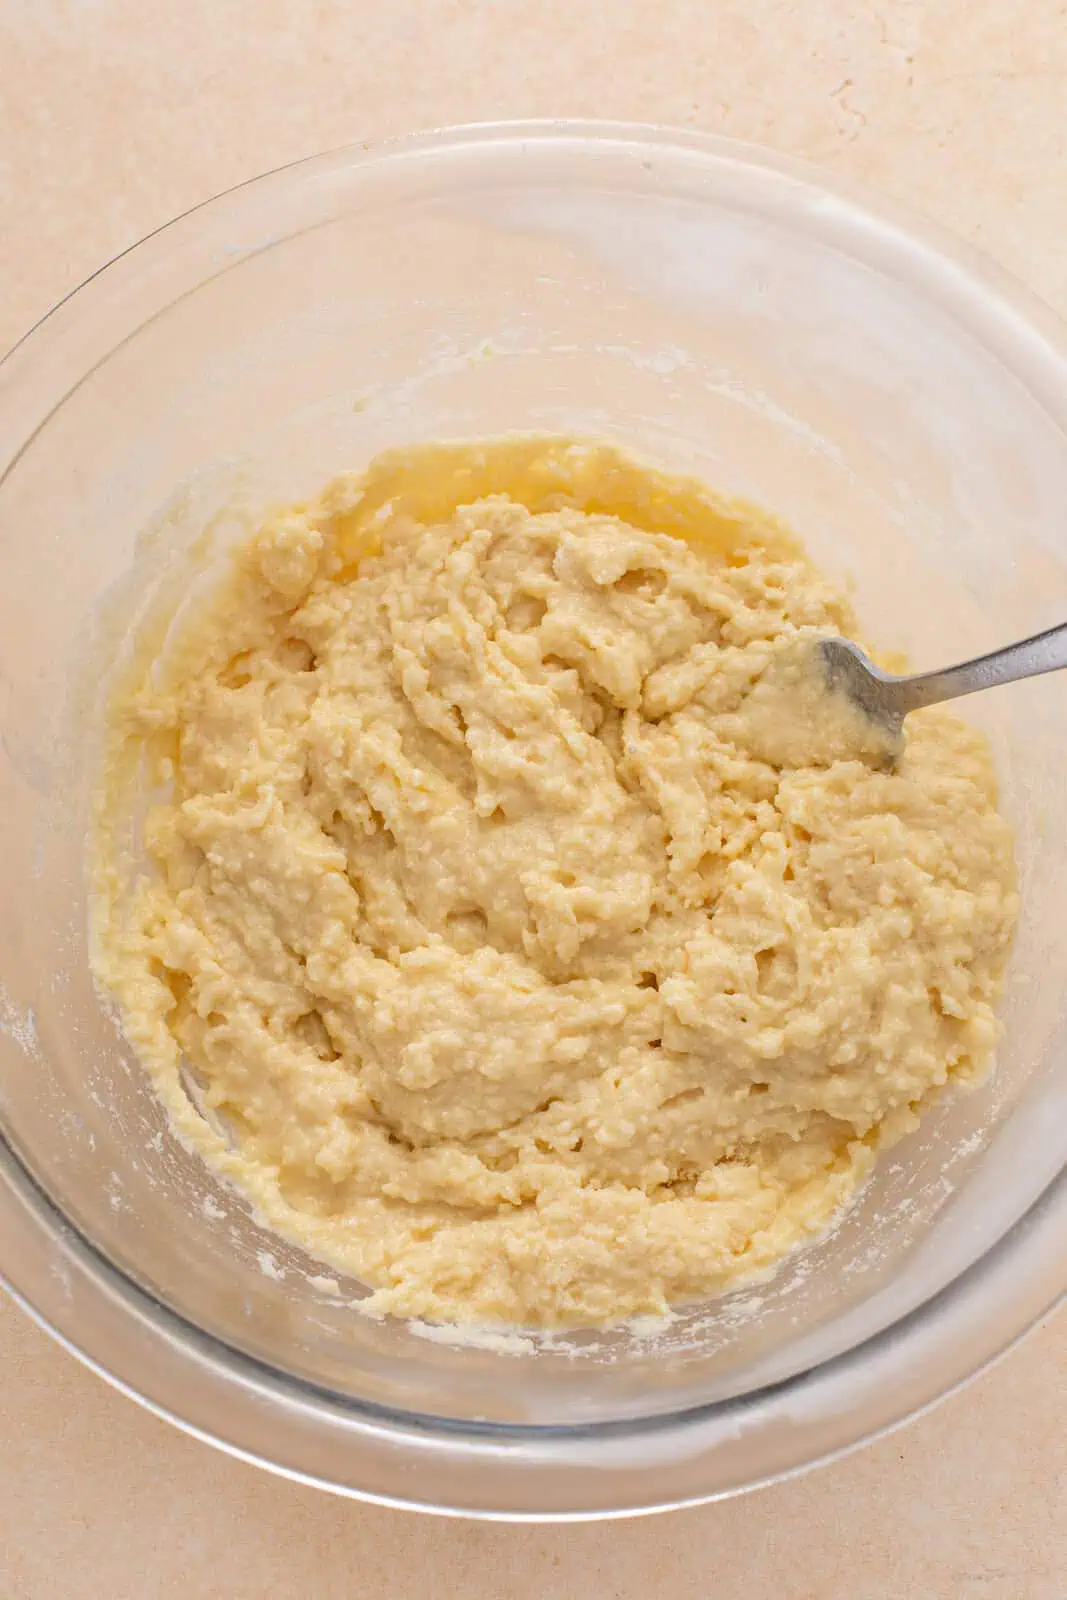
Whisk the egg and milk, then use a fork to mix the wet ingredients into the flour mixture. Mix only just until there aren’t any dry patches of ingredients left.
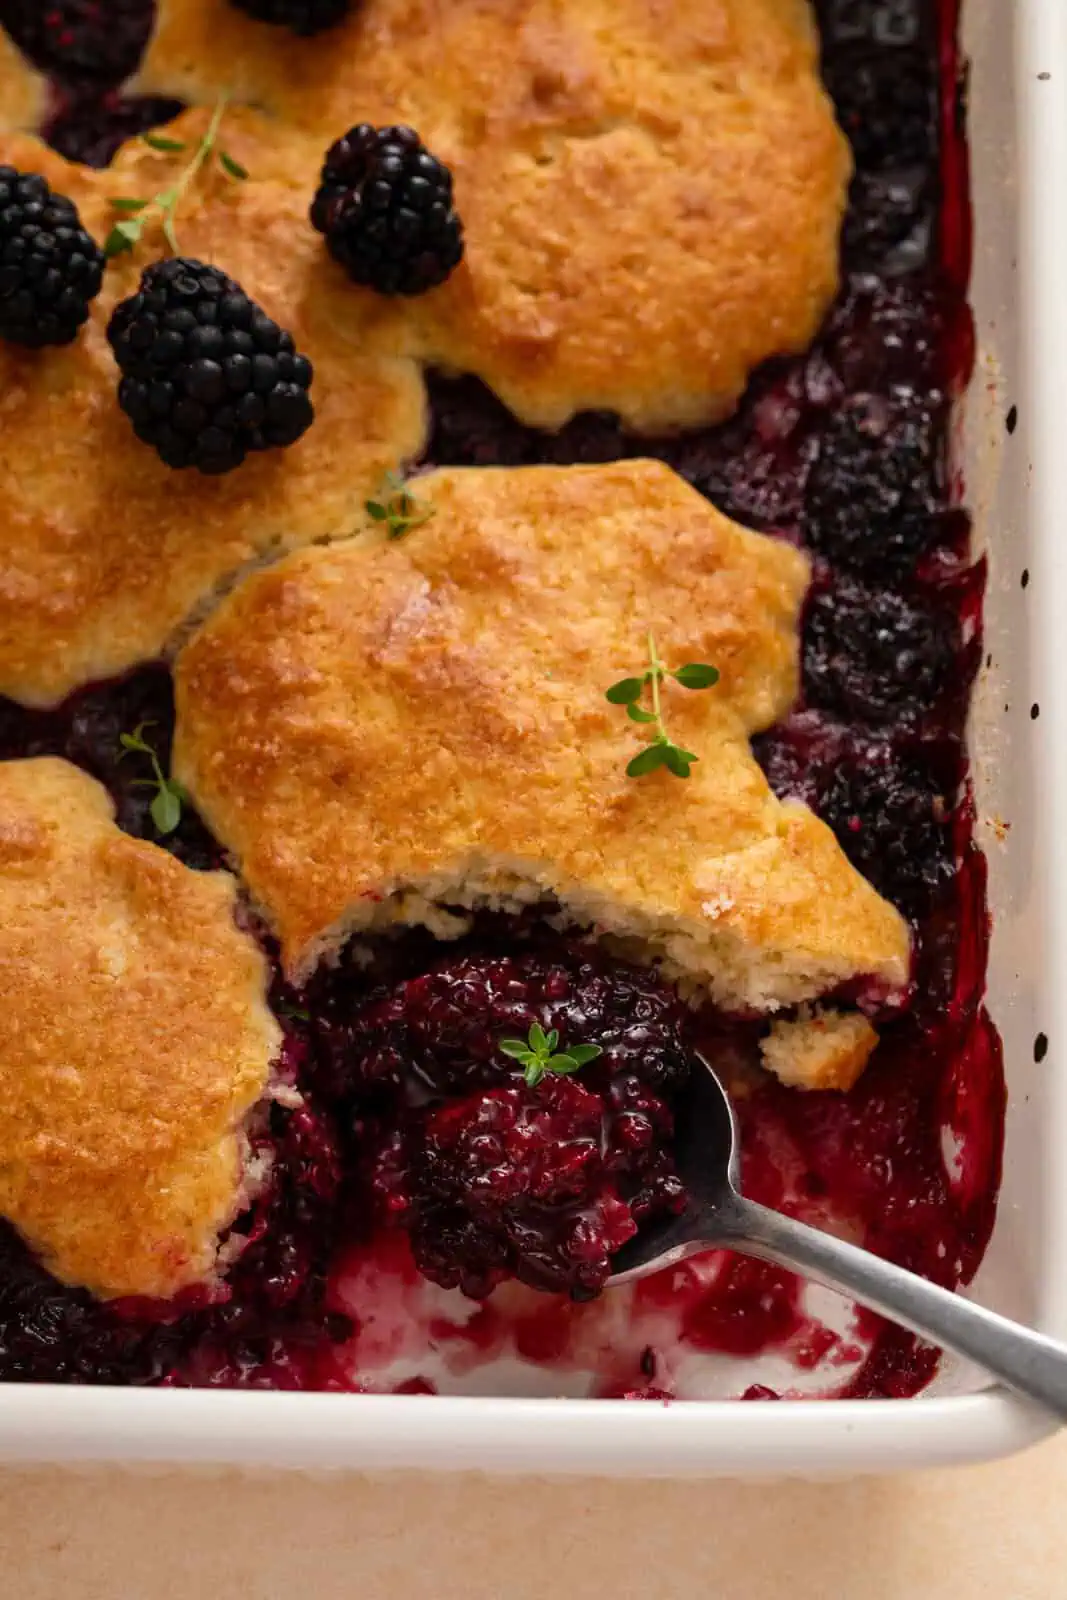
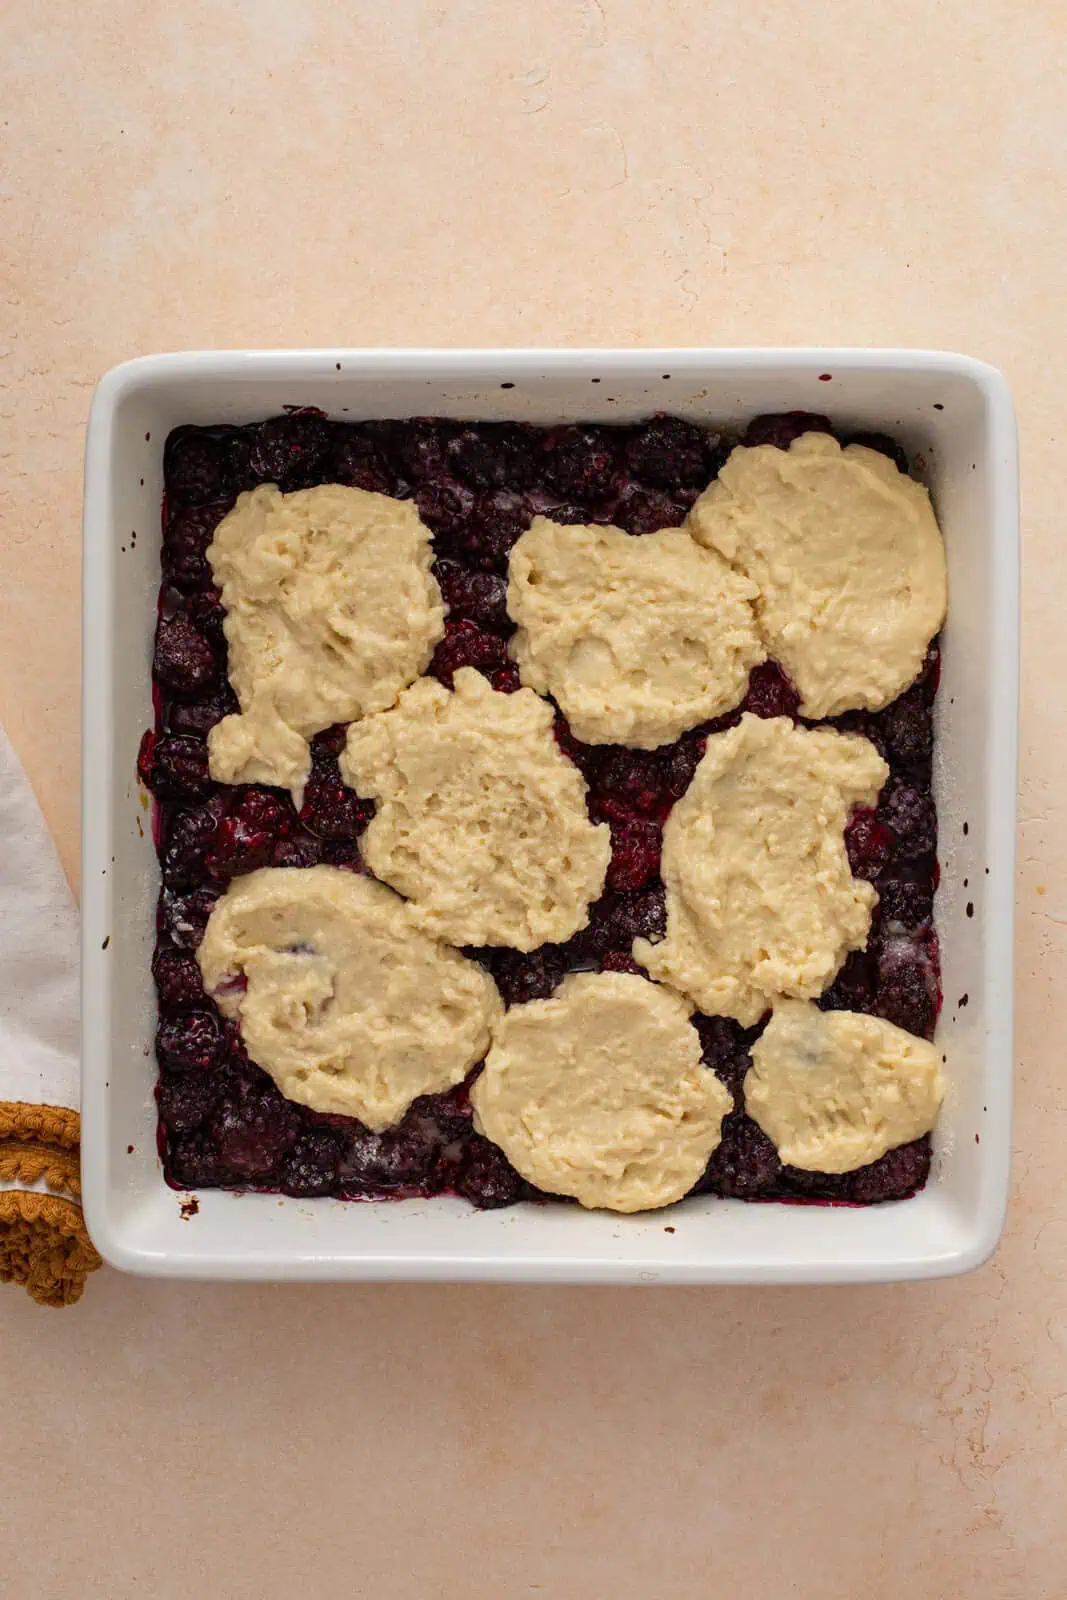
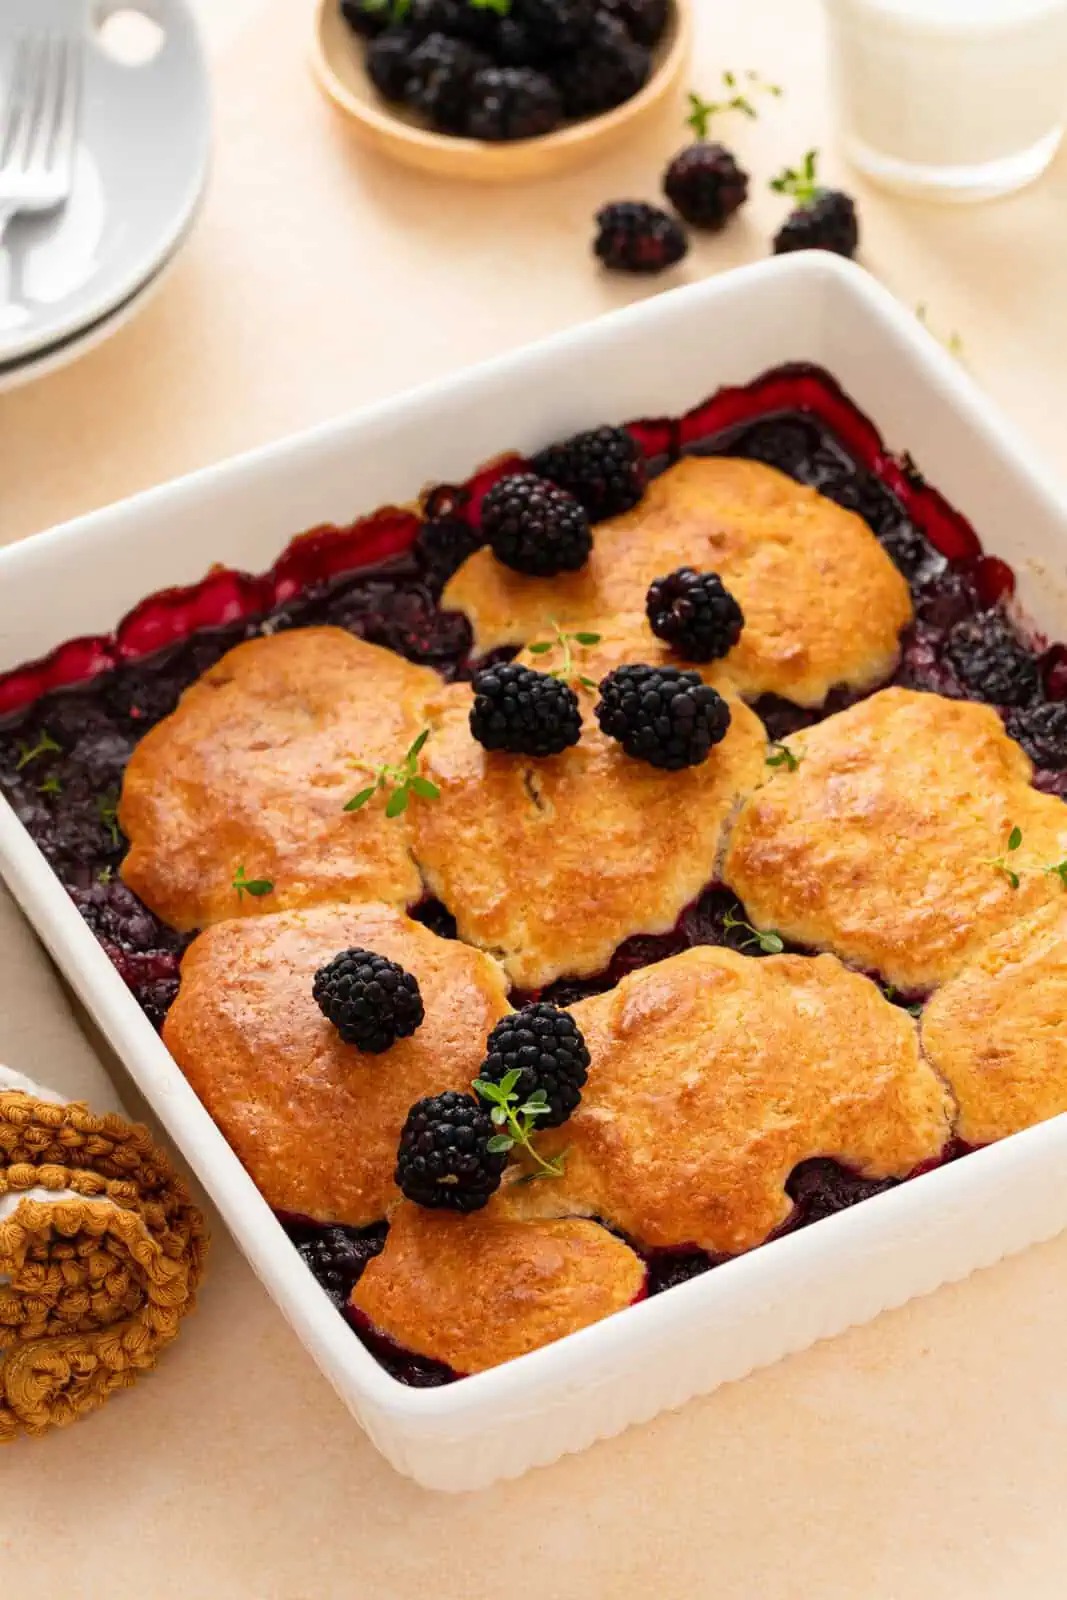
Once the filling comes out of the oven, drop the biscuit dough evenly over the top in spoonfuls. Return the pan to the oven and continue baking for another 20-25 minutes. The topping will be golden and the filling will be bubbly.
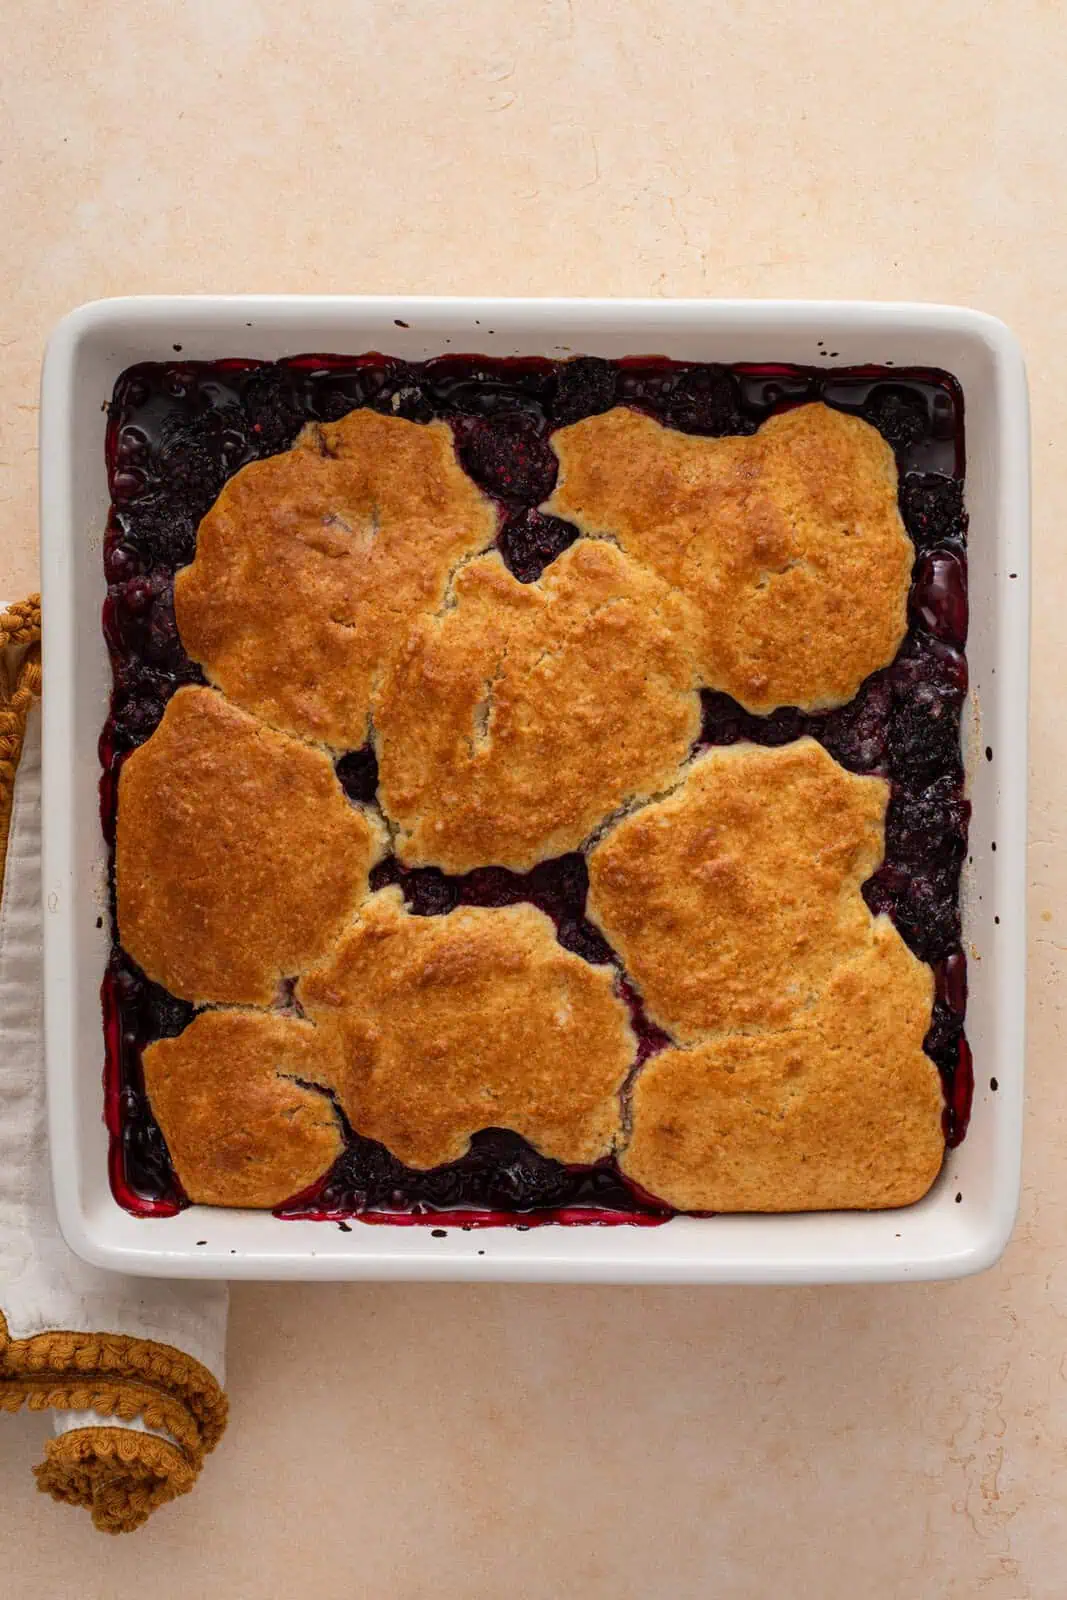
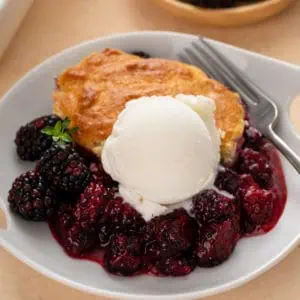
Let the blackberry cobbler cool before serving with a scoop of vanilla ice cream or a dollop of whipped cream! You can serve it while it’s still warm, but I do recommend letting it cool at least for a bit so that it’s not so hot and so the filling has the chance to tighten up.
Storage
This blackberry cobbler recipe is best served the same day it’s made. That said, you can store leftovers in the fridge for up to 3 days. I recommend reheating leftovers in the microwave for 30-60 seconds before enjoying.
Frequently asked questions
Yes! You could easily use frozen mixed berries in place of just blackberries or try it with all raspberries. It would also be delicious with peaches, although you may want to reduce the sugar slightly since peaches tend to naturally be a bit sweeter than blackberries. Peaches also aren’t as juicy, so you may want to reduce the flour in the filling to 1/3 cup.
For a gluten-free version, I recommend swapping the flour in the filling with cornstarch. Because cornstarch has twice the thickening power as flour, you’ll only need about 1/4 cup of cornstarch for the filling.
For the biscuit topping, I recommend using a 1:1 gluten-free baking flour, using the same amount.
Biscuit-Topped Blackberry Cobbler
Equipment
Ingredients
For the filling:
- 4 heaping cups fresh or frozen blackberries if using frozen, do not thaw
- 1 cup granulated sugar
- ½ cup all-purpose flour
- ¼ teaspoon fine sea salt
- 2 teaspoons lemon juice
- 2 tablespoons unsalted butter cut into pieces
For the biscuit topping:
- 1 cup all-purpose flour
- 3 tablespoons granulated sugar
- 2 teaspoons baking powder
- ¼ teaspoon fine sea salt
- ¼ cup unsalted butter cold, cut into pieces
- ⅓ cup milk
- 1 large egg
Want to save this recipe for later?
Instructions
- Preheat oven to 400°F. Grease (1) 9×9-inch baking dish. Set aside.
- In a large bowl, gently stir the blackberries with the sugar, flour, salt, and lemon juice. Add to the prepared baking dish, then dot with the 2 tablespoons of butter.4 heaping cups fresh or frozen blackberries, 1 cup granulated sugar, ½ cup all-purpose flour, ¼ teaspoon fine sea salt, 2 teaspoons lemon juice, 2 tablespoons unsalted butter
- Bake for 15 minutes, or until the berries are juicy and bubbly.
- While the filling bakes, make the biscuit topping. In a medium bowl, whisk together the flour, sugar, baking powder, and salt. Use a pastry blender or two knives to cut the butter into the flour mixture until the mixture resembles coarse crumbs.1 cup all-purpose flour, 3 tablespoons granulated sugar, 2 teaspoons baking powder, ¼ teaspoon fine sea salt, ¼ cup unsalted butter
- In a small bowl or measuring cup, whisk together the milk and egg. Using a fork, stir this into the flour mixture until no dry ingredients remain.⅓ cup milk, 1 large egg
- Remove the filling from the oven and use a spoon to drop spoonfuls of the biscuit dough across the hot filling. Return to the oven and continue baking for an additional 20-25 minutes, or until the topping is golden.
- Allow to cool before serving with a scoop of vanilla ice cream or a dollop of whipped cream.
Notes
Storage
- Best served on the day it is made, but leftovers can be stored in an airtight container in the refrigerator for up to 3 days. I recommend reheating leftovers in the microwave for 30-60 seconds before enjoying.
Nutrition

About Stephie
Stephie is the creator of Stephie Cooks, a food blog that focuses on creating memories around the food we share, with family recipes at the site’s heart. Stephie lives in Central Illinois with her husband, daughter, and a menagerie of cats and dogs. When she’s not in the kitchen or at her computer writing, you can usually find her curled up with a book or working on one of her many grandma-esque hobbies. Learn more >