


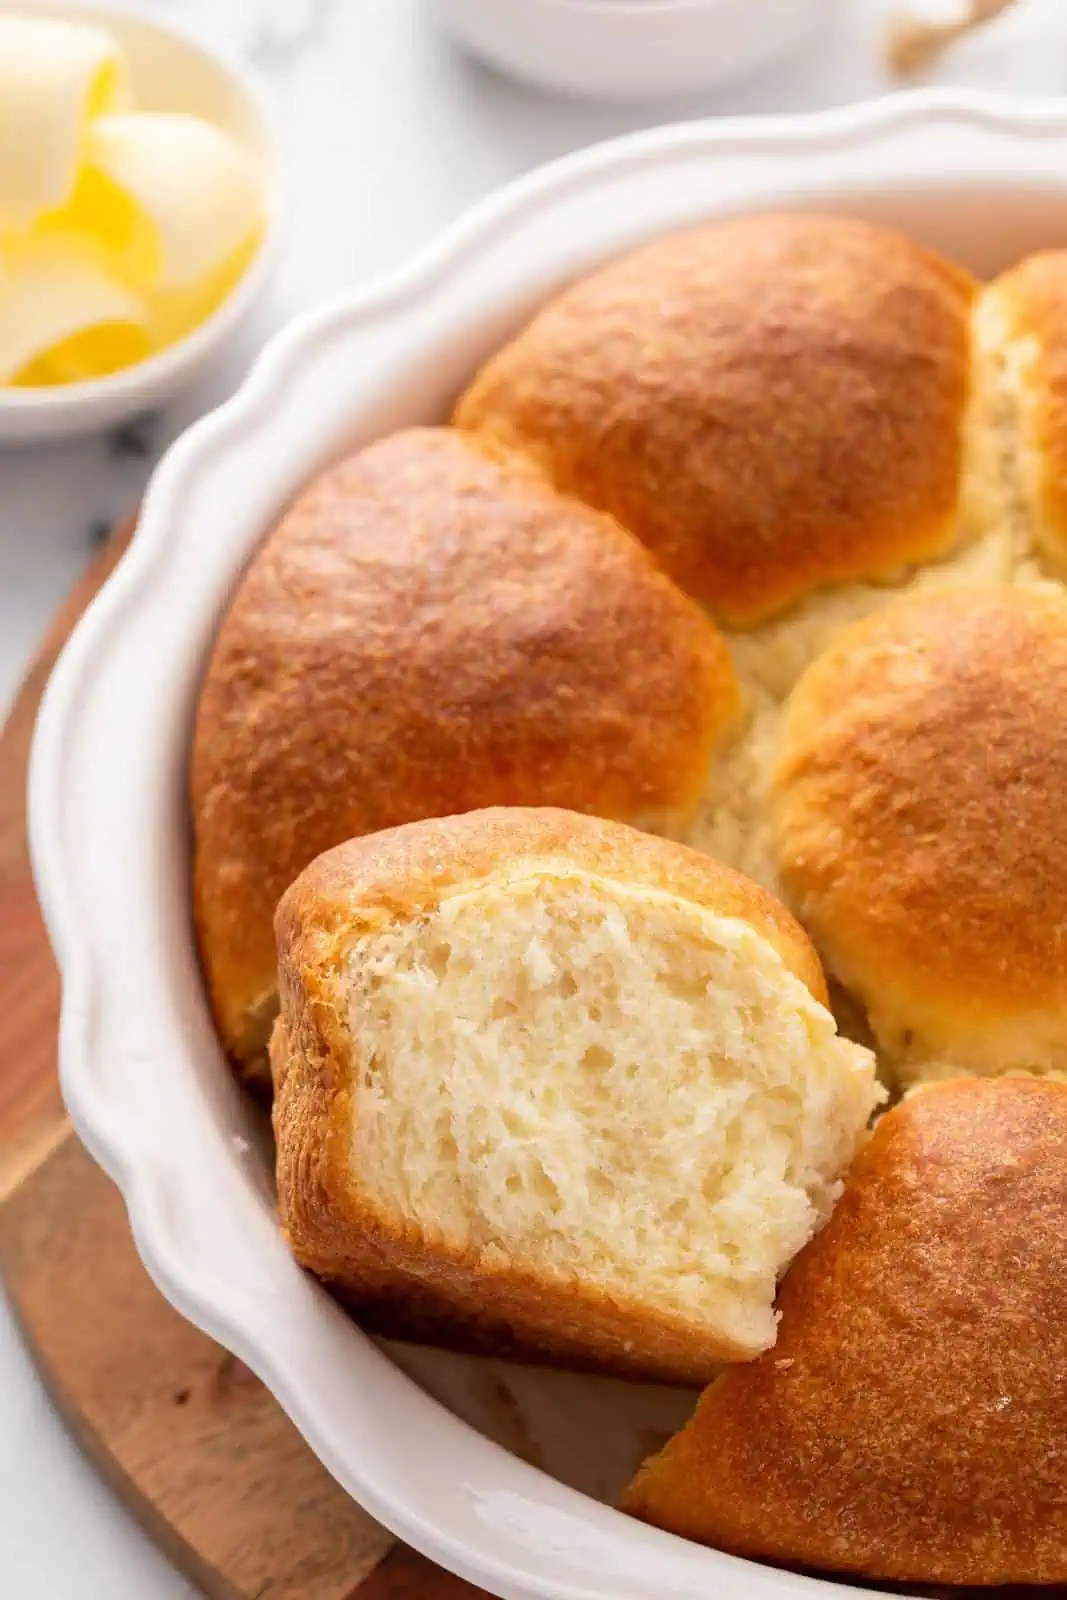
The fluffiest refrigerator rolls come from the easiest, no-knead dough. These dinner rolls are a hit at every holiday meal!
Want to save this recipe for later?
If there’s one thing my family loves, it’s carbs. We go bananas for everything from frosted orange rolls to angel food cake and everything in between.
And we REALLY love dinner rolls.
This recipe for fluffy no-knead refrigerator rolls comes from my great-grandmother’s recipe box. It’s pretty much a must at all holiday meals.
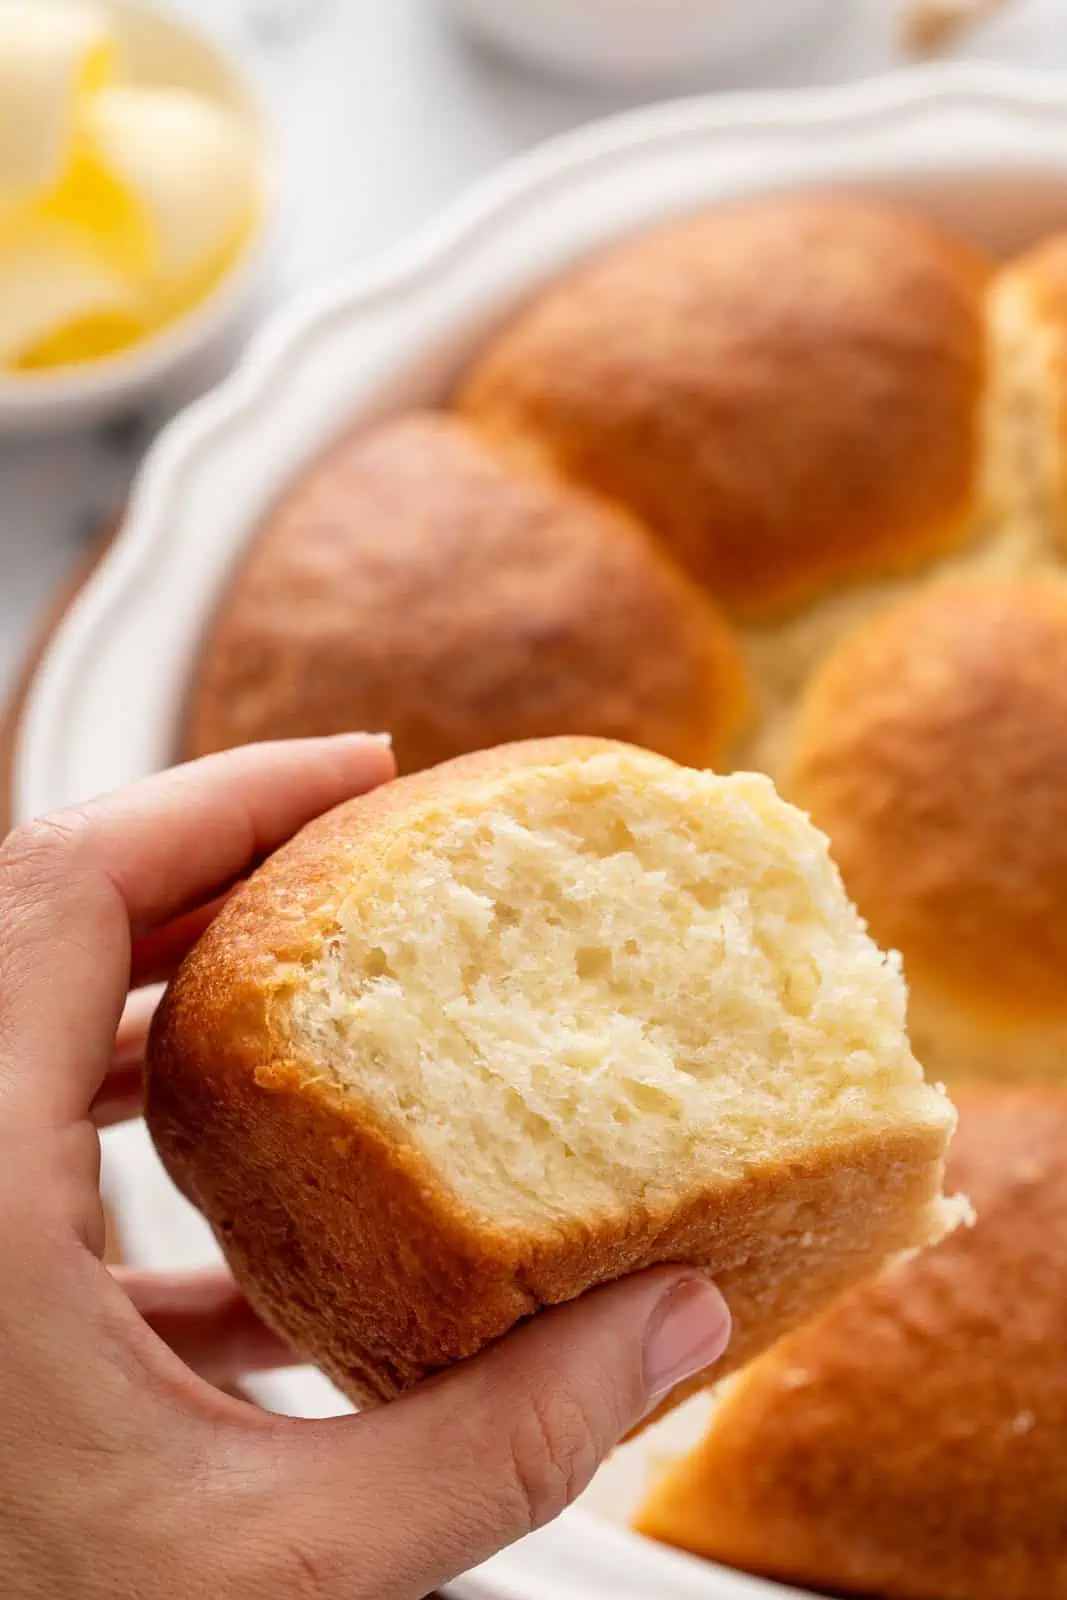
These rolls are so light and fluffy, our nephew used to call them “sponges” when he was a toddler. There was one Thanksgiving where I’m pretty sure these “sponges” are the only thing he ate.
And honestly, a toddler’s seal of approval is about the highest compliment you can get.
Easy refrigerator dinner rolls
This recipe was originally given to my Ma-Ma by a woman named Nancy Nanovski, who lived across the street from my mother’s family when she was growing up.
Nancy is known in my family for two things: this refrigerator roll recipe, and her “cleaning tip” that she would give to young women who were getting married: leave the vacuum cleaner out all of the time so that if someone stops by unexpectedly, they will think they interrupted your cleaning and automatically forgive your mess.
I think Nancy and I would have been friends.
There’s a reason this recipe has become famous in my family. You mix up the dough up to 48 hours before you need to bake the rolls, toss the dough in the fridge to rise, and pull it out when you’re ready for dinner rolls.
No kneading, no waiting around for multiple rises, no fuss. They’re a great alternative to Texas Roadhouse rolls if you need something that’s a little easier to make.
I make these almost every Thanksgiving because I can mix up the dough 1 or 2 days ahead of time and it’s way less to add to my day-of to-do list.
Added bonus: You can bake these rolls into 2 or 3 smaller cake pans. Keep one pan for yourself and share the second pan with a friend or neighbor.
How to make no-knead refrigerator rolls
One of the best thing about Nancy’s refrigerator rolls (as they’re known in my family) is that they’re incredibly easy to make. Honestly, you don’t even need a mixer to make them – the dough comes together quickly with just a large bowl and a spatula!
I have friends ask me all the time for recommendations on easy dinner roll recipes around the holidays, and I always send them this recipe. I’ve had friends who have never made yeast rolls before pull these off perfectly.
Ingredients you’ll need
Since this is a no-fuss recipe, you probably won’t be surprised that the ingredients list is pretty simple. You’ll need:
- 1 cup shortening
- 1 teaspoon fine sea salt
- 1/2 cup granulated sugar
- 1 cup boiling water
- 2 packages instant yeast
- 1 cup warm water
- 2 large eggs
- 6 cups all-purpose flour
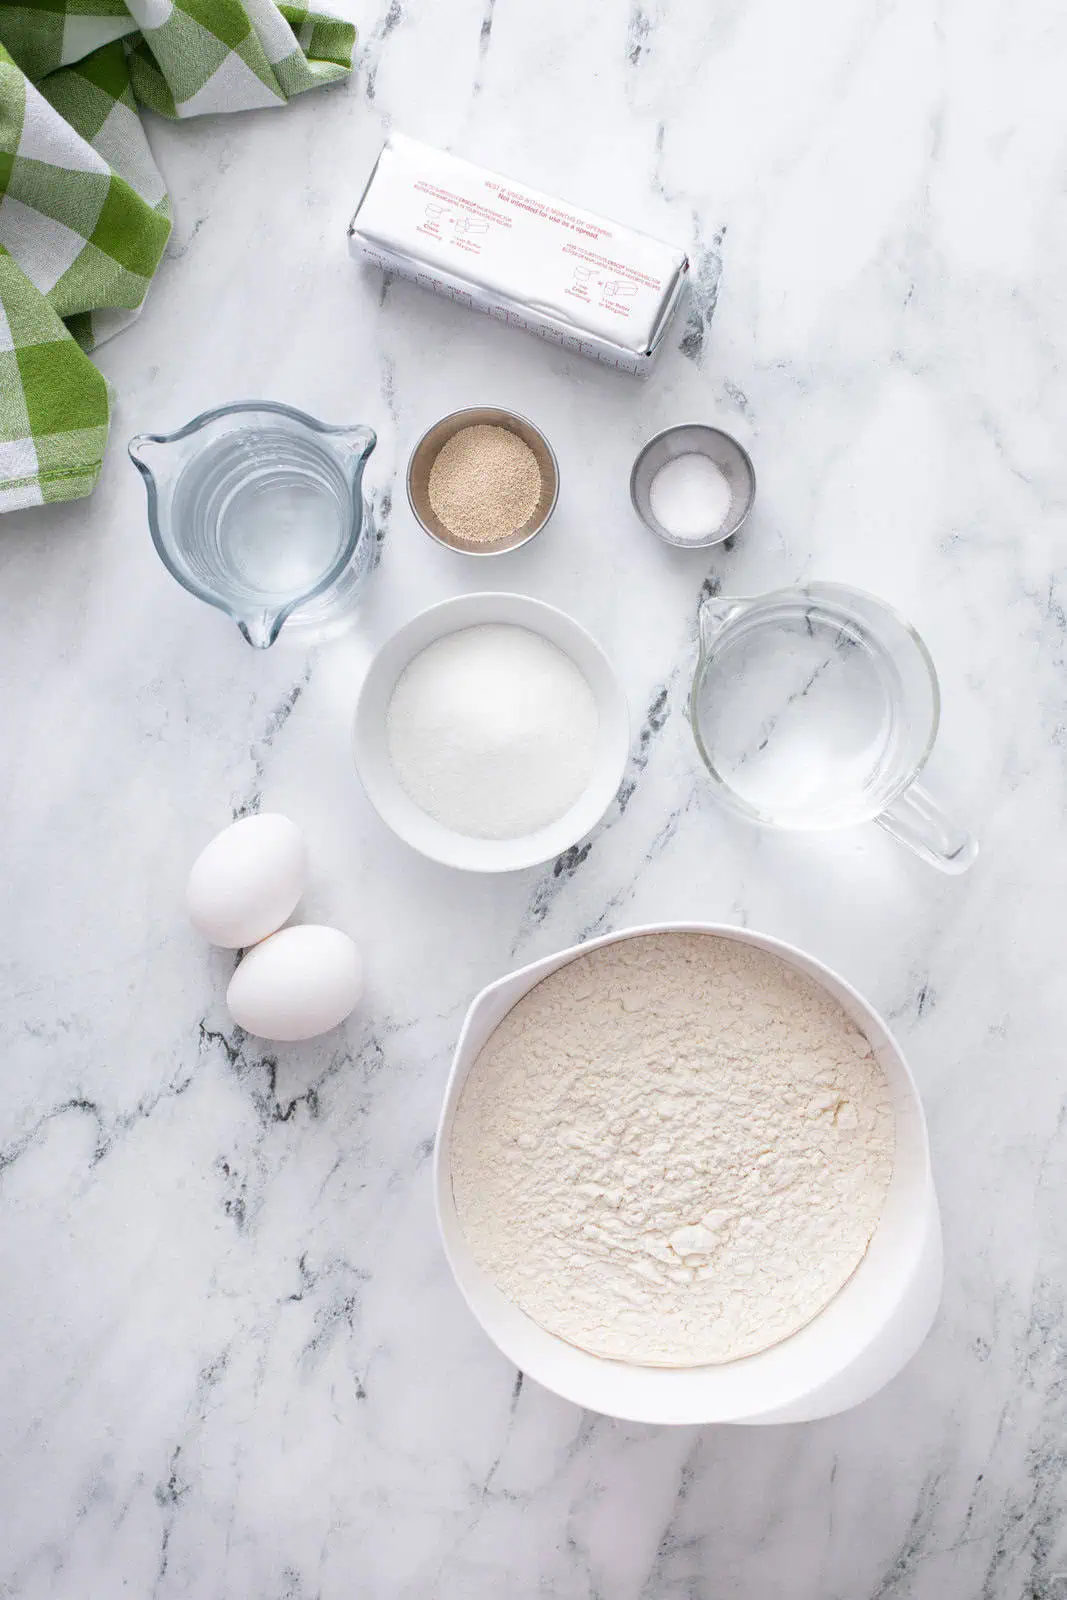
You know this is a vintage recipe when you see shortening in the ingredients list! If you are really opposed to using shortening, I have substituted butter in this recipe with no issue.
You can also use butter-flavored shortening if you like.
This recipe uses instant yeast. My personal favorite yeast to use in these rolls is Red Star Platinum Yeast – it makes the rolls super fluffy and amazing. But if you can’t find the Platinum Yeast, regular instant yeast works great!
If you are using a jar of yeast instead of packets, 2 packets of yeast is equal to 4 1/2 teaspoons.
Making these rolls
At least 6 hours or up to 2 days before you plan to serve these refrigerator rolls, mix together your dough.
Add the shortening, salt, and sugar to a large mixing bowl. Add the boiling water; mix to combine and let the mixture cool. Don’t stress if the shortening doesn’t melt completely.
Dissolve the yeast in the warm water. Add this to the bowl with the shortening mixture along with the egg, whisking to combine.
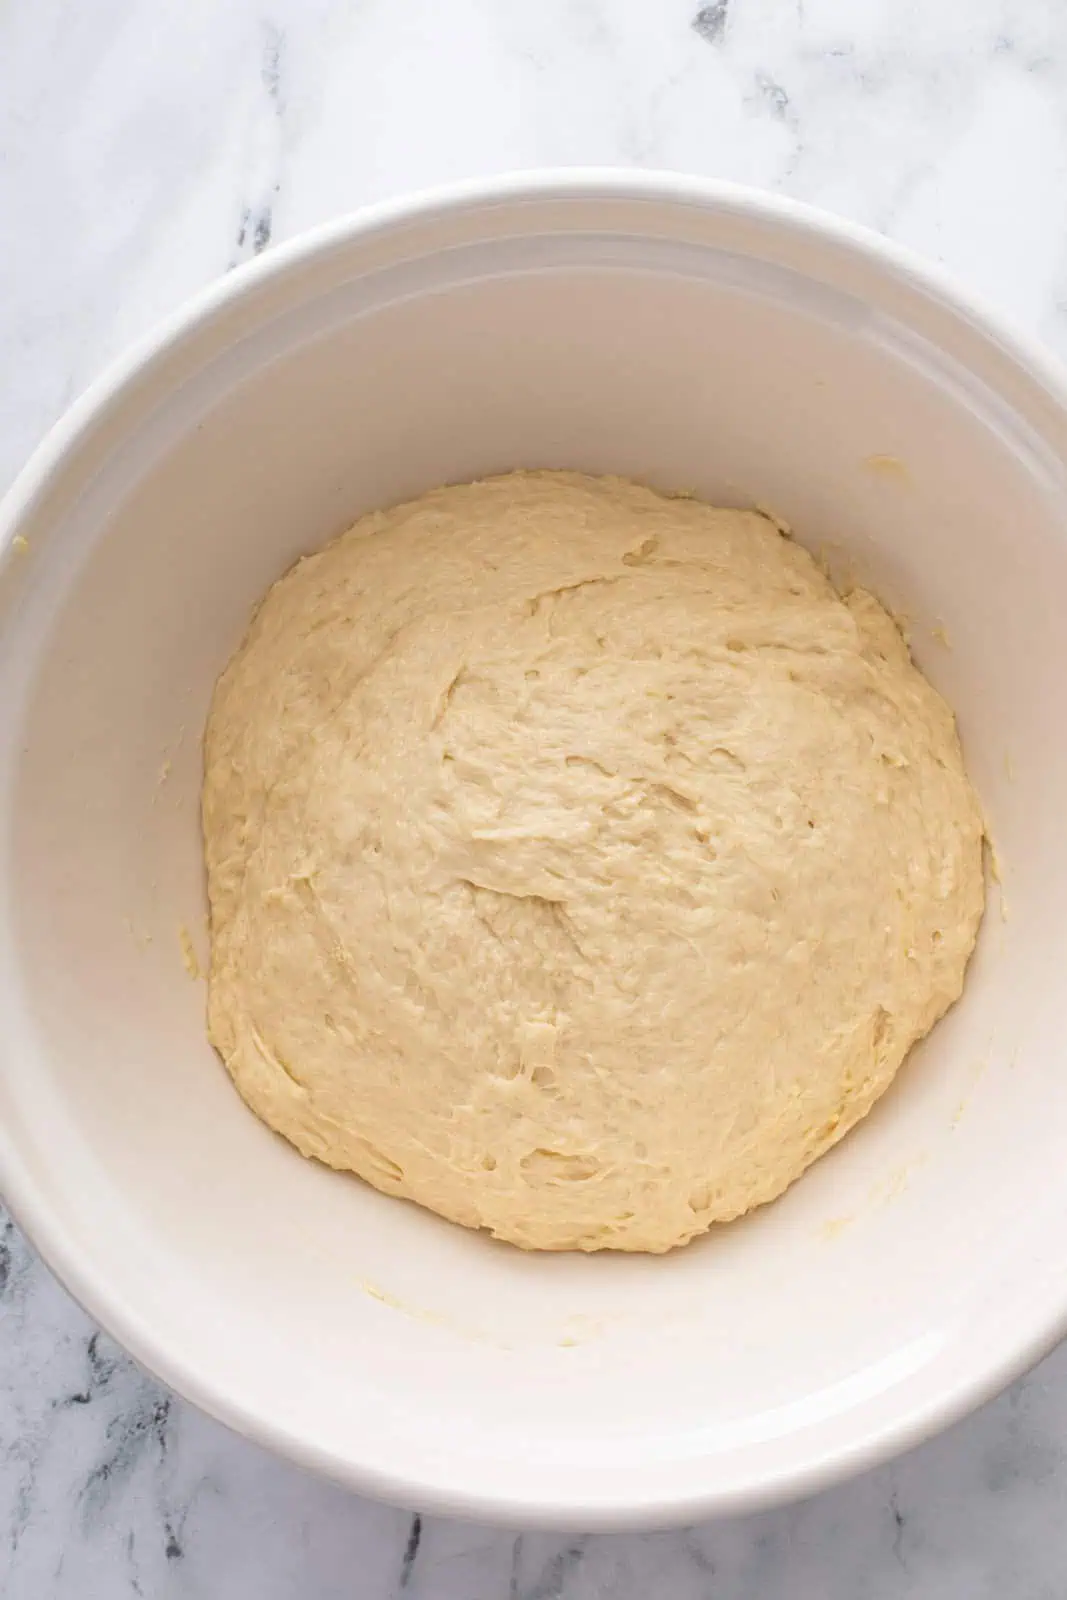
Switching to a spatula or wooden spoon, stir in the flour until the dough is well combined. The dough will be sticky – that’s ok! It’ll be less sticky after rising in the fridge.
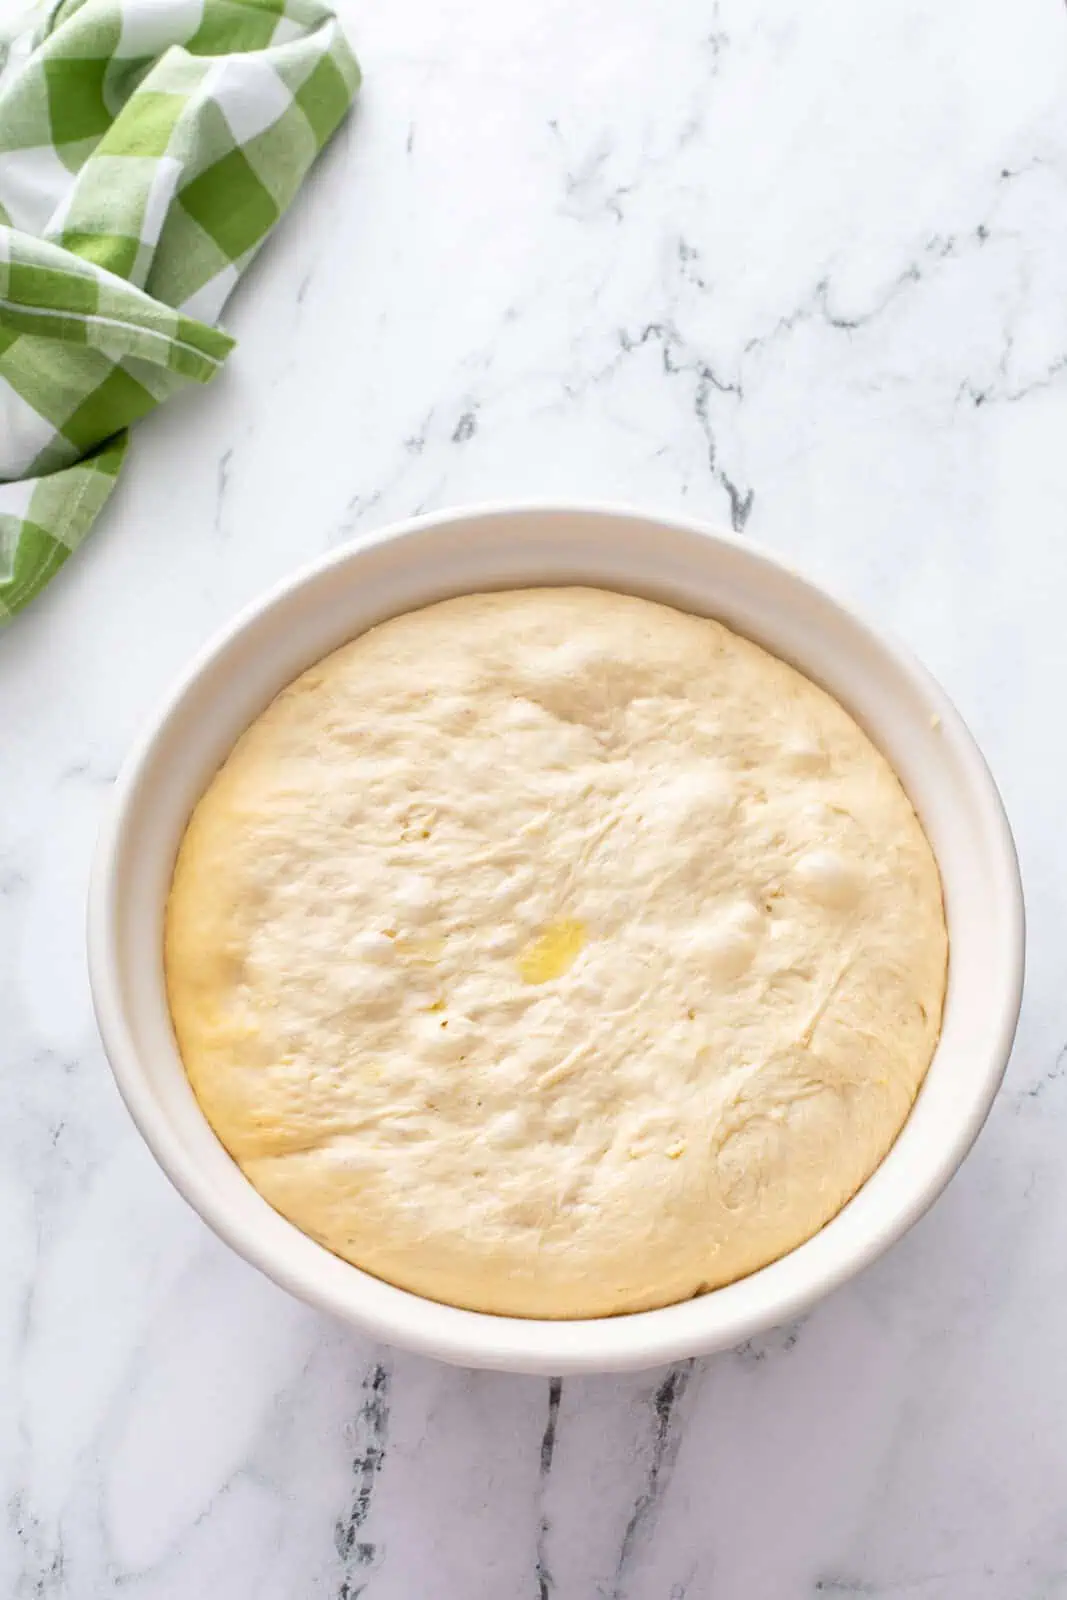
Cover the bowl. If it has a lid, feel free to use that; otherwise, lightly grease a piece of foil or plastic wrap to cover the bowl. Place the dough in the refrigerator for at least 6 hours or up to 48 hours.
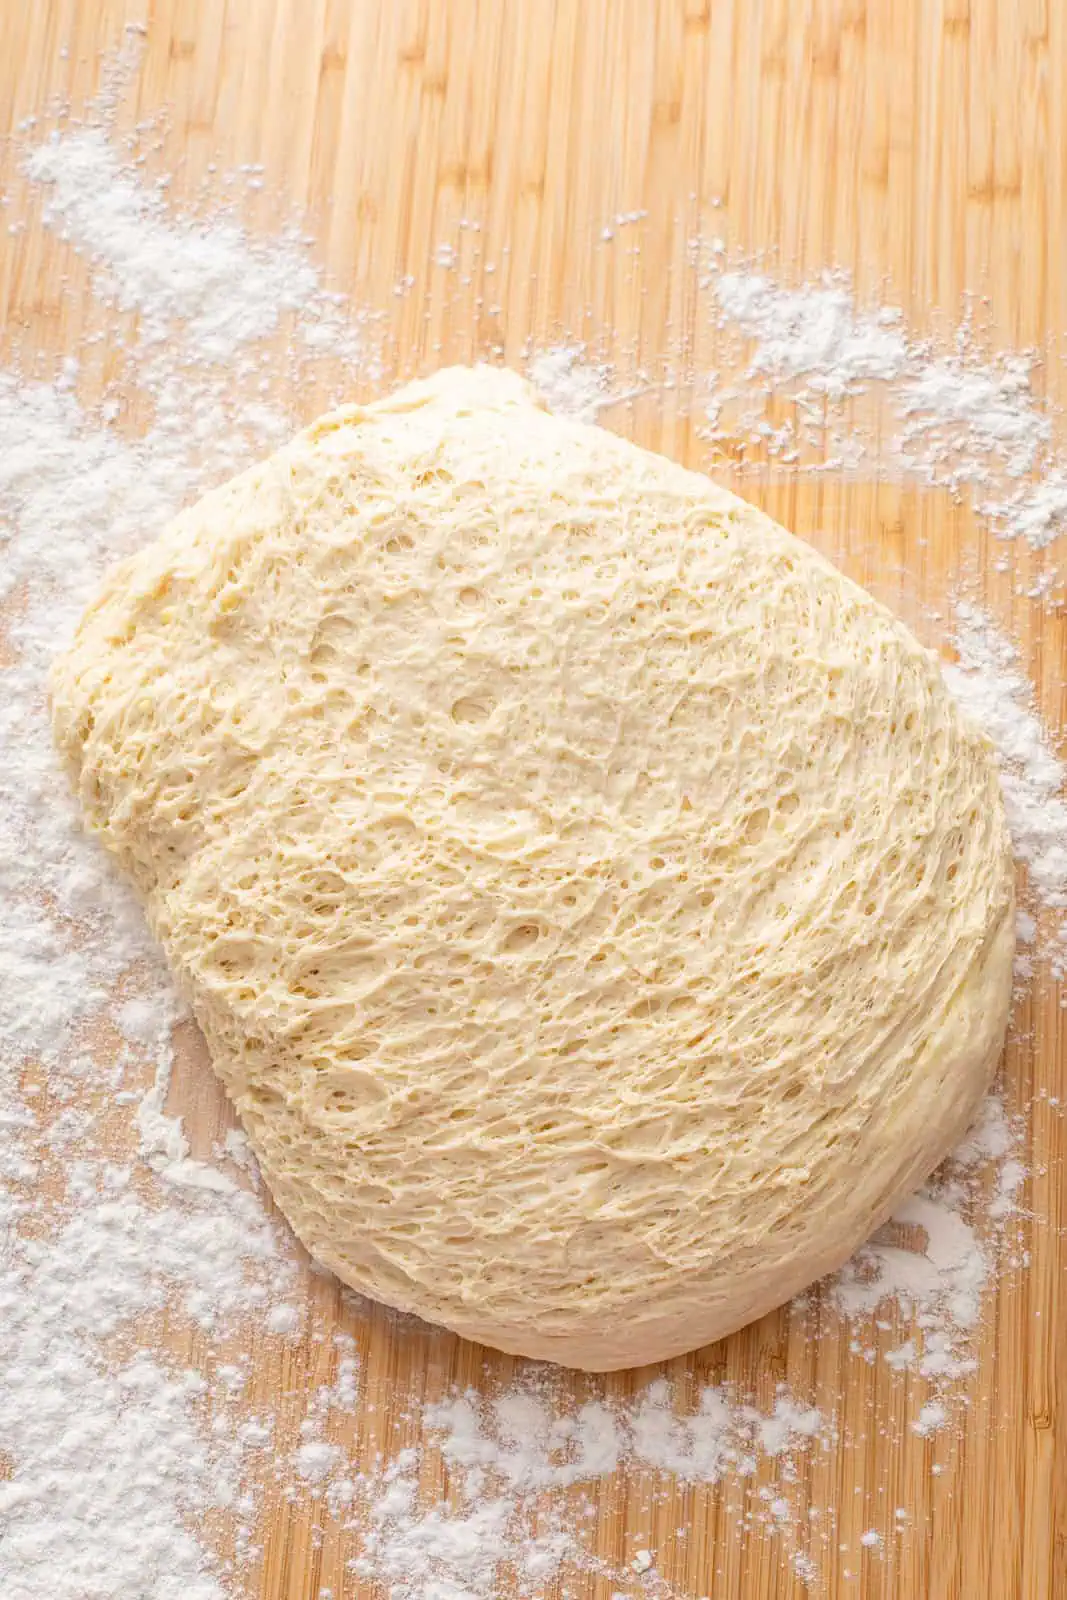
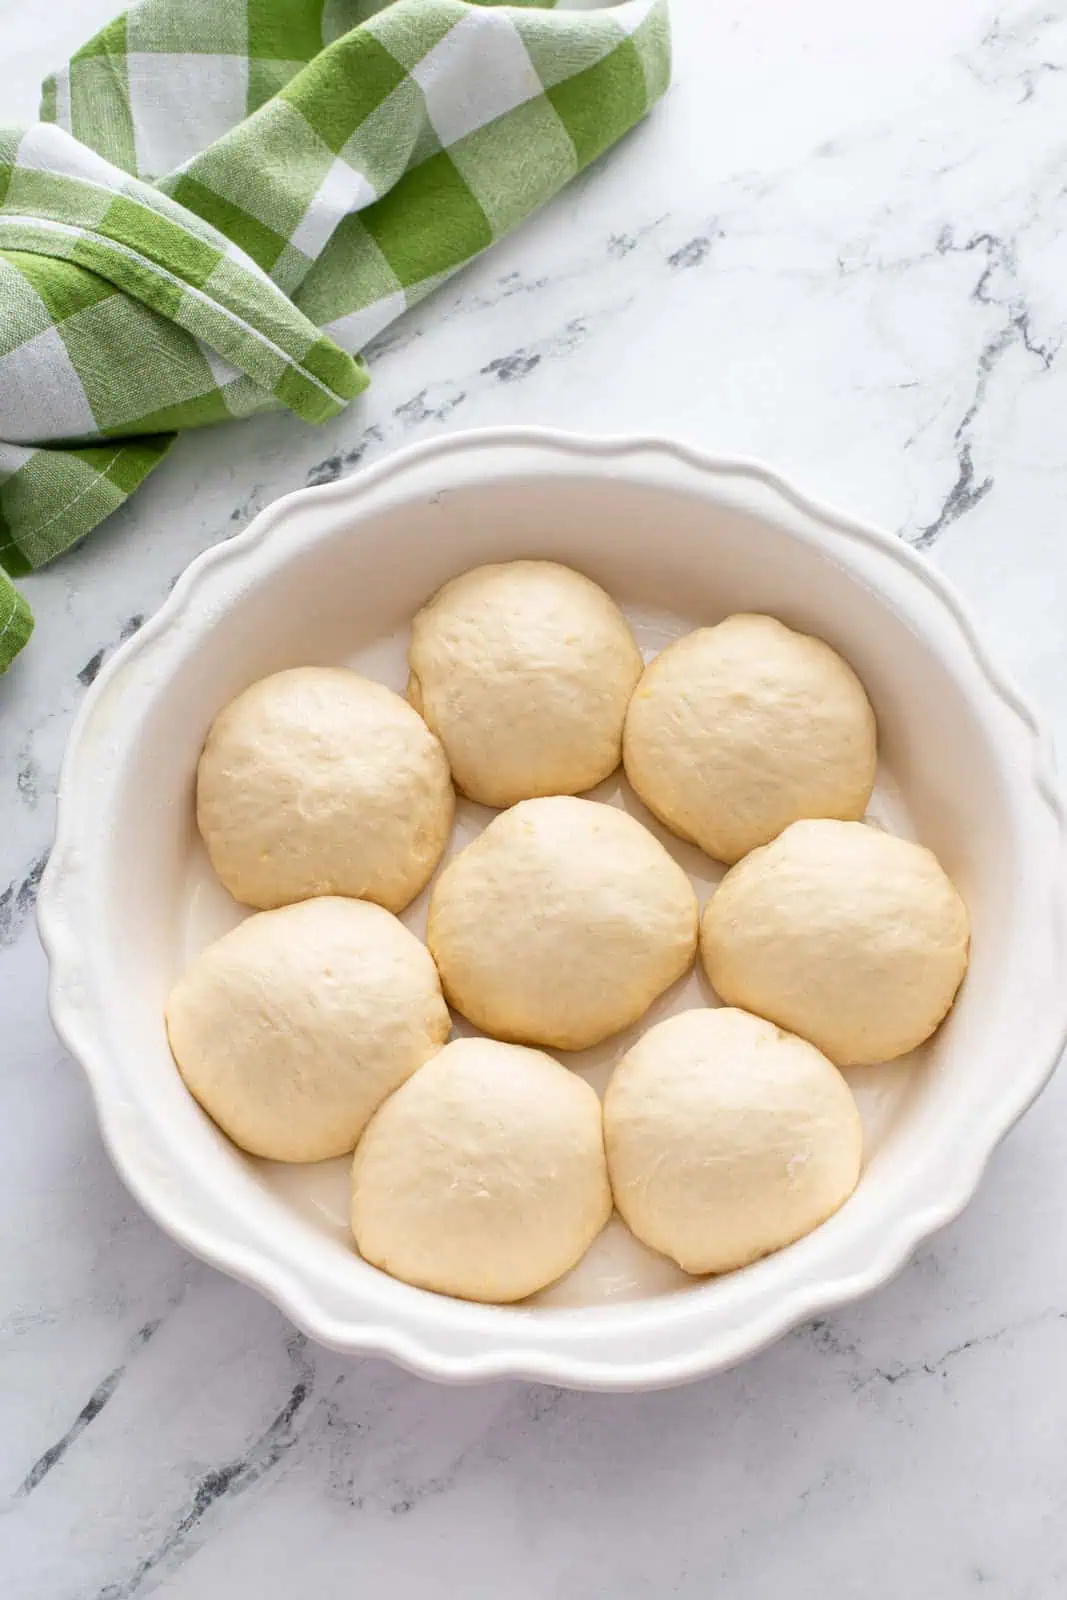
When you’re ready to bake the rolls, turn the dough out onto a lightly floured surface. Divide the dough into 16 pieces.
When forming the rolls, I like to tuck the edges of each piece under until the top of the dough is taught, almost like a bubble. Set the dough “bubble” side up on on the counter and roll it between your hands in a clockwise motion.
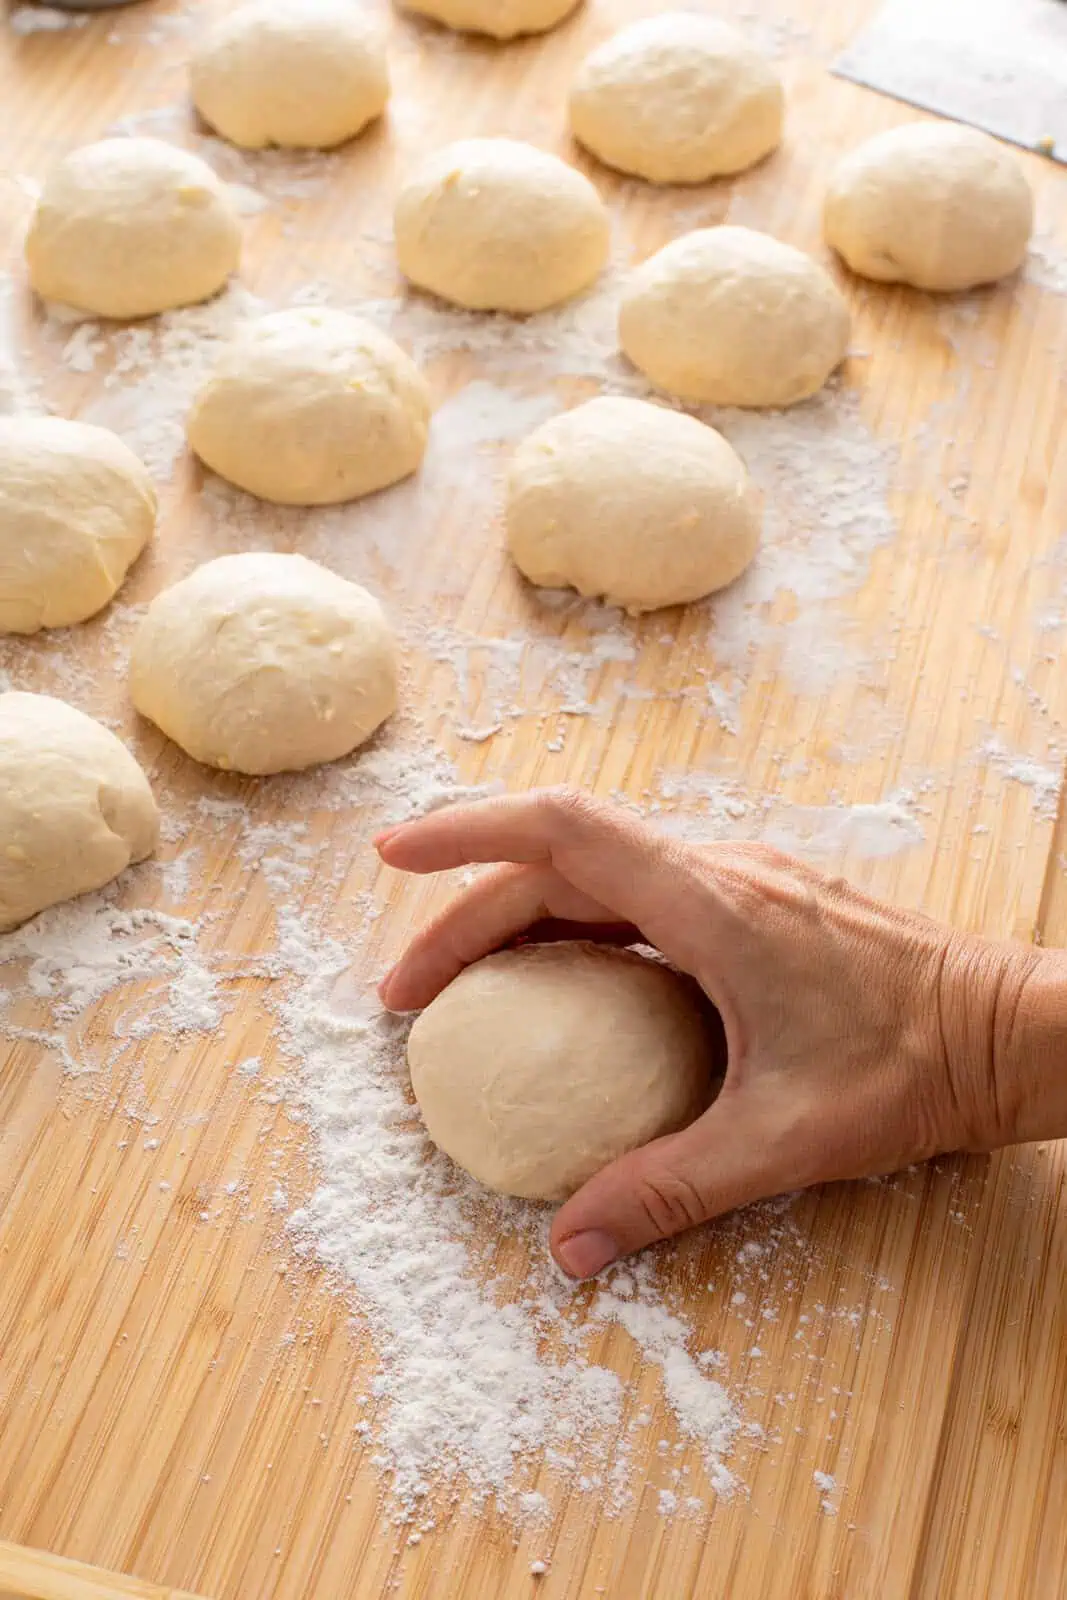
This will tighten up the dough nicely for you.
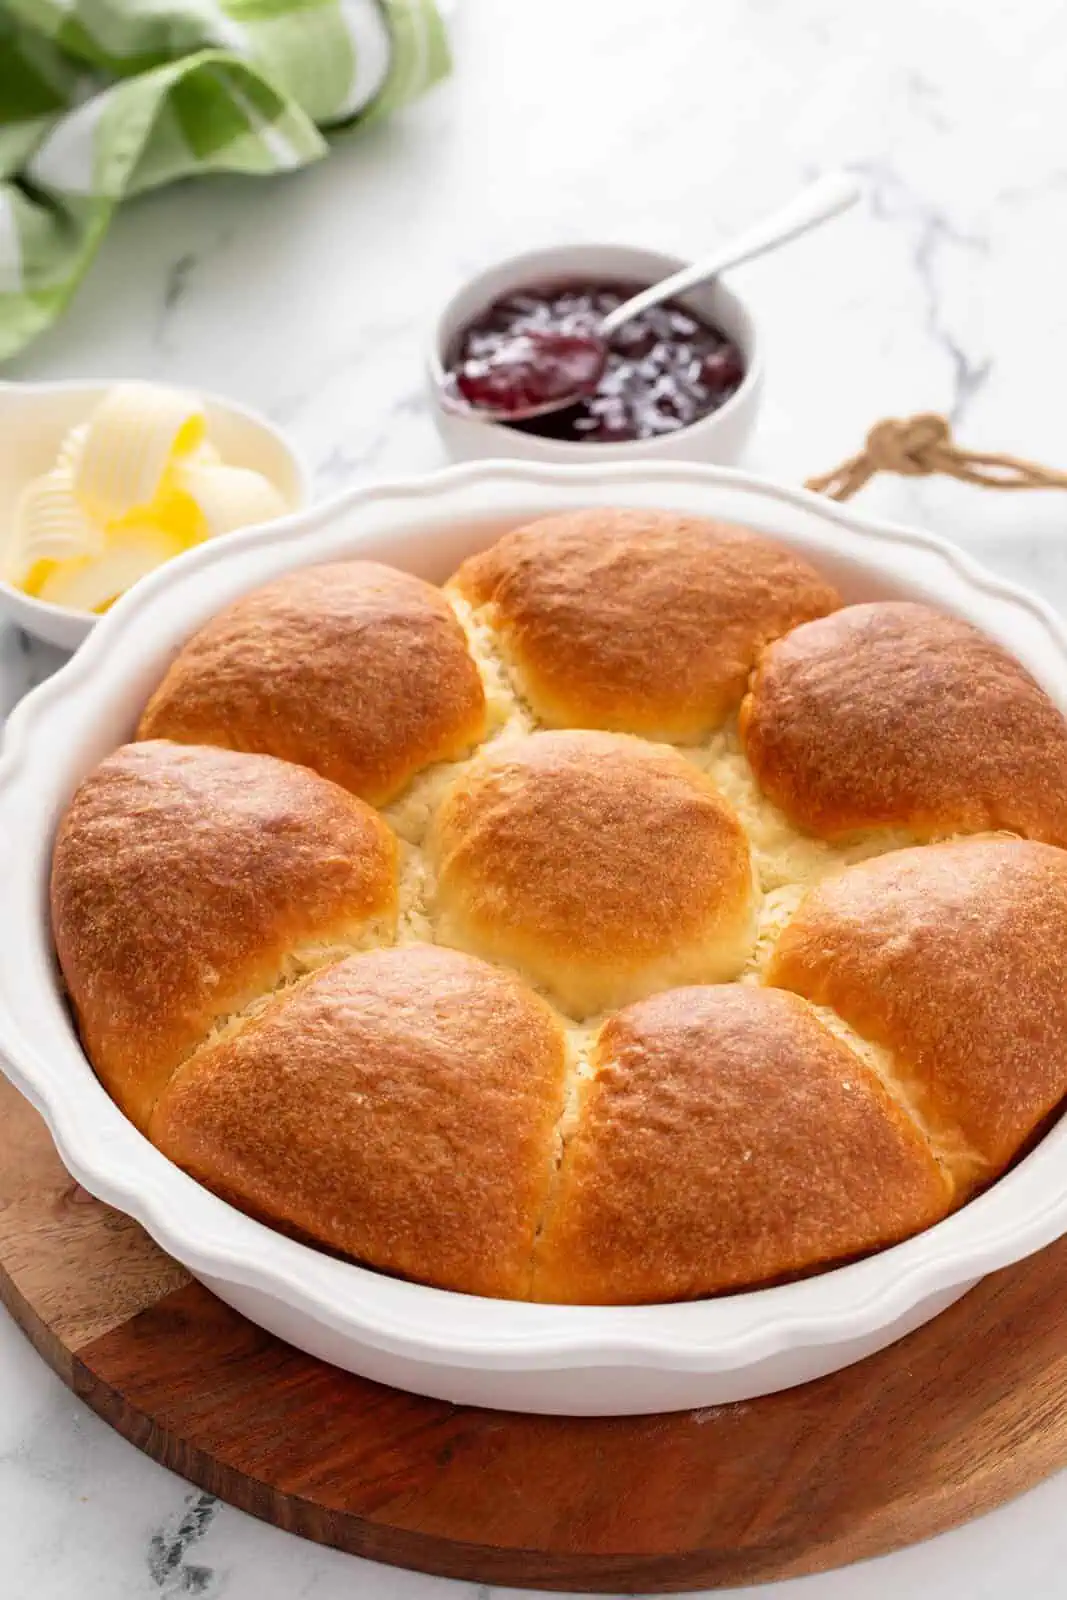
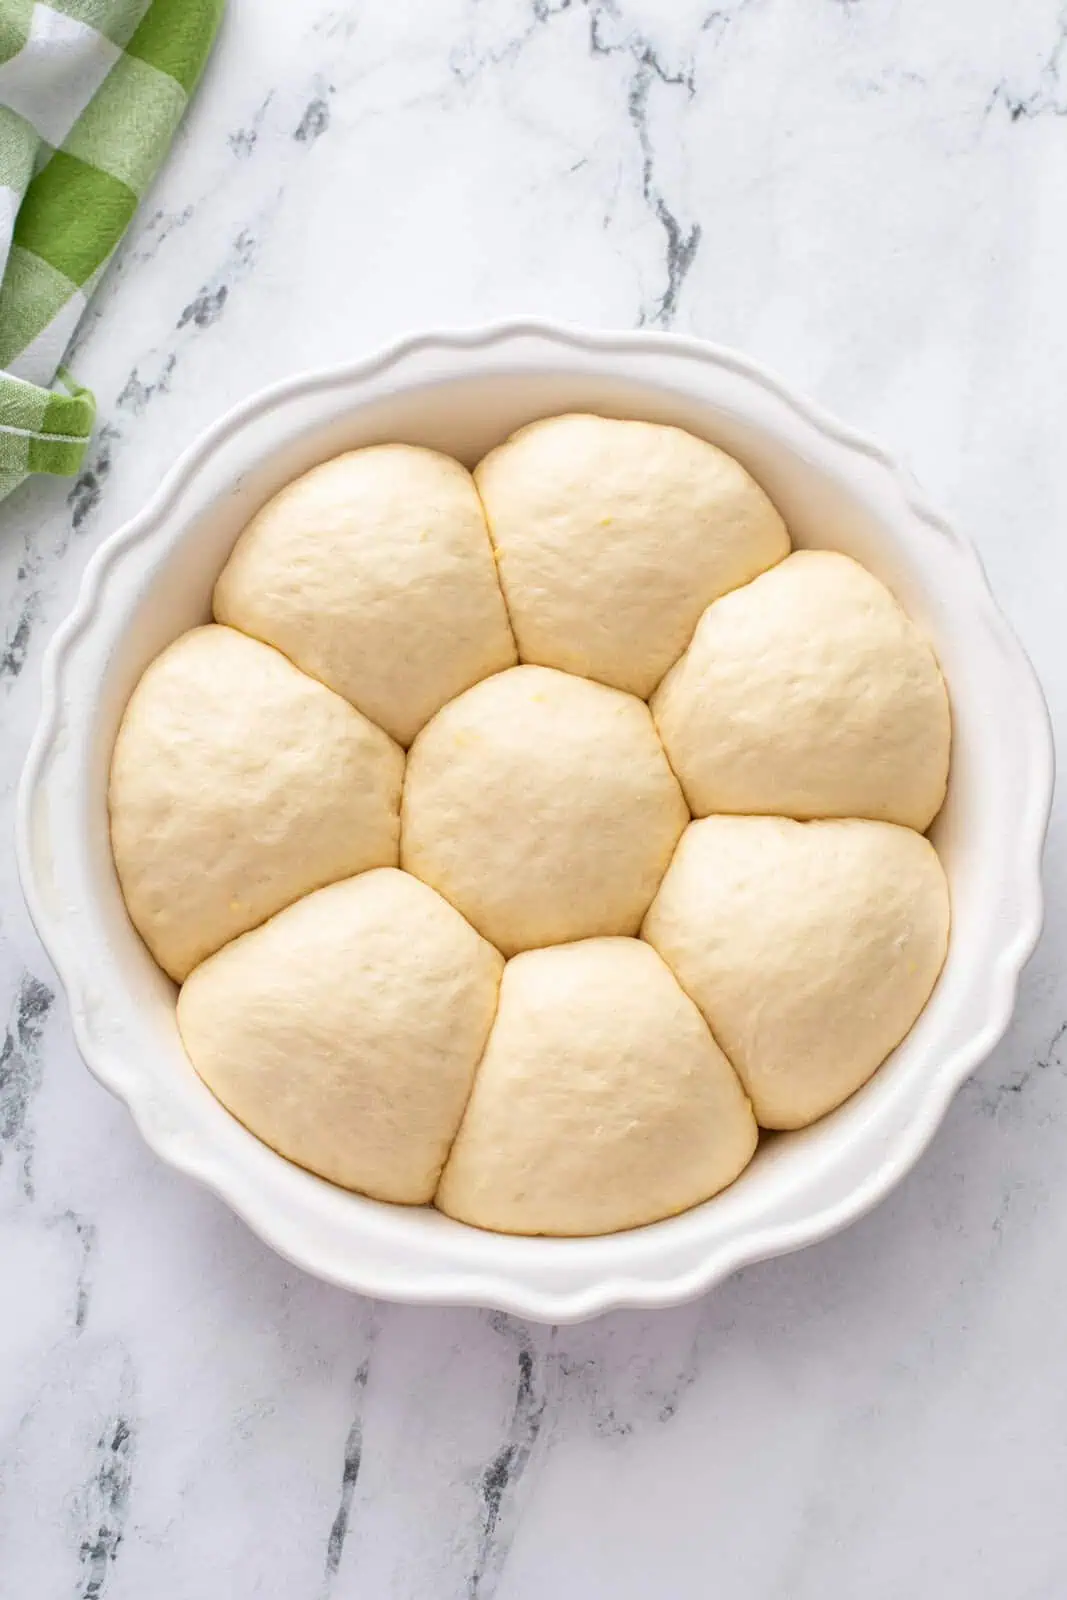
Arrange the shaped rolls in 2 or 3 greased smaller cake pans or 1 greased 9×13-inch pan. Cover lightly and let rise in a warm place for 1 hour, or until the rolls are about doubled in size.
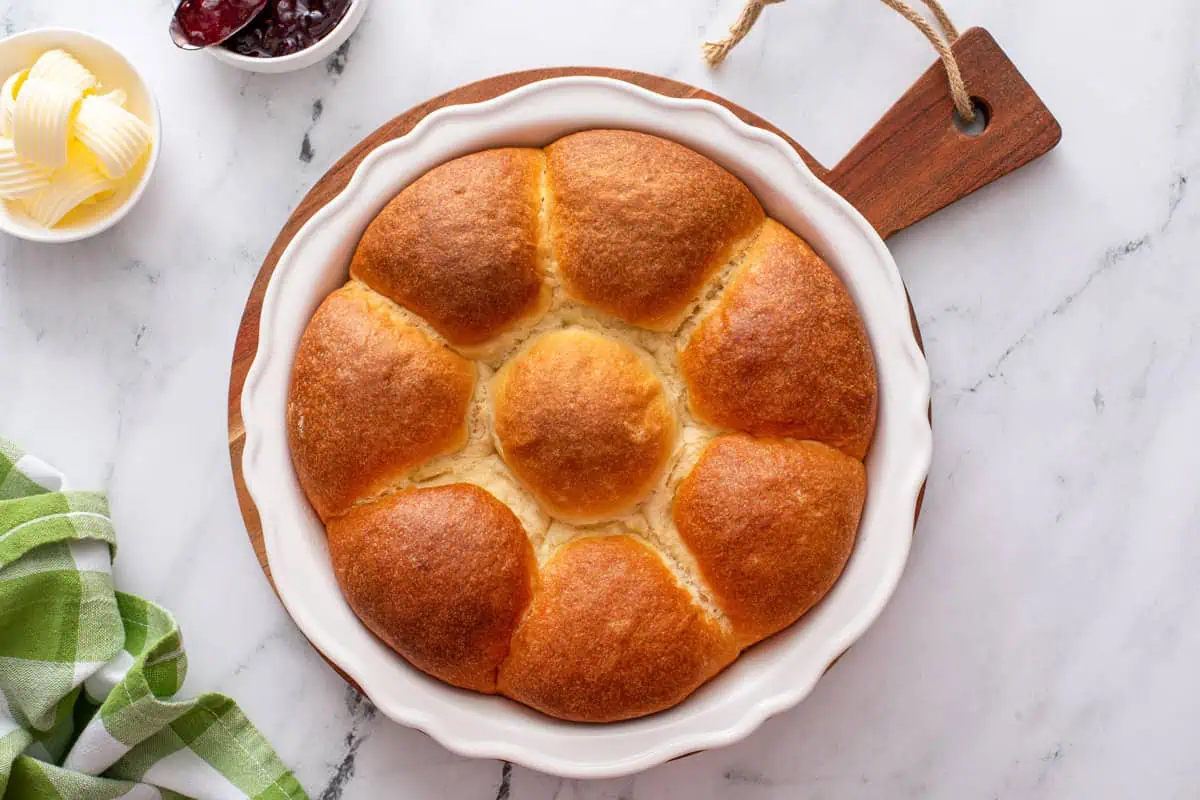
Bake the rolls at 425℉ for 20-25 minutes. They’re done when they’re deeply golden brown on top and the center of the rolls reads 190℉ on an instant-read thermometer.
I’ll often even brush the tops of the rolls with some melted butter after pulling them from the oven. Because really, who doesn’t love some extra butter?
Serving suggestions
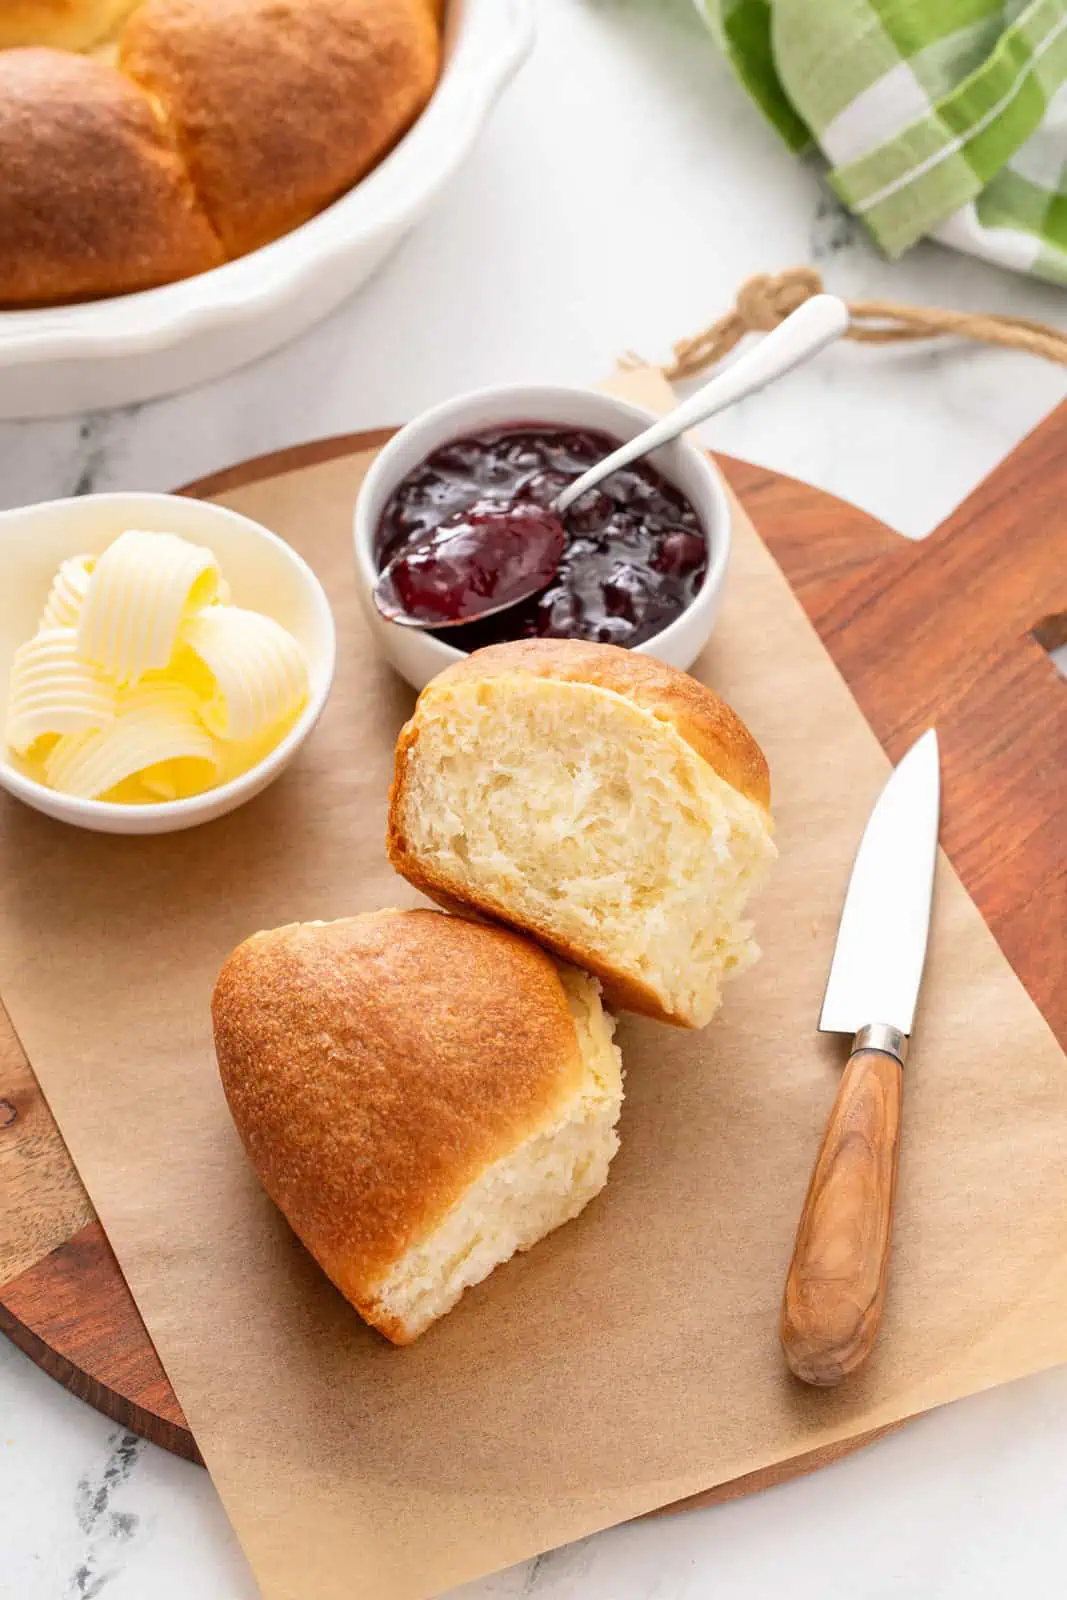
These refrigerator rolls are incredible with everything from roasted turkey and cranberry chutney at Thanksgiving to roasted leg of lamb at Easter to crockpot corn chowder on a random Wednesday evening.
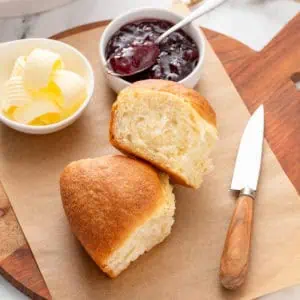
I love topping these rolls with butter, especially cinnamon honey butter. But don’t shy away from adding your favorite jam or fruit butter, such as instant pot persimmon butter!
Fluffy No-Knead Refrigerator Rolls
Ingredients
- 1 cup shortening
- 1 teaspoon fine sea salt
- 1/2 cup granulated sugar
- 1 cup boiling water
- 2 packages instant yeast 4 1/2 teaspoons
- 1 cup warm water
- 2 large eggs lightly beaten
- 6 cups all-purpose flour
Want to save this recipe for later?
Instructions
- Dissolve shortening, salt and sugar in 1 cup of boiling water in a large mixing bowl. Mix and let cool (shortening does not need to completely melt).
- Dissolve yeast in 1 cup of warm water. Add to the cooled shortening mixture along with the eggs. Whisk thoroughly to combine. Stir in the flour until well combined.
- Top the bowl with lightly greased foil and place in the refrigerator for at least 6 hours or up to 48 hours.
- When ready to bake, remove dough from the refrigerator. Gently turn dough out onto a lightly floured surface and divide into 16 equal pieces. For each piece, tuck the edges under until the top of the dough is taught, like a bubble of bubble gum. Then place the roll on the floured surface, "bubble" side up, and roll it between your hands in a clockwise motion to tighten up the roll. Repeat with each dough piece.
- Place rolls in 2 or 3 greased cake pans or 1 greased 13×9-inch pan. Cover lightly and let rise for one hour.
- While rolls rise, preheat oven to 425℉. Bake rolls for 20-25 minutes, until deeply golden on top and the center of the rolls reads 190℉ on an instant-read thermometer.
Notes
Nutrition

About Stephie
Stephie is the creator of Stephie Cooks, a food blog that focuses on creating memories around the food we share, with family recipes at the site’s heart. Stephie lives in Central Illinois with her husband, daughter, and a menagerie of cats and dogs. When she’s not in the kitchen or at her computer writing, you can usually find her curled up with a book or working on one of her many grandma-esque hobbies. Learn more >
I love this recipe. It is now my go to recipe for any bread recipe. I cut the flour back to 5 cups.
Love that! So glad you love the recipe. Thanks for sharing!
It doesn’t even deserve one star.
These rolls were terrible. I made them for Thanksgiving and Zi had to throw them out. Thank God I bought rolls at the store in case the recipe was a disaster which is was.
Hi Marie – Thanks for sharing your feedback. I’m sorry the recipe didn’t work out for you; I know how frustrating that can be, especially during a holiday. In the future, it would help other readers to know a bit more about what didn’t work for you, rather than just saying that the recipe was terrible and doesn’t even deserve one star. Was the dough to sticky and hard to work with, did the dough not rise, etc – that way other readers can know what to look out for. Have a great day.