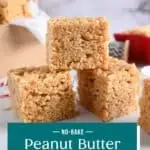
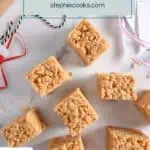
Made with just four simple ingredients, these peanut butter rice krispie bars are a sweet and chewy treat that the whole family will love!
This post contains affiliate links.
When we adopted our daughter, we entered into what I like to call a “radically open” adoption with her birth family, including her extended family.
Not only did our family become hers, but her family became ours.
As she grows, she will have a say in what she wants this relationship to look like, but for now we are incredibly open and celebrate as many holidays together as we can. We truly love our not-so-little-anymore, non-traditional family.
One of the things that was important for us was to learn about some of her birth family’s holiday traditions so we could bring them into our home as well. Since we are so food focused around here, it just made sense to pick up on some of their family’s favorite recipes.
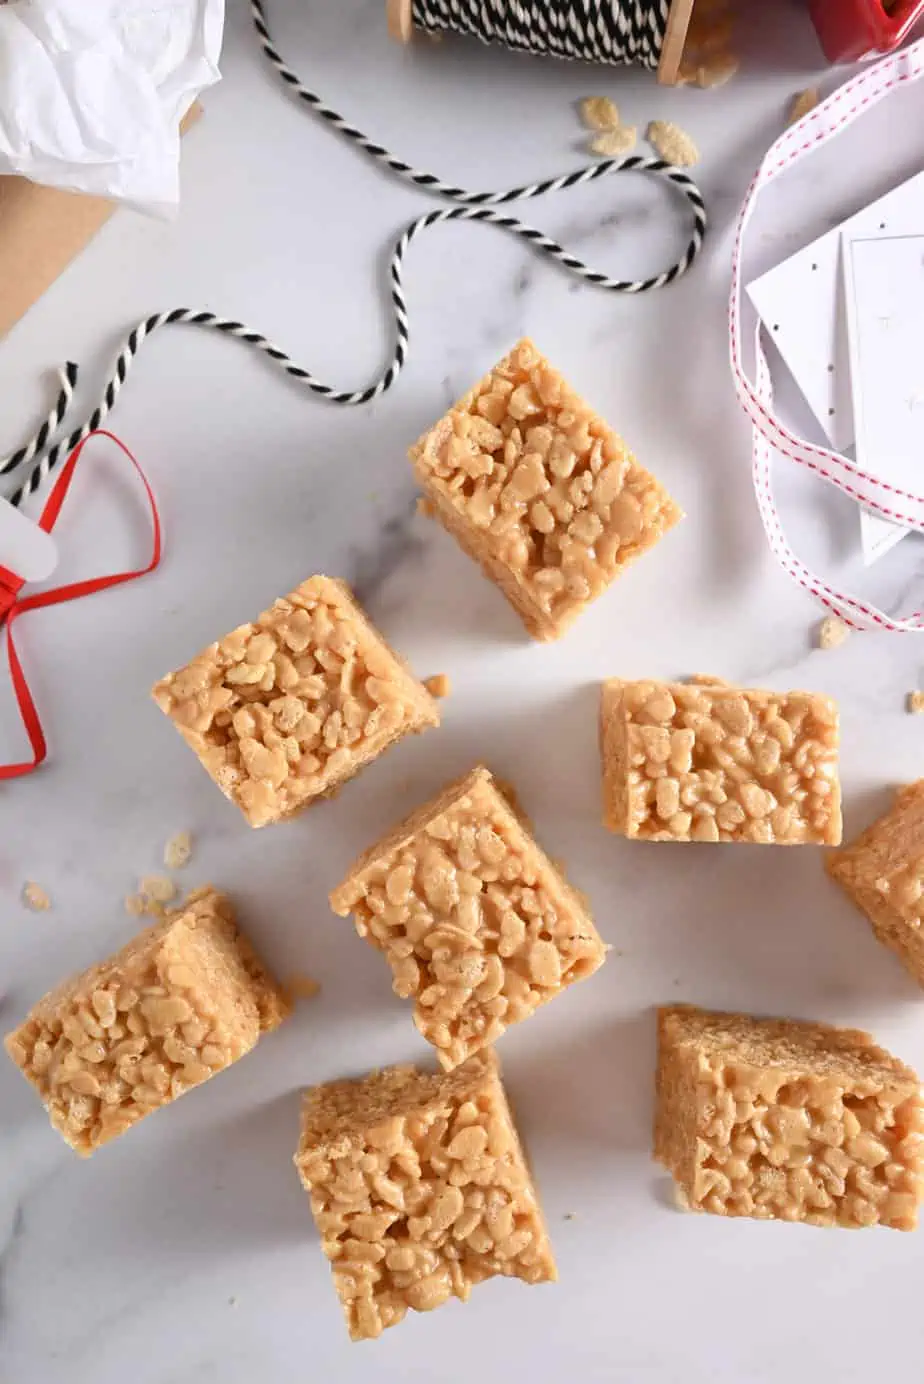
One of those special recipes is for these peanut butter rice krispie bars. The family calls them “bricks” (which honestly makes sense once you see them!), which I think is adorable.
These are a MUST at every Christmas celebration but are also perfect for shipping as a special care-package treat any time of year. It’s been an honor to add them to our list of family recipes.
Give this simple recipe a try and it may just become a part of your family’s holiday traditions as well!
WHAT ARE PEANUT BUTTER RICE KRISPIE BARS?
These peanut butter rice krispie bars don’t have any marshmallows in them, so they aren’t a rice krispie treat.
They don’t have any chocolate on top, so they aren’t quite a scotcharoo.
Instead, they fall somewhere kind of in the middle of the two things.
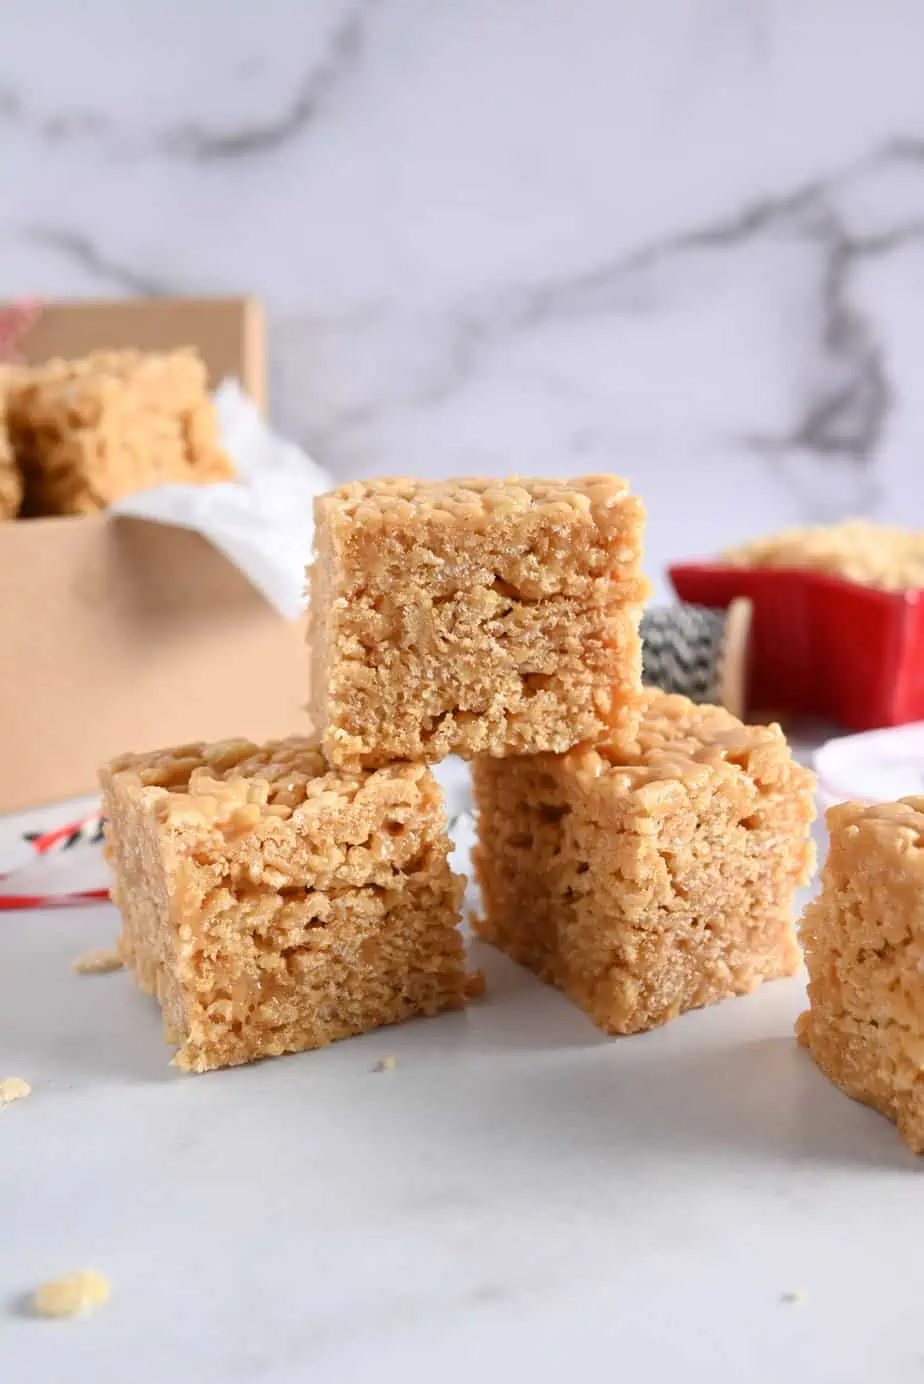
These peanut butter rice krispie bars are dense and chewy, with tons of peanut butter flavor and crispy texture.
If you’re a big fan of peanut butter cake and rice krispie cookies, you’ll adore these bars!
Are these bars gluten free?
Did you know that the name-brand Kellogg’s Rice Krispies are not gluten free?
They contain malt, so they do contain gluten.
That said, because the other ingredients in this recipe are naturally gluten free, you can make a gluten-free version by using a different brand of crispy rice cereal. There are many other options that are gluten free; just be sure to read the label carefully!
HOW TO MAKE PEANUT BUTTER RICE KRISPIE BARS
These bars are a no-bake recipe, so you won’t need to turn on the oven. Which is just fine with me; this time of year, my oven is already packed with maple walnut blondies, gingerbread cake, and fruitcake cookies.
This is also a good recipe to have the kids help with since there’s a lot of stirring to do! Just make sure you are supervising them, since there is some hot sugar involved.
Ingredients you’ll need
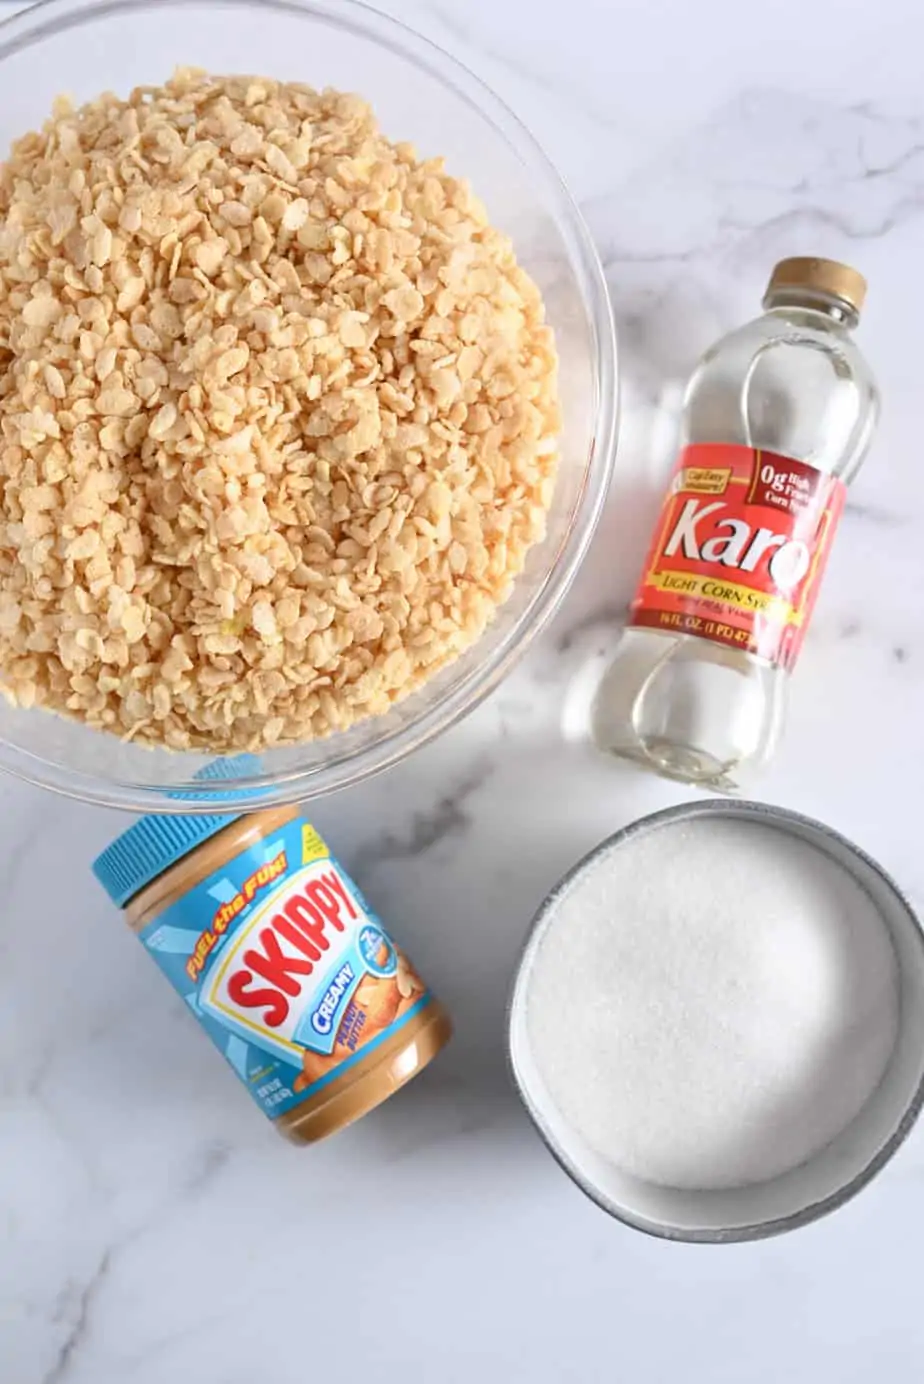
You’ll only need 4 simple ingredients to make peanut butter rice krispie bars:
- 2 cups granulated sugar
- 1 (16 ounce) bottle light corn syrup
- 1 (16.3 ounce) jar creamy peanut butter
- 1 (13 ounce) box Rice Krispies cereal
I like to use a 13-ounce box of Rice Krispies, but the recipe can actually take up to 18 ounces (or a “family size” box). How much cereal you add will determine how dry and dense the final bars are.
I prefer mine to be a little softer and chewier, so that’s why I usually opt for the slightly smaller box of Rice Krispies.
What kind of peanut butter should you use?
I usually make these peanut butter rice krispie bars with good ol’ fashioned creamy peanut butter. You know, the type we all ate as kids in the ‘80s and ‘90s.
But I have also successfully used no-stir natural peanut butter. Use whichever one you have and prefer!
I do NOT recommend using the type of all-natural peanut butter that is basically only ground peanuts and nothing else. The texture tends to be pretty grainy and it’s just not as smooth as you need for this recipe.
Making peanut butter rice krispie bars
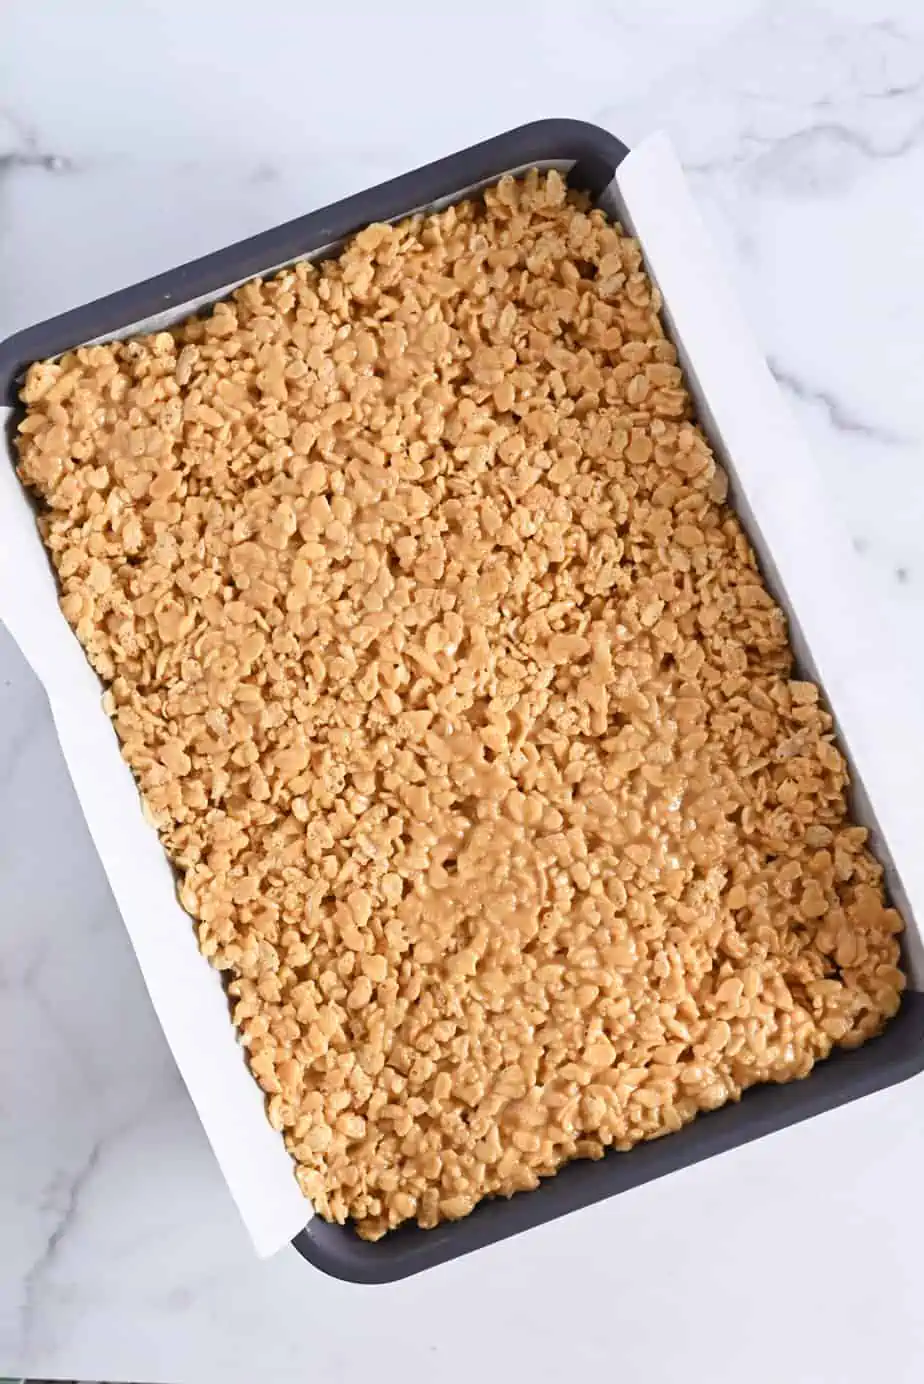
Prep a 13×9-inch baking pan by spraying it with nonstick spray and then lining it with parchment paper.
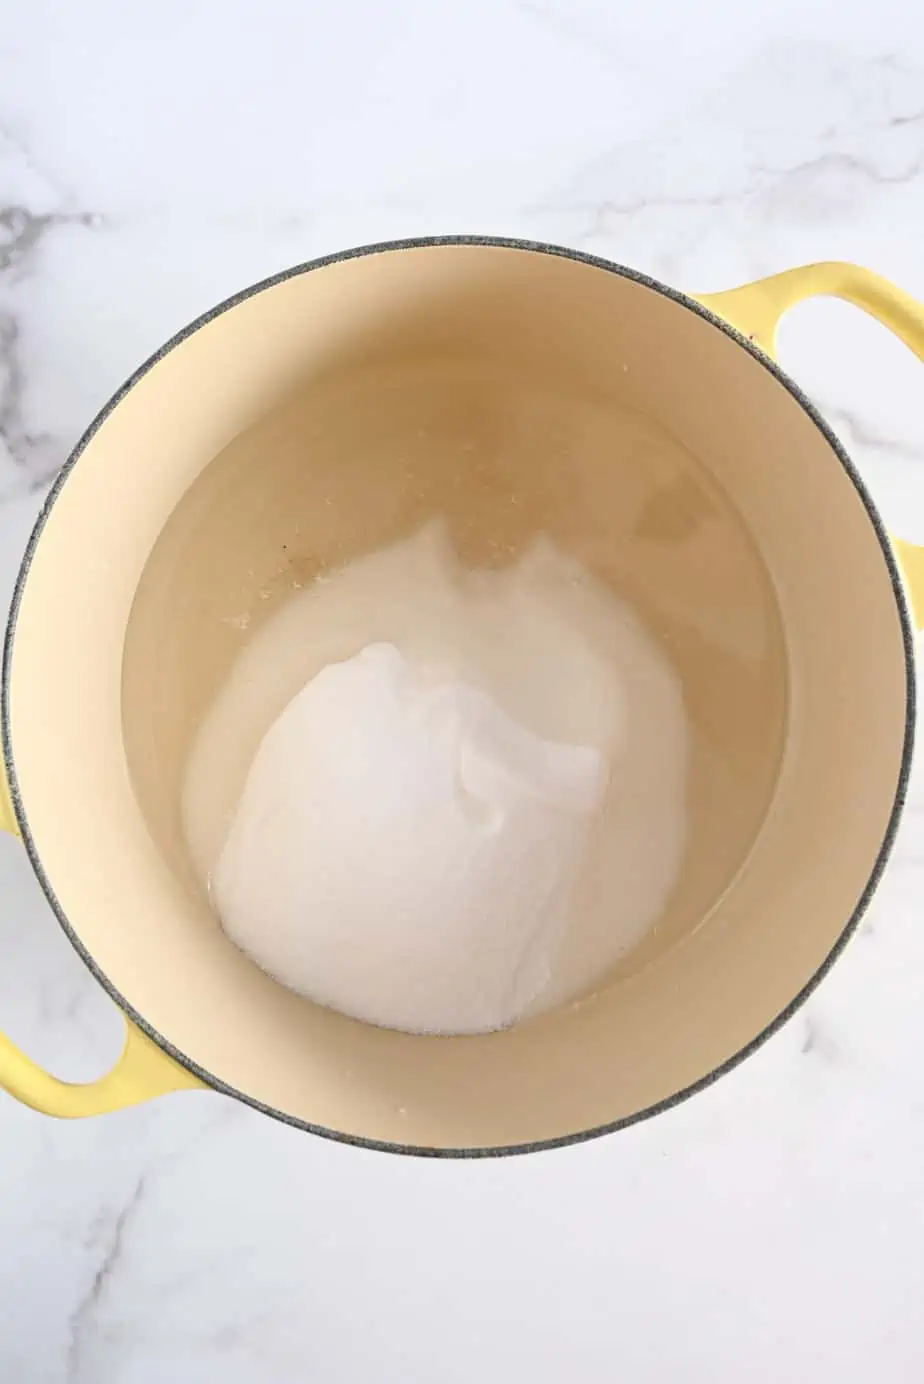
In a large Dutch oven, add the sugar and corn syrup. Bring this to a full boil over medium-high heat, stirring it constantly.
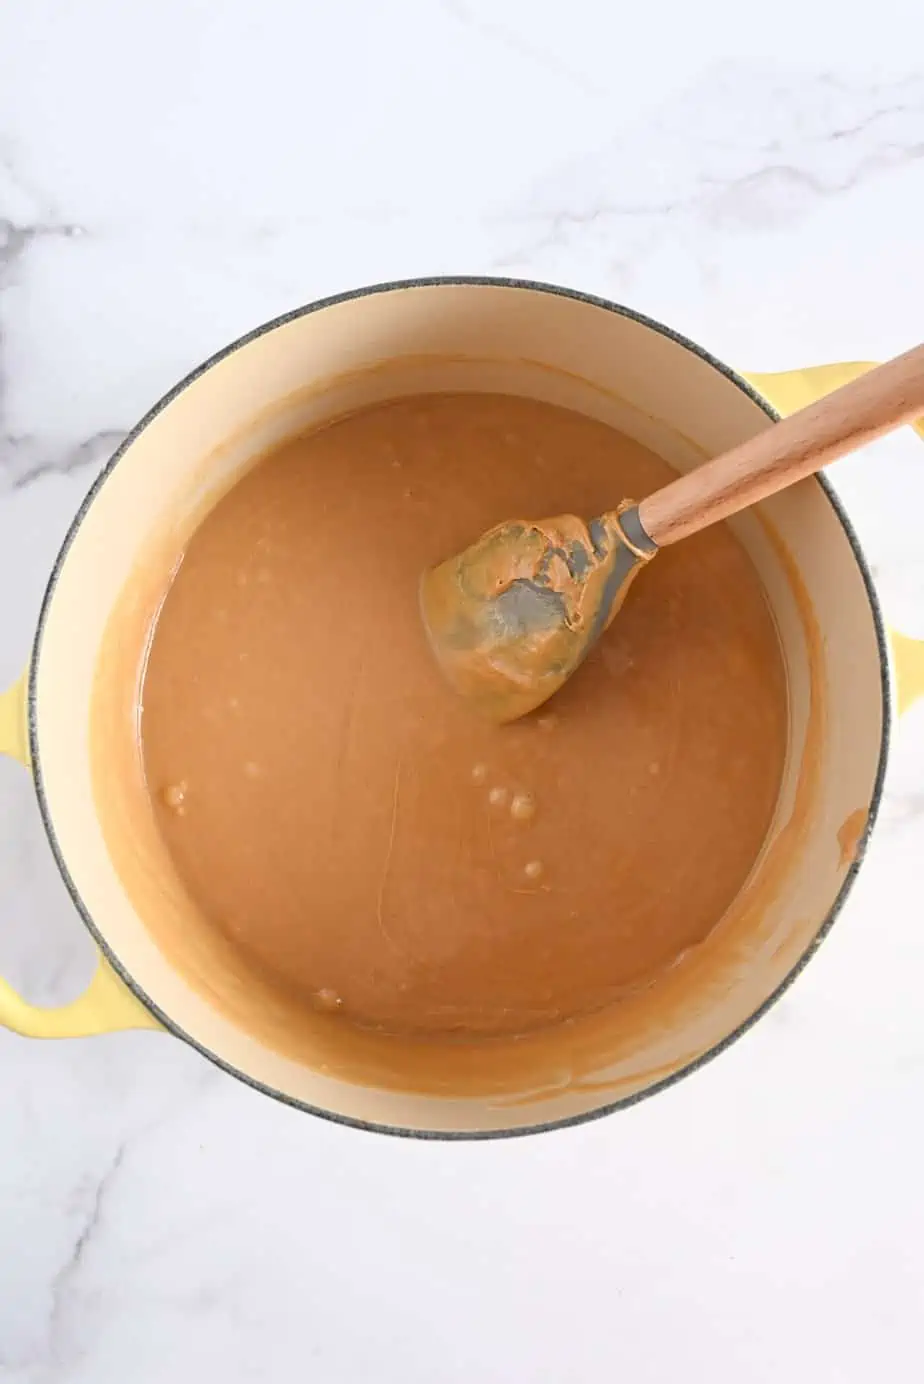
Once this comes to a boil, remove the pan from the heat and add the peanut butter. Stir until the mixture is nice and smooth and the peanut butter is well combined.
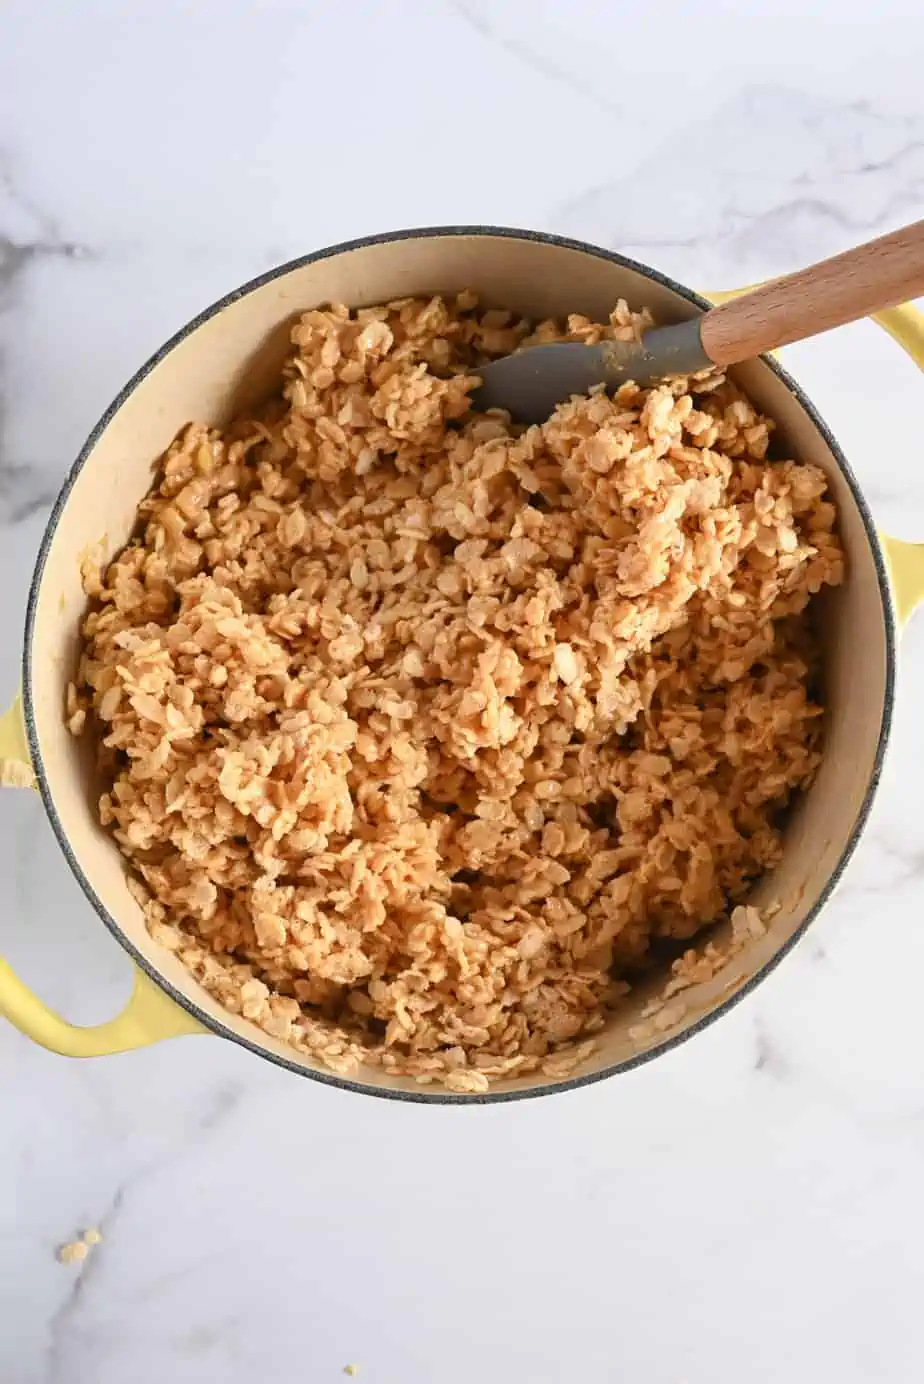
Gradually stir in the cereal until well incorporated. The more cereal you add, the harder it will be to stir, so you’ll get a good arm workout doing this.
Carefully pour the mixture into your prepared pan and press it down with a greased spatula.
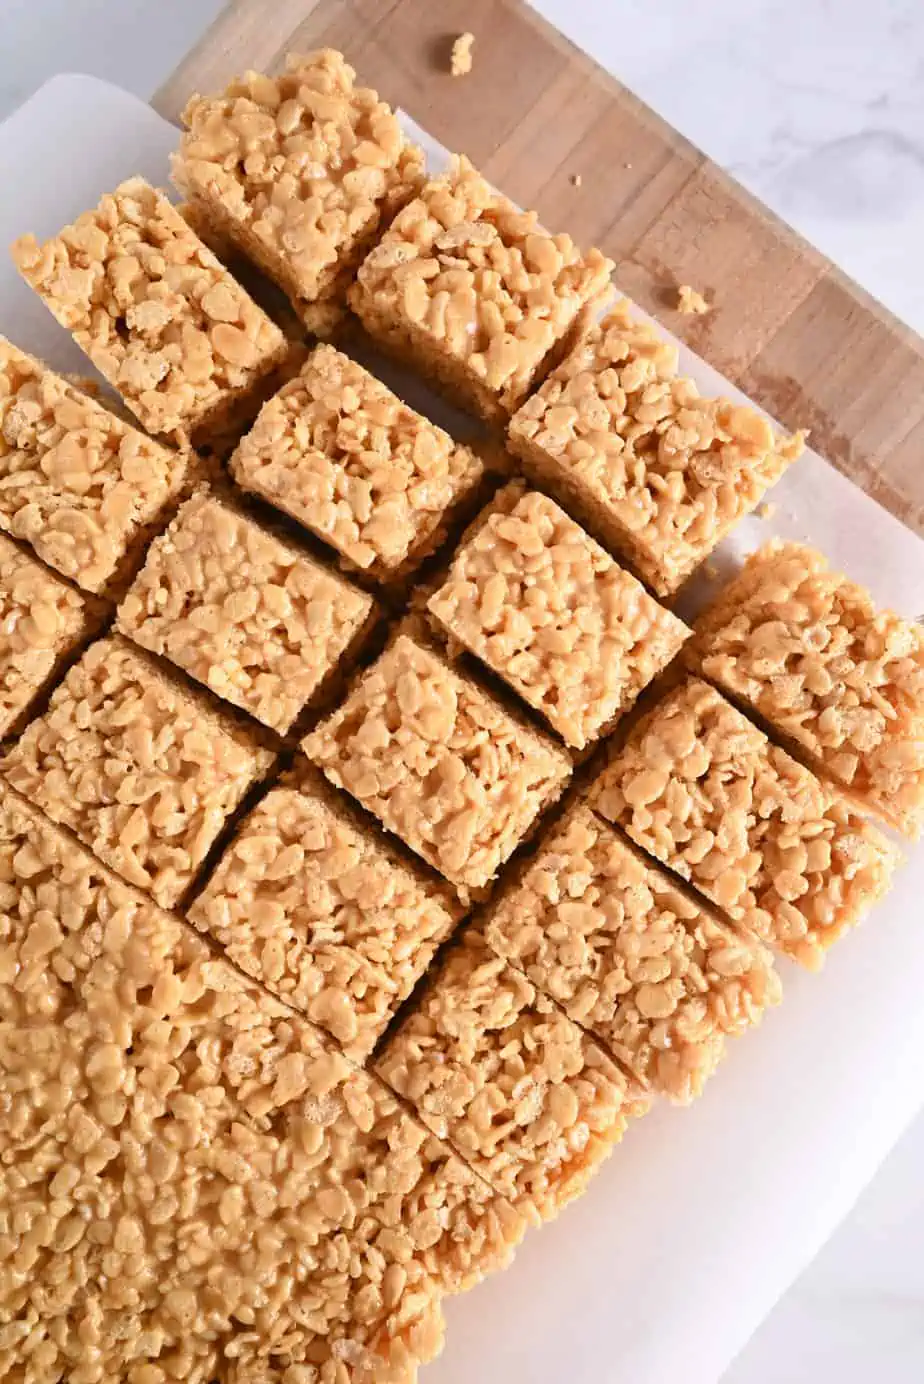
Let the bars cool completely before cutting and serving. Cooling will take at least an hour.
STORAGE TIPS
When slicing the bars, I like to spray a large, sharp knife with cooking spray before cutting. This will help the bars cut more cleanly.
Store the bars in airtight containers for up to a week. I do not recommend freezing these.
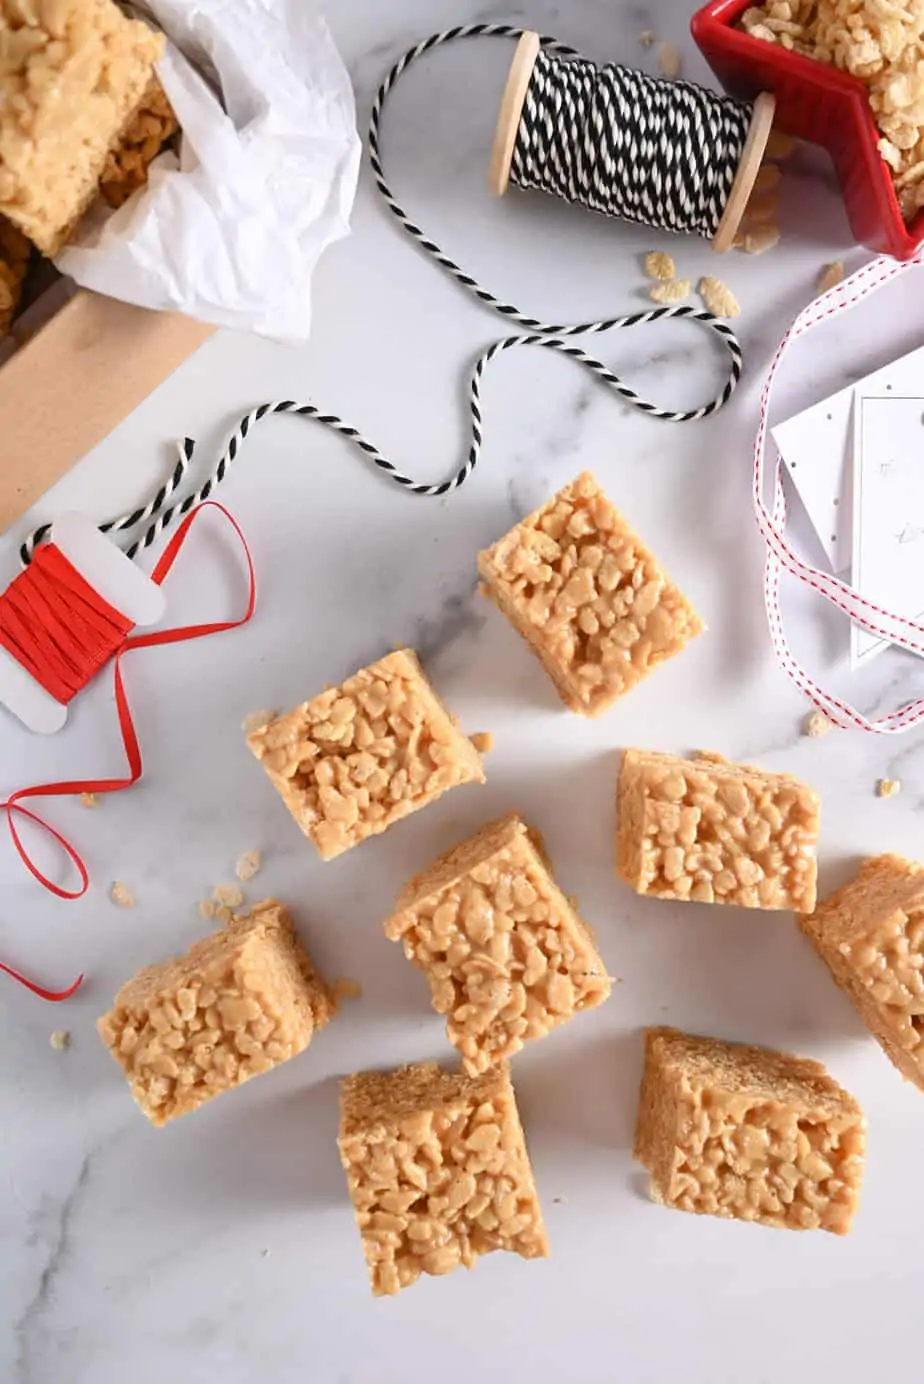
Because these peanut butter rice krispie bars last so long and hold up well, they are perfect for shipping in a care package! Package them up in some cute holiday cookie tins for some special happy mail for your loved ones.
Peanut Butter Rice Krispie Bars
Equipment
Ingredients
- 2 cups granulated sugar
- 1 bottle light corn syrup 16 ounces
- 1 jar creamy peanut butter 16.3 ounces
- 1 box Rice Krispies cereal 13 ounces
Instructions
- Spray a 13×9-inch baking pan with nonstick spray and line with parchment paper. Set aside.
- In a large pot or Dutch oven, combine the sugar and corn syrup. Bring to a full boil over medium-high heat, stirring constantly.
- As soon as the mixture comes to a boil, remove from the heat and add the peanut butter, stirring until smooth and well combined.
- Gradually fold in the Rice Krispies until well coated. Carefully pour into the prepared pan and press down with a greased spatula.
- Let cool completely (about 1 hour) before cutting and serving.

