
Paska, also known as Ukrainian Easter Bread, is a sweet, rich bread that hails from Eastern Europe. Learn more about this traditional bread recipe and Ukrainian traditions that surround it!
For me, this website has always been about sharing the memories that we make around food. There are no stronger memories than the ones that come from recipes that have been passed down through generations.
We’re talking recipes like my great-grandmother’s angel food cake, my great-great-great-grandmother’s Southern fruitcake, or the brown sugar fudge that came from my friend Kathleen’s grandmother.
When one of my Instagram friends reached out and asked me if I’d like to try one of her family’s traditional Ukrainian recipes, I jumped at the chance to share this recipe with you.
Read on to learn more about this Paska recipe from my friend Stephanie Malm (Pysanky Steph). This is one you’re absolute gonna want to make for your own family this spring.
What is Paska?
What better way to learn about this traditional Ukrainian recipe than from a third-generation Ukrainian-American? My friend Stephanie shares a bit about the importance of this bread below:
I, Stephanie (aka PysankySteph), am a 3rd generation Ukrainian-American. My grandfather grew up in Ukraine and we still have family there.
Many have kept the Ukrainian traditions going in the diaspora, including pysanky (Ukrainian Easter eggs) and, of course, through food.
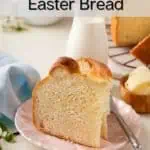
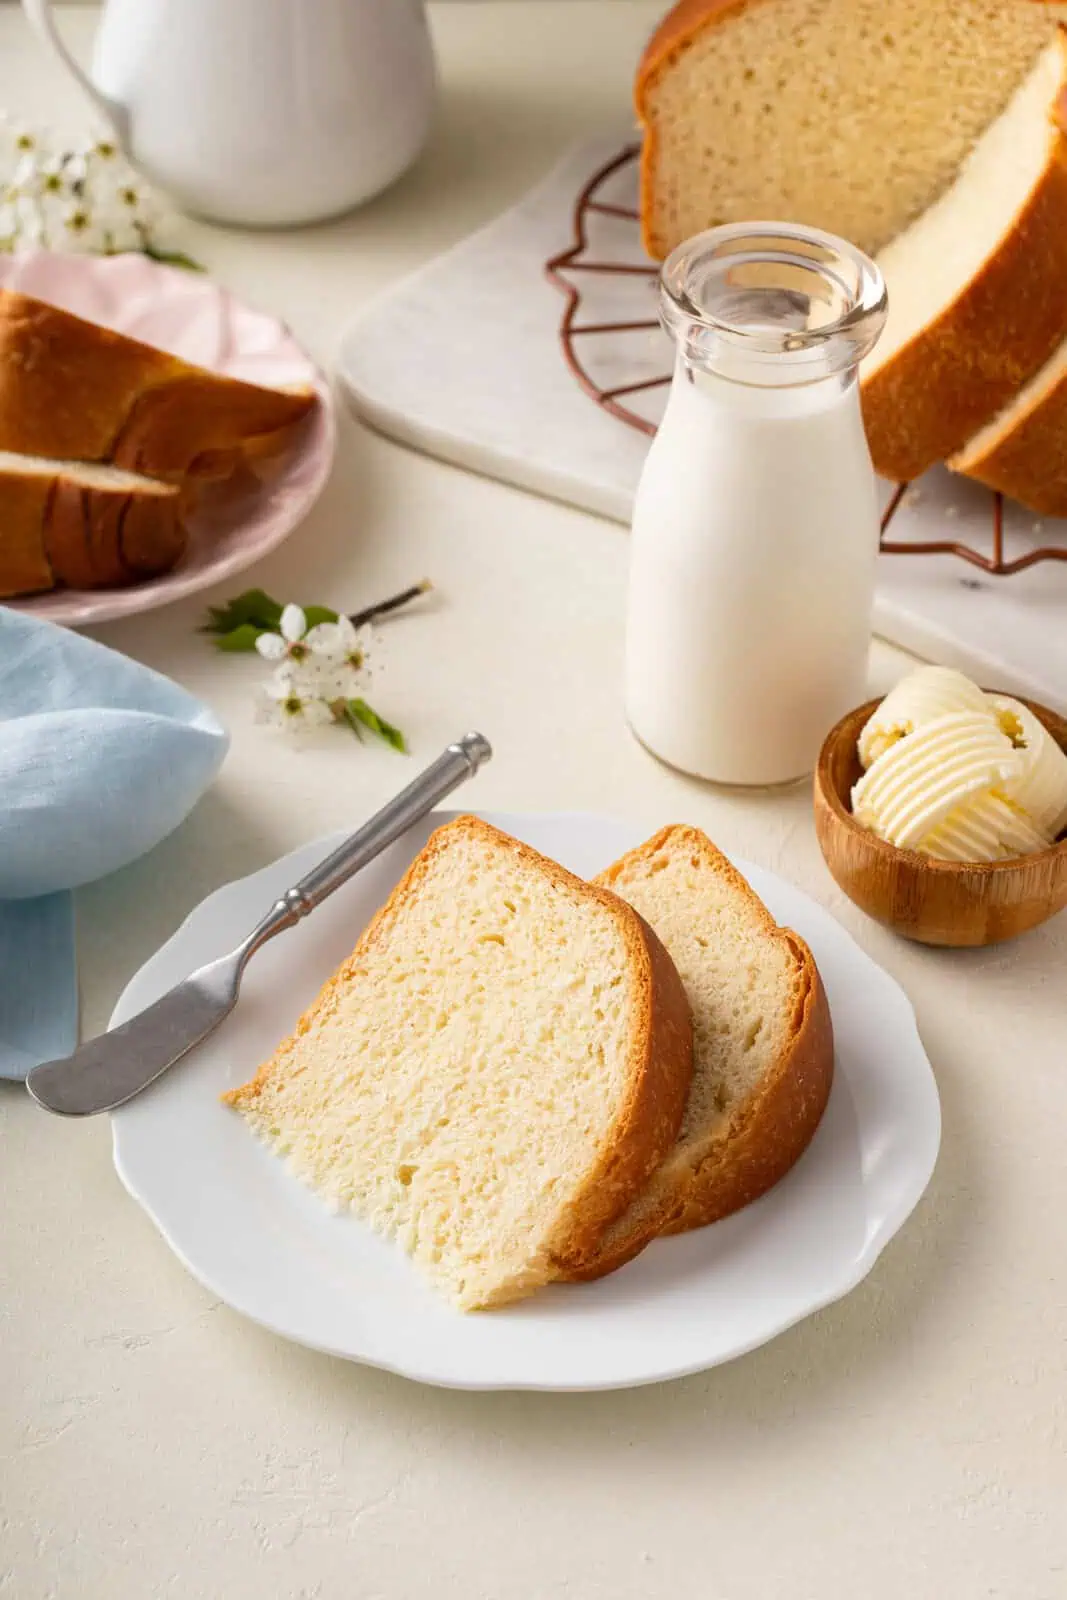
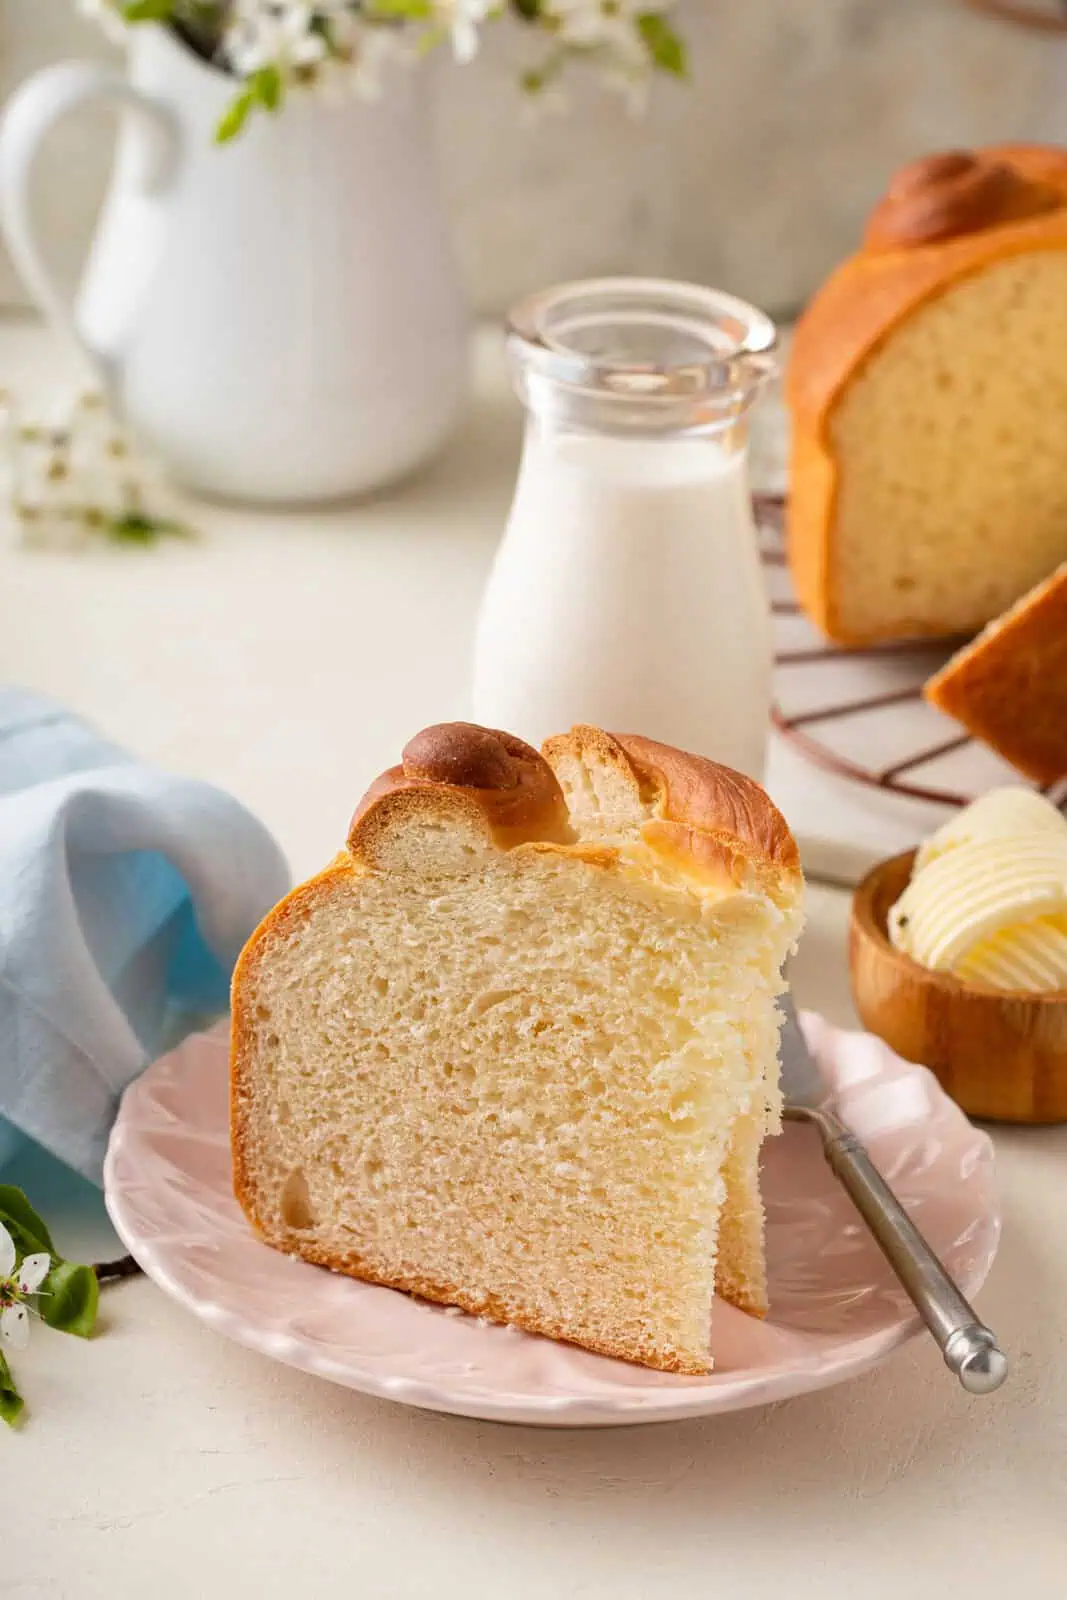
Paska, which means Easter, is a traditional Ukrainian bread that is decorated and pleasantly sweet, a bit crumbly, and best enjoyed fresh with cream cheese or butter.
The name implies that it is for Easter, when it is taken in the Easter basket along with other foods to be blessed and enjoyed for the celebratory meal. This bread is so good though, many make it at other times of the year for celebrations.
During the USSR rule, Ukrainian language and culture were discouraged or banned entirely, especially if the Soviets deemed the folk art religious or Ukrainian nationalist in any way.
Many traditions were kept alive by those who did not live in Ukraine, and have been gaining strength within its borders again after the fall of the Soviet Union. This is a huge part of why keeping the culture alive is so important.
Stephanie’s Paska recipe
This incredible Ukrainian bread recipe comes from Stephanie and has been tweaked over the years with the help of her family.
Like so many of the recipes that have been passed down through my own family, it turns out that Stephanie’s family never strictly wrote down their Paska recipe anywhere.
Over the years, they took a couple of versions and combined them to create the Paska recipe that Stephanie makes now.
As you’ll often find with recipes like this one, there is no one way to make Paska. Some families add raisins, some bake it into one very tall loaf (reminiscent of panettone), some add an egg wash…you get the idea.
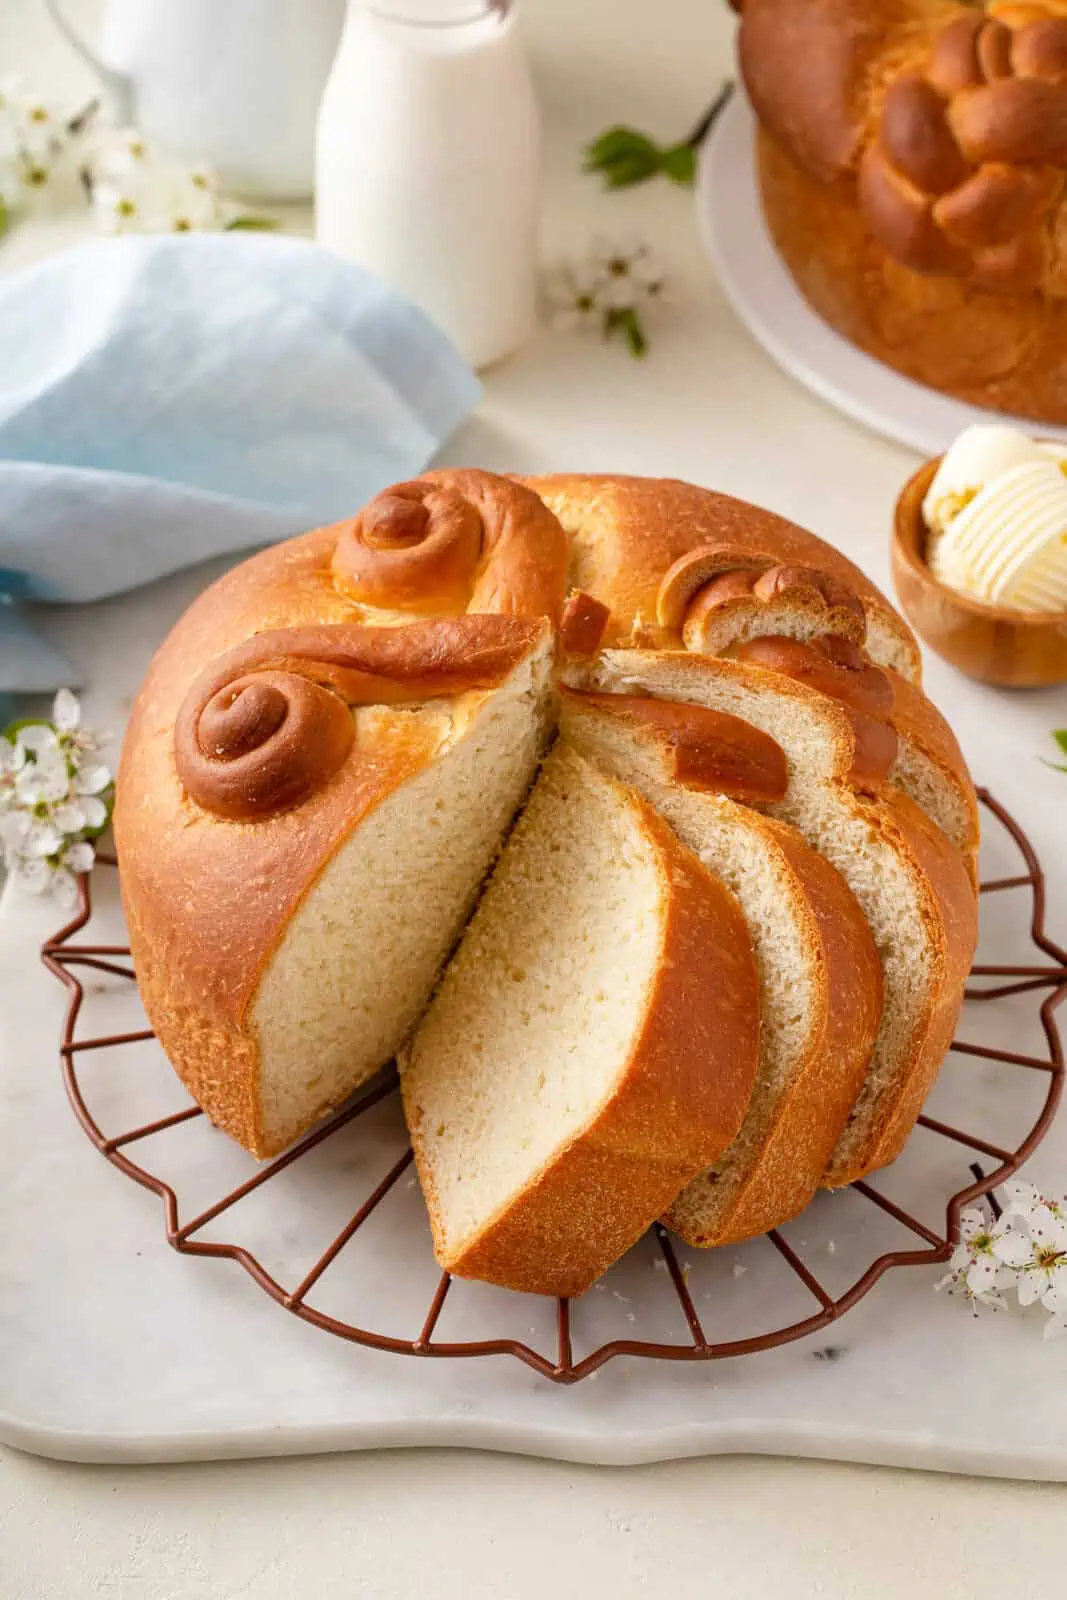
While Stephanie’s version is just one way to make Paska, the rich, sweet, buttery texture of this bread is one of the hallmarks of this traditional bread. It is incredible on its own or topped, as Stephanie mentioned, with cream cheese or butter.
It would also be amazing baked into overnight french toast. But now I’m just making myself hungry all over again.
How to make Ukrainian Easter bread
If you’re unfamiliar with working with yeast, don’t be intimidated by this recipe. It may seem like there are a lot of steps, but they’re ultimately pretty simple!
Paska ingredients
For full measurements and step-by-step instructions, scroll down to the printable recipe card.
A rich, beautiful bread like this may seem fancy, but the ingredients are incredibly simple:
- Active dry yeast (check the package to make sure you’re getting active dry yeast and not instant yeast for this recipe!)
- Warm water
- Granulated sugar
- Whole milk
- Unsalted butter
- Large eggs
- Fine sea salt
- All-purpose flour

The milk, butter, and eggs in this recipe make this an enriched bread dough. This just means that it has a higher amount of fat, sugar, and dairy than a standard bread dough.
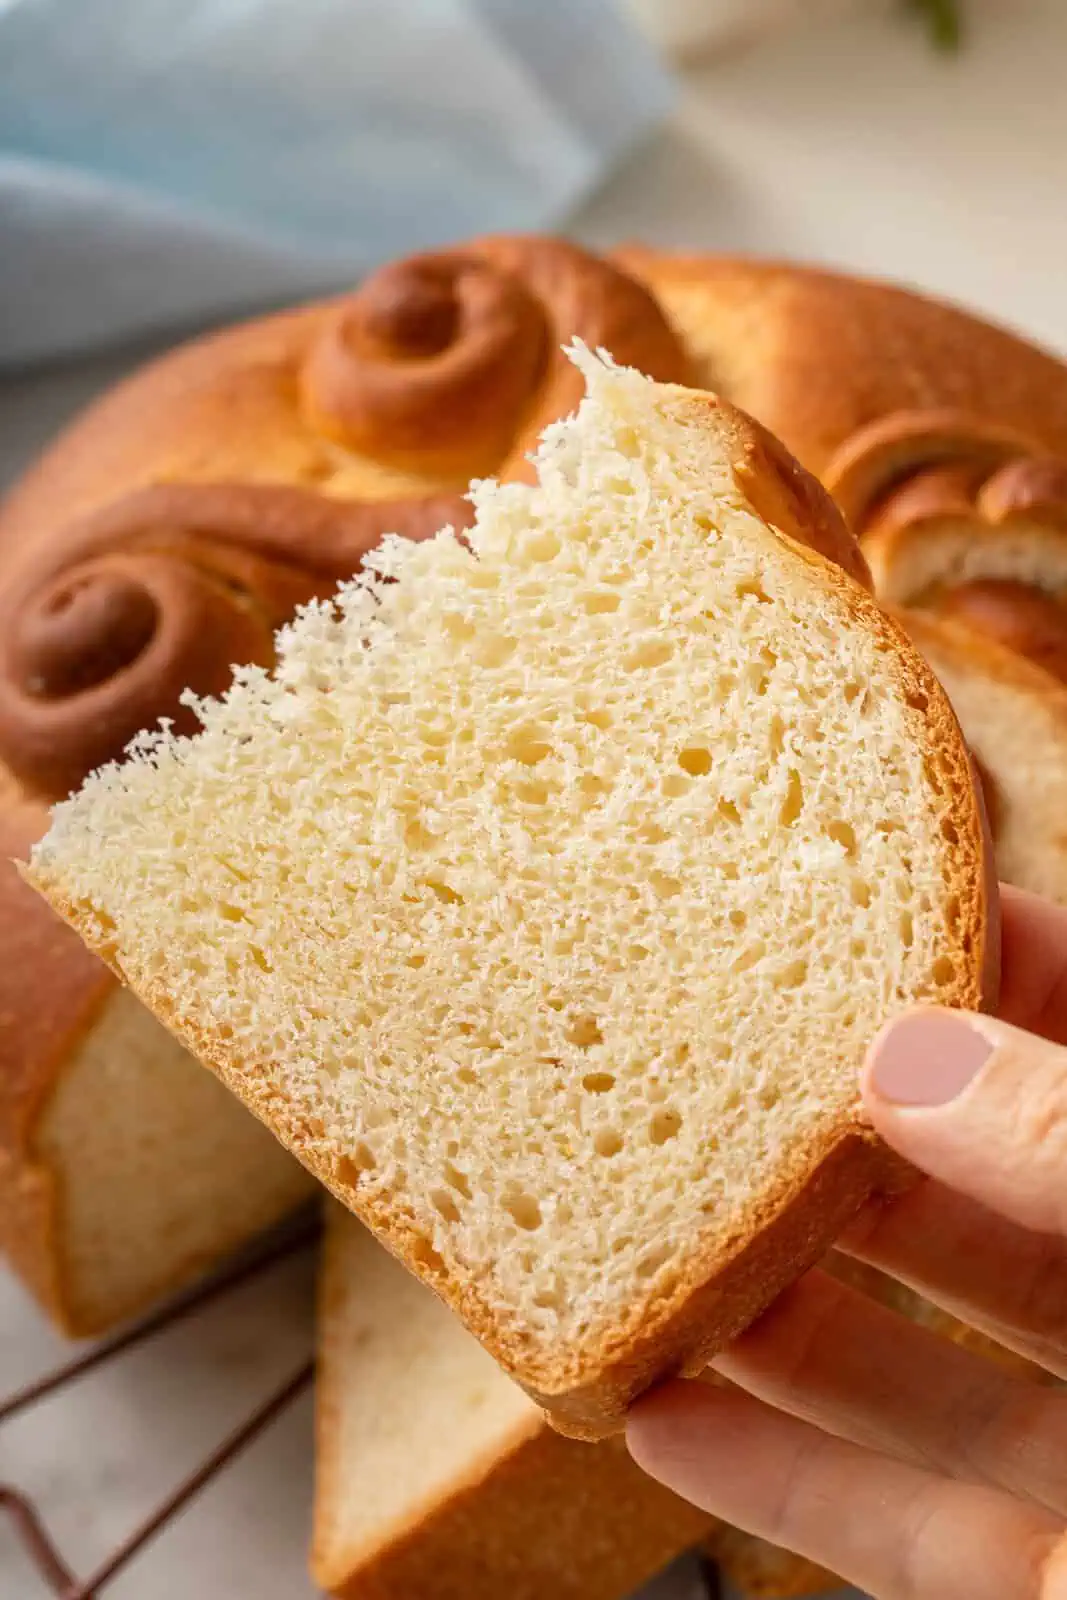
Enriched breads, such as this one, Pan de Muertos, or my Texas Roadhouse Rolls, take a bit longer to rise, but the extra time is well worth it. The crumb is super soft and tender. Not to mention how delicious they are!
Tools you’ll need
Aside from mixing bowls and measuring cups, you may want to use a stand mixer for this recipe. If you don’t have one, you can easily mix this dough together by hand with a wooden spoon or silicone spatula.
You will also need two 9×2-inch round cake pans or two 10×4.5-inch loaf pans (or one of each) for baking the bread. If you don’t have a regular cake pan, a 9-inch springform pan would also work great.
Making the dough
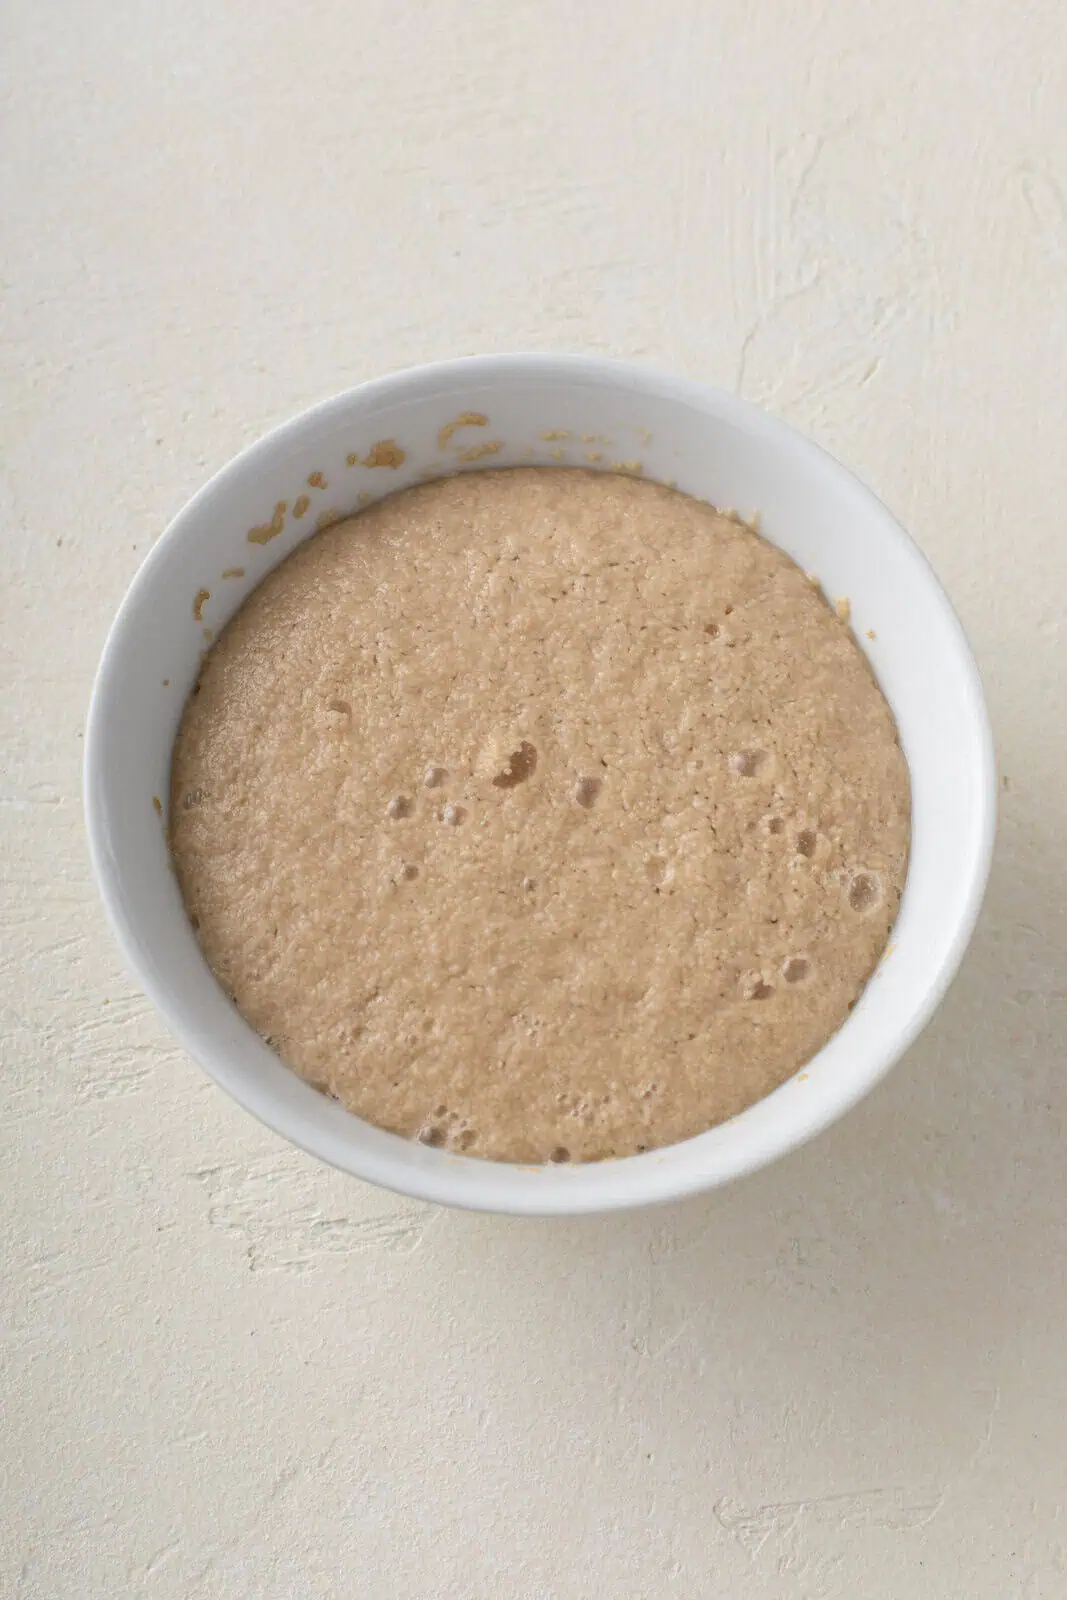
Now for the fun part! Start by blooming your yeast – mix the yeast, warm water, and 2 teaspoons of the sugar in a measuring cup or small bowl. As this sits, the yeast will activate and become foamy on top.
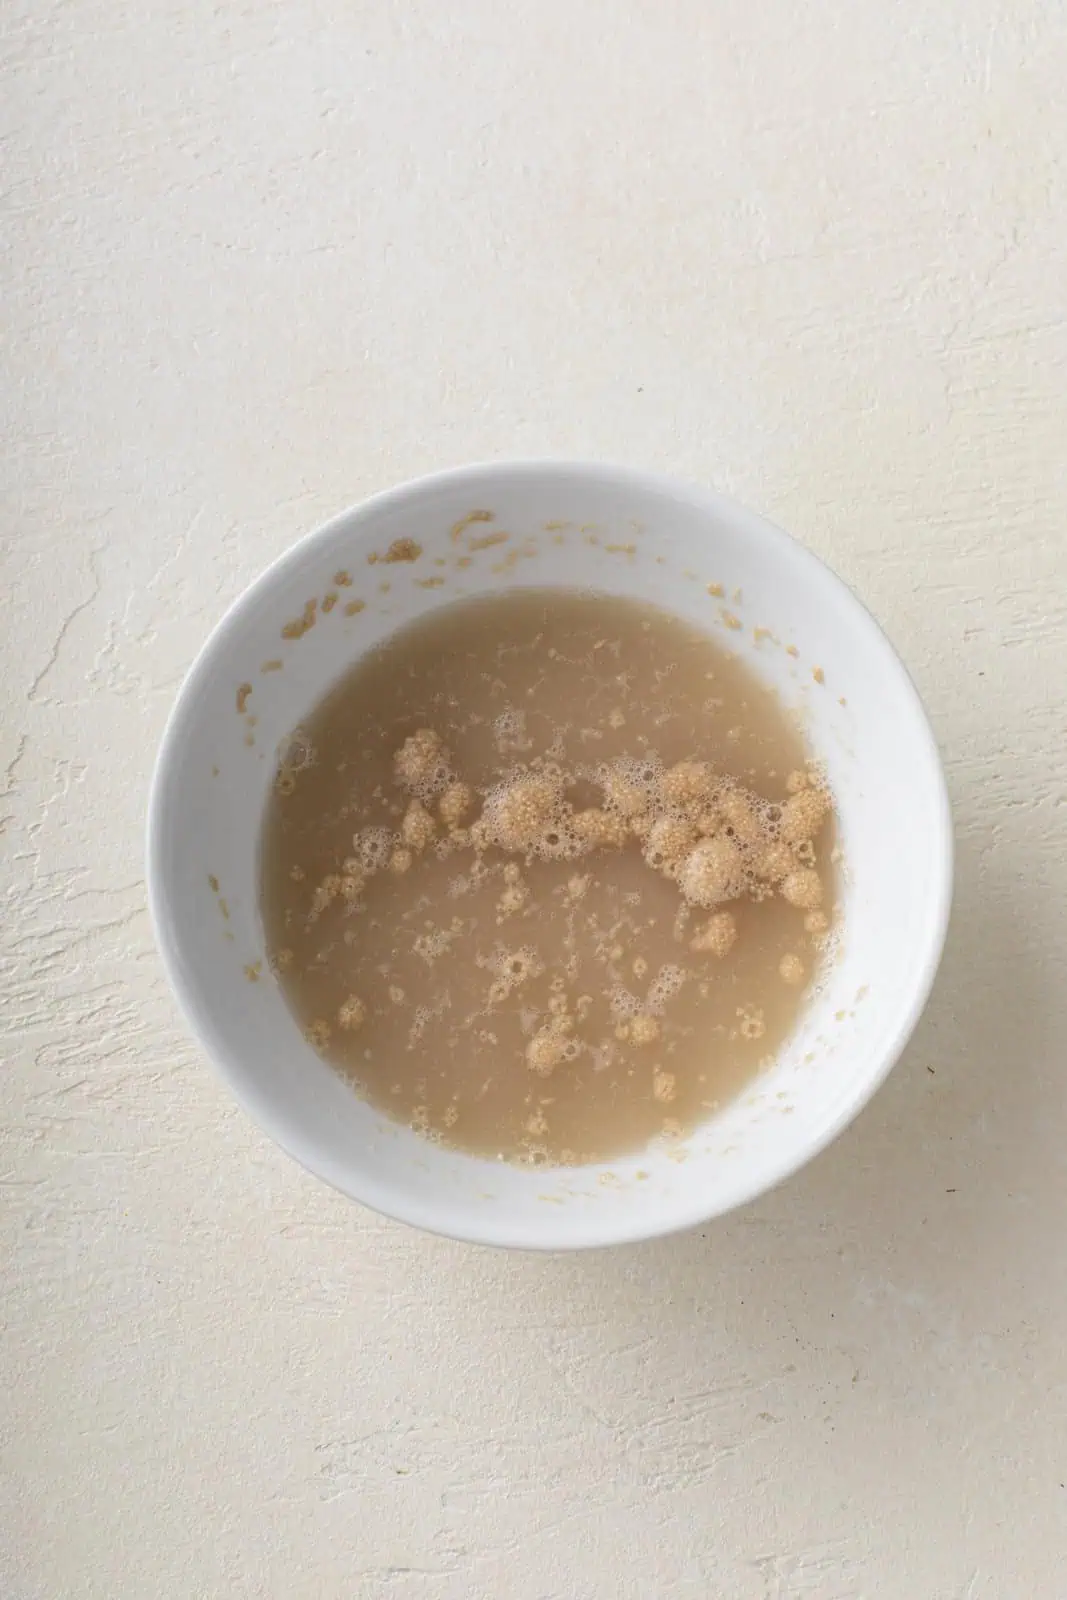
(If your yeast doesn’t activate, that means you need to go buy some new yeast and try again!)
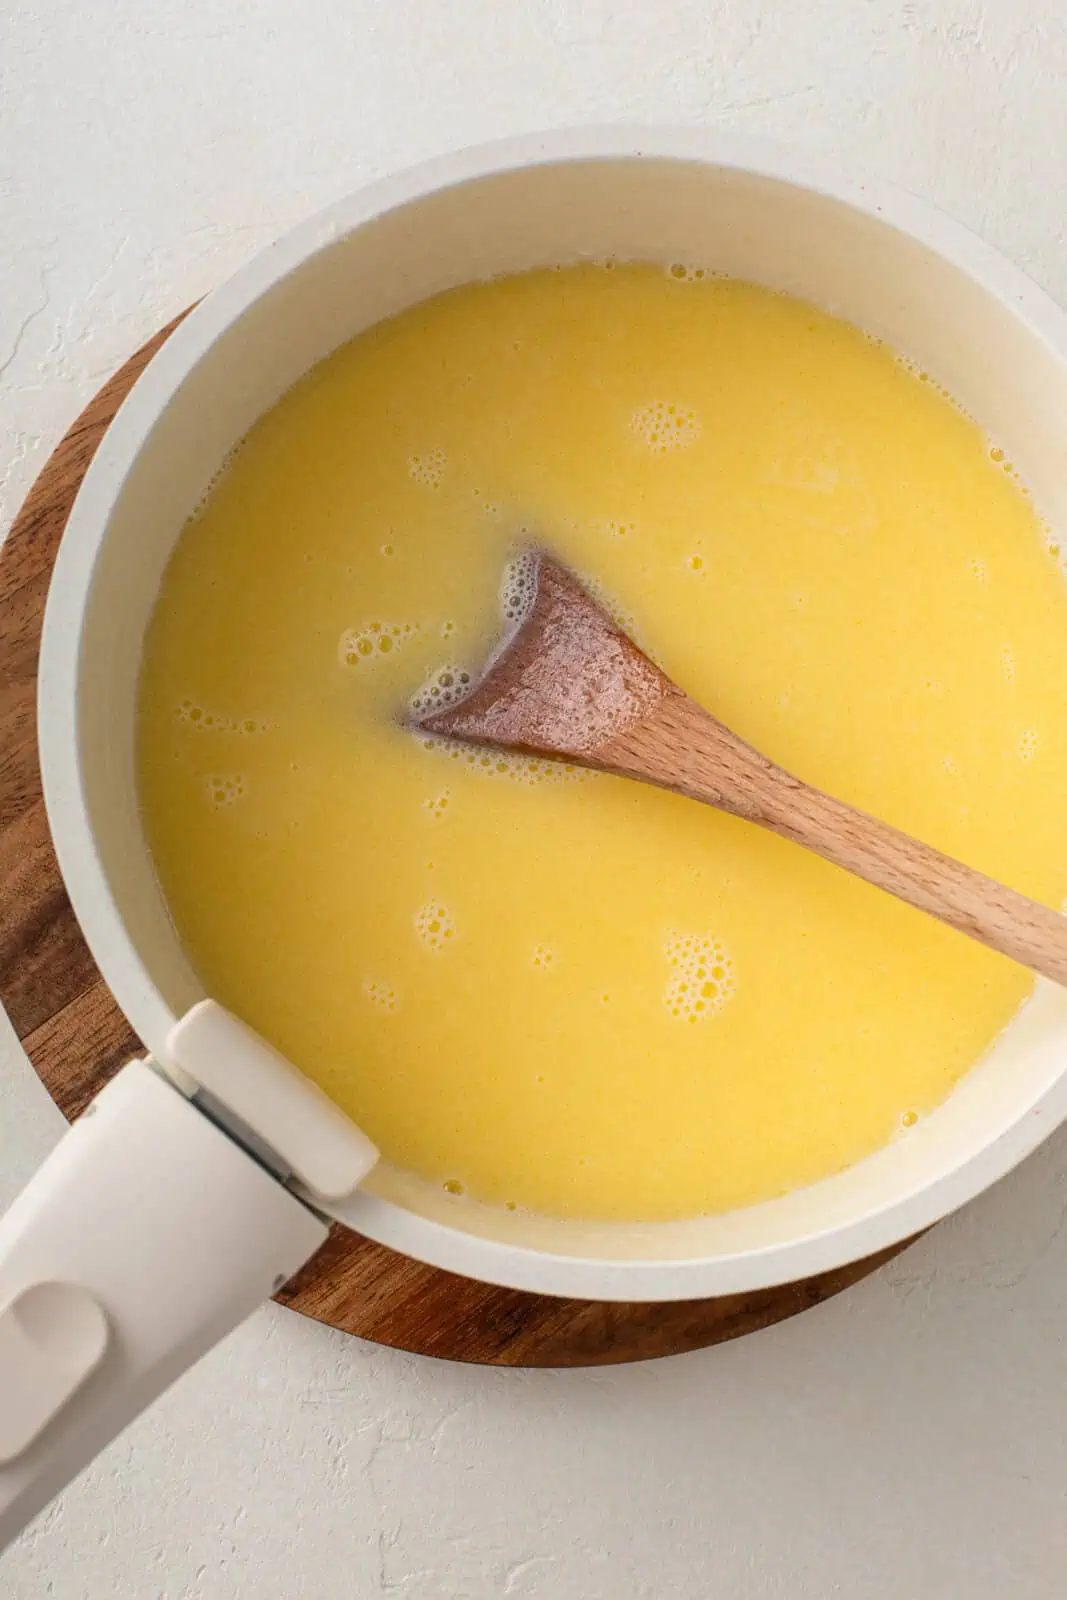
Next, we’ll scald the milk. This just means we are heating the milk in a saucepan until bubbles form around the edges and the milk is steaming. Don’t let it come to a boil!
Once the milk is hot, stir in the butter until it’s melted and let the mixture cool until the milk is about the same temperature as the water you used to bloom the yeast. This will probably take 10-15 minutes.
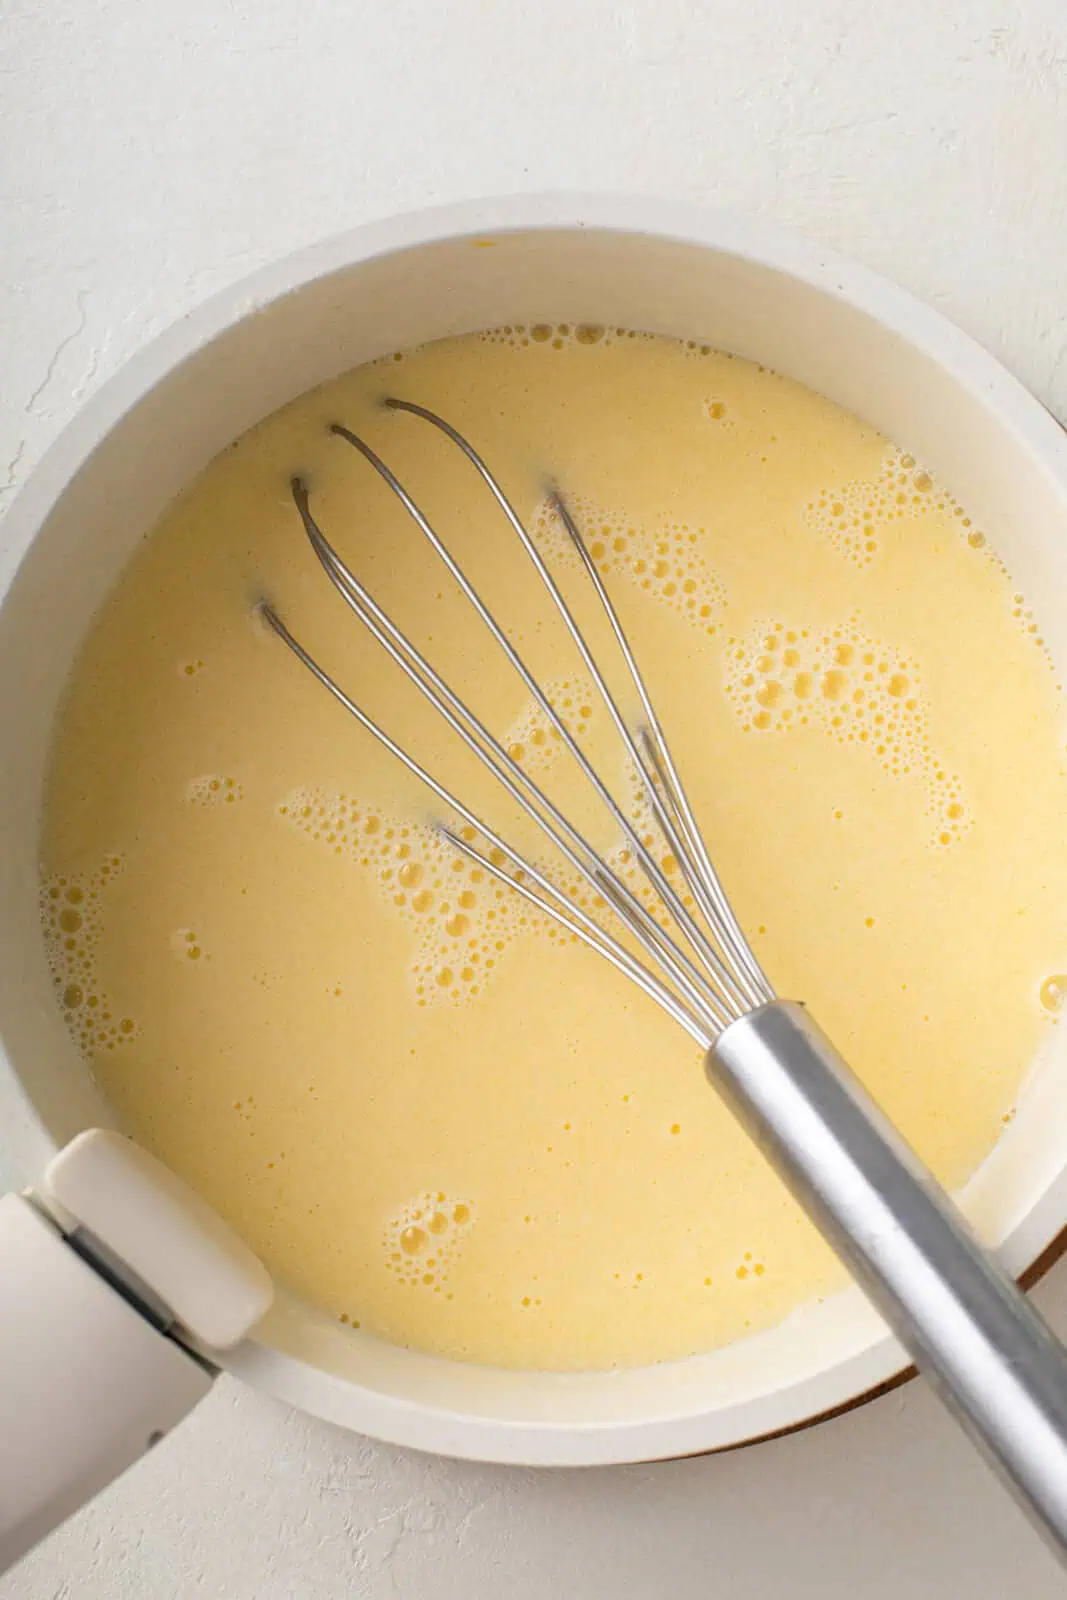
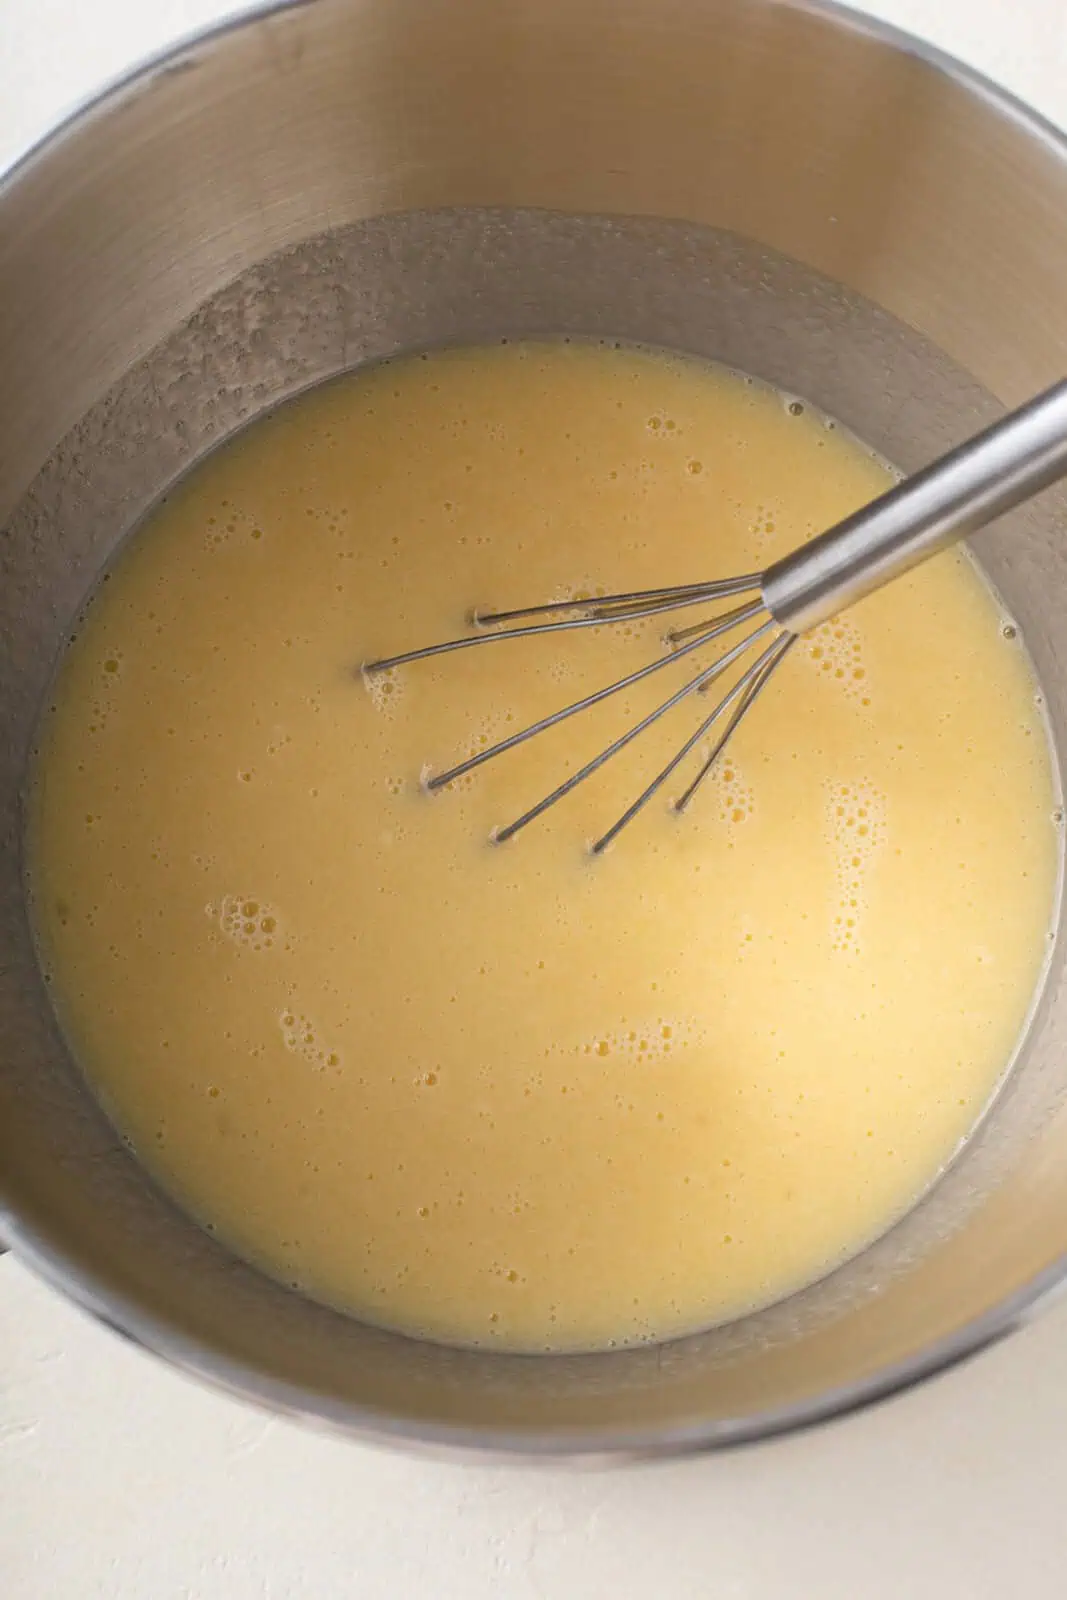
Whisk the eggs into the cooled milk mixture, then add this plus the bloomed yeast mixture to a large bowl with the sugar and salt.
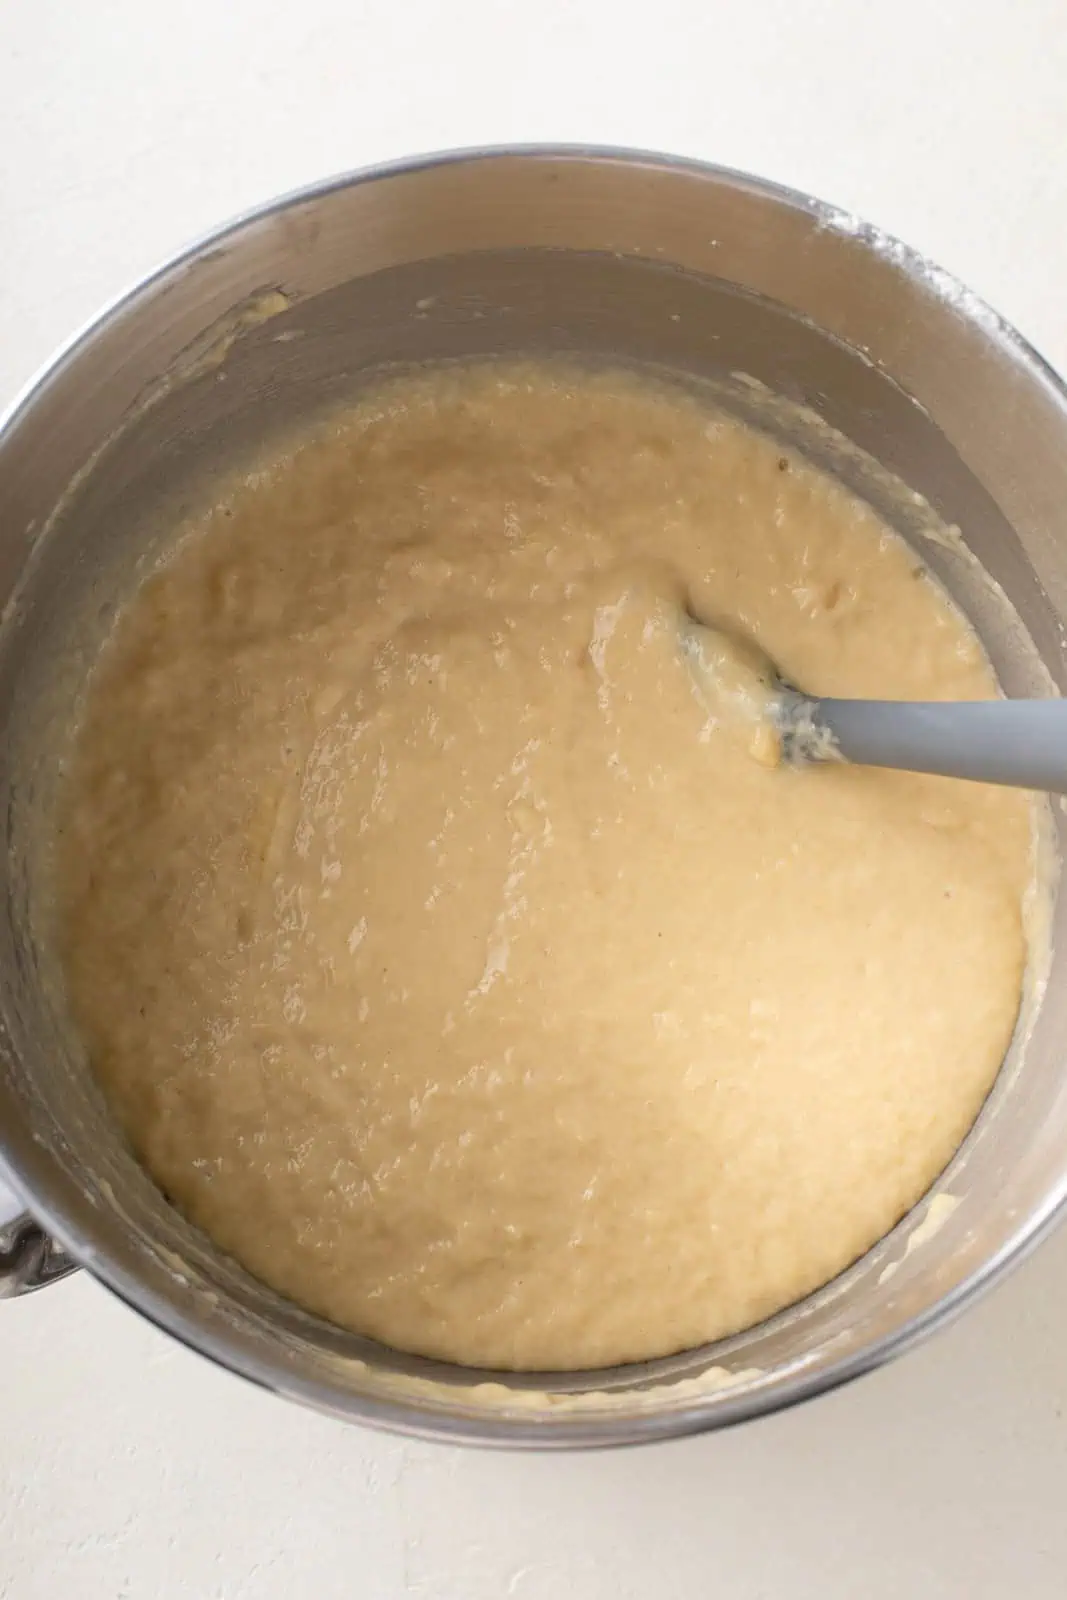
Slowly add 6 cups of the flour, scraping the sides of the bowl as needed. We ultimately are looking for a very soft, very sticky, but workable dough – add as much of the remaining 2 cups of flour as needed to get there.
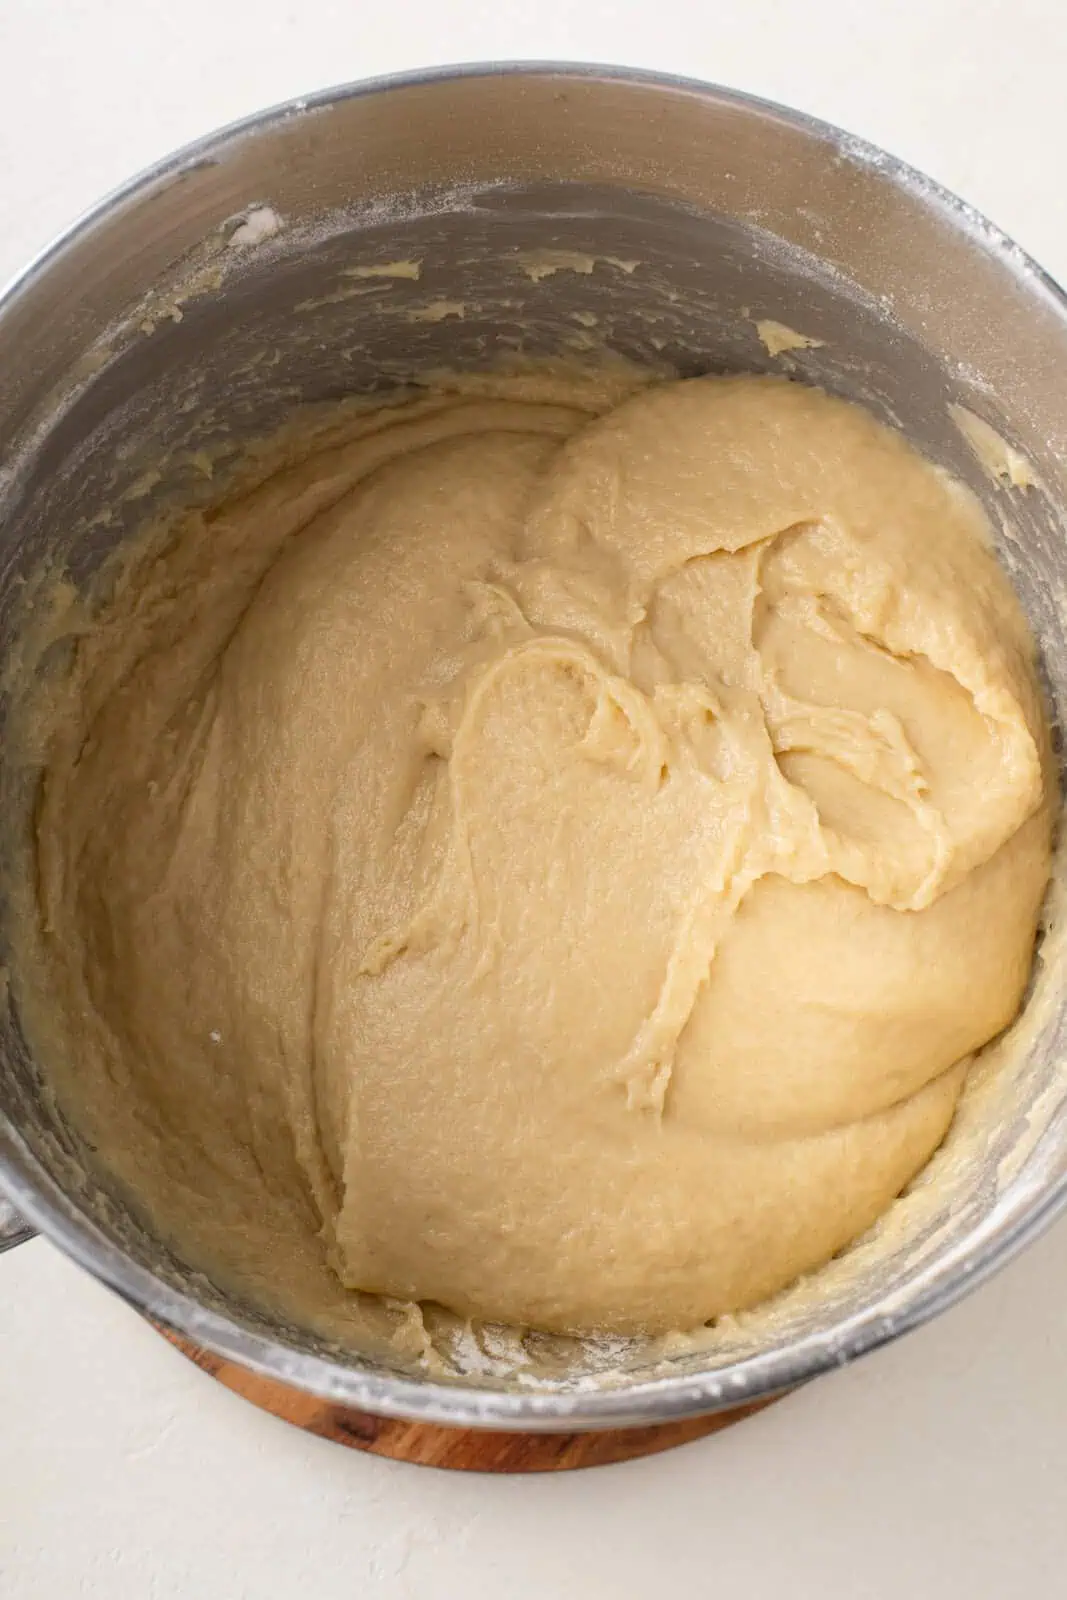
Generously flour a work surface and turn out the dough onto it. Knead the dough until it is smooth but still slightly sticky. Knead in more flour if you need to.
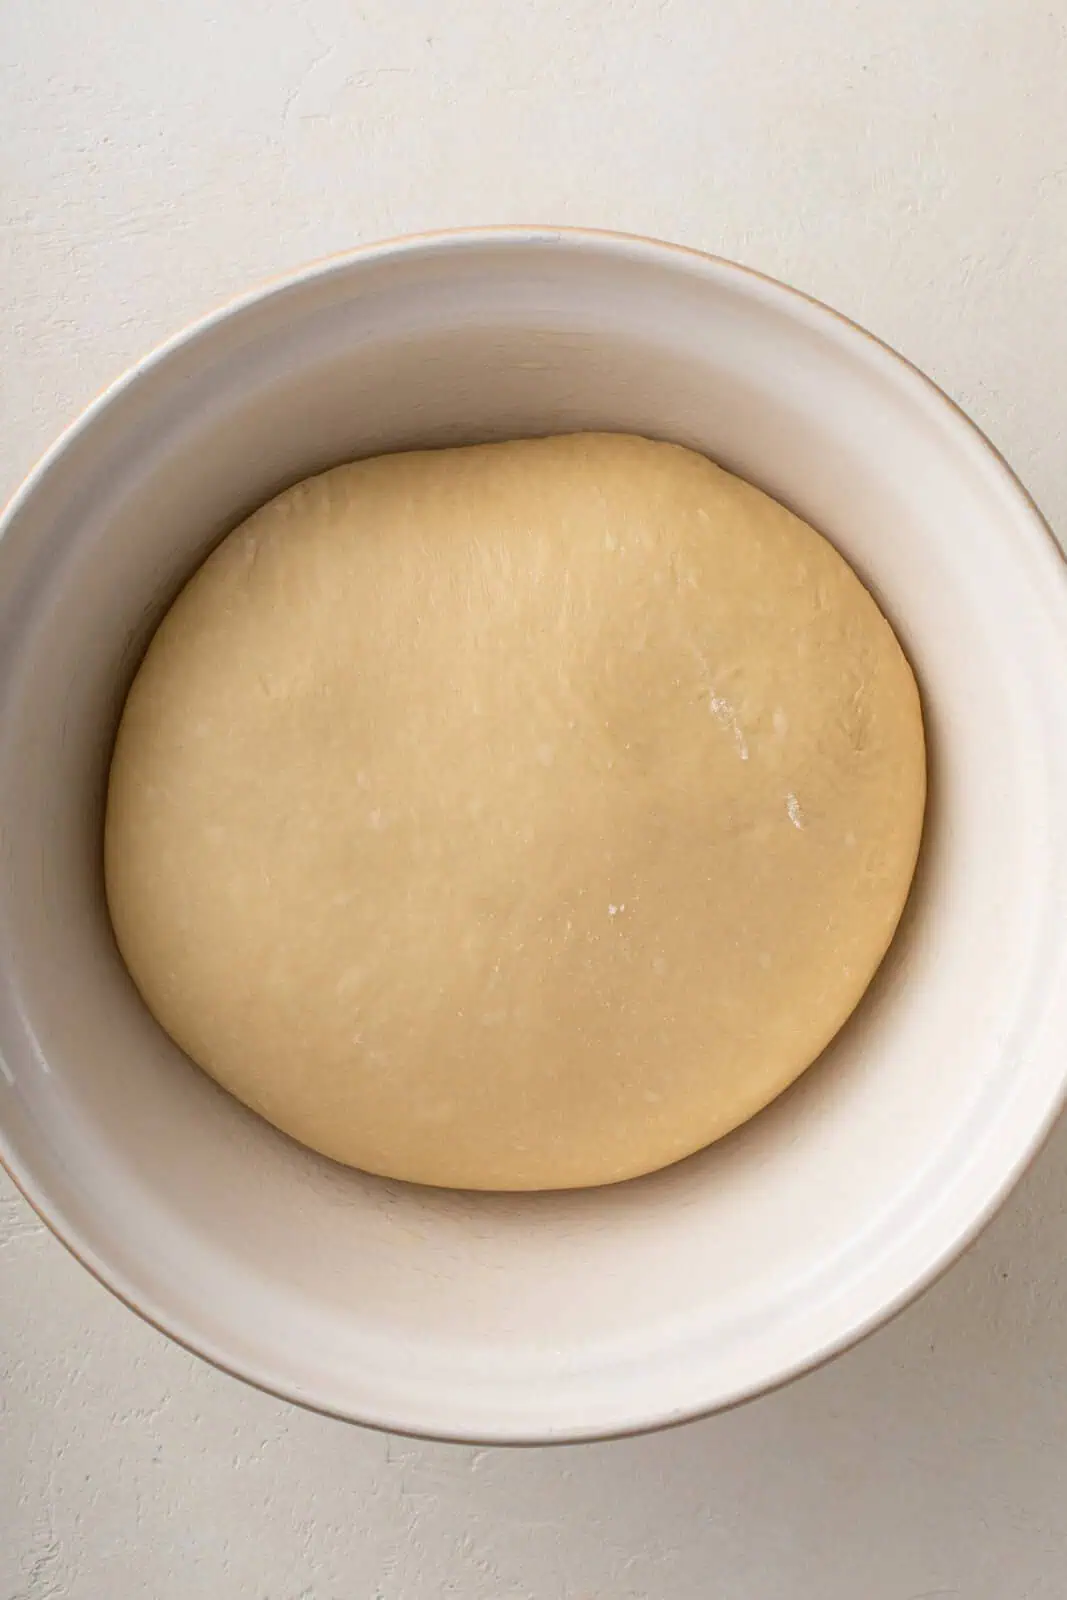
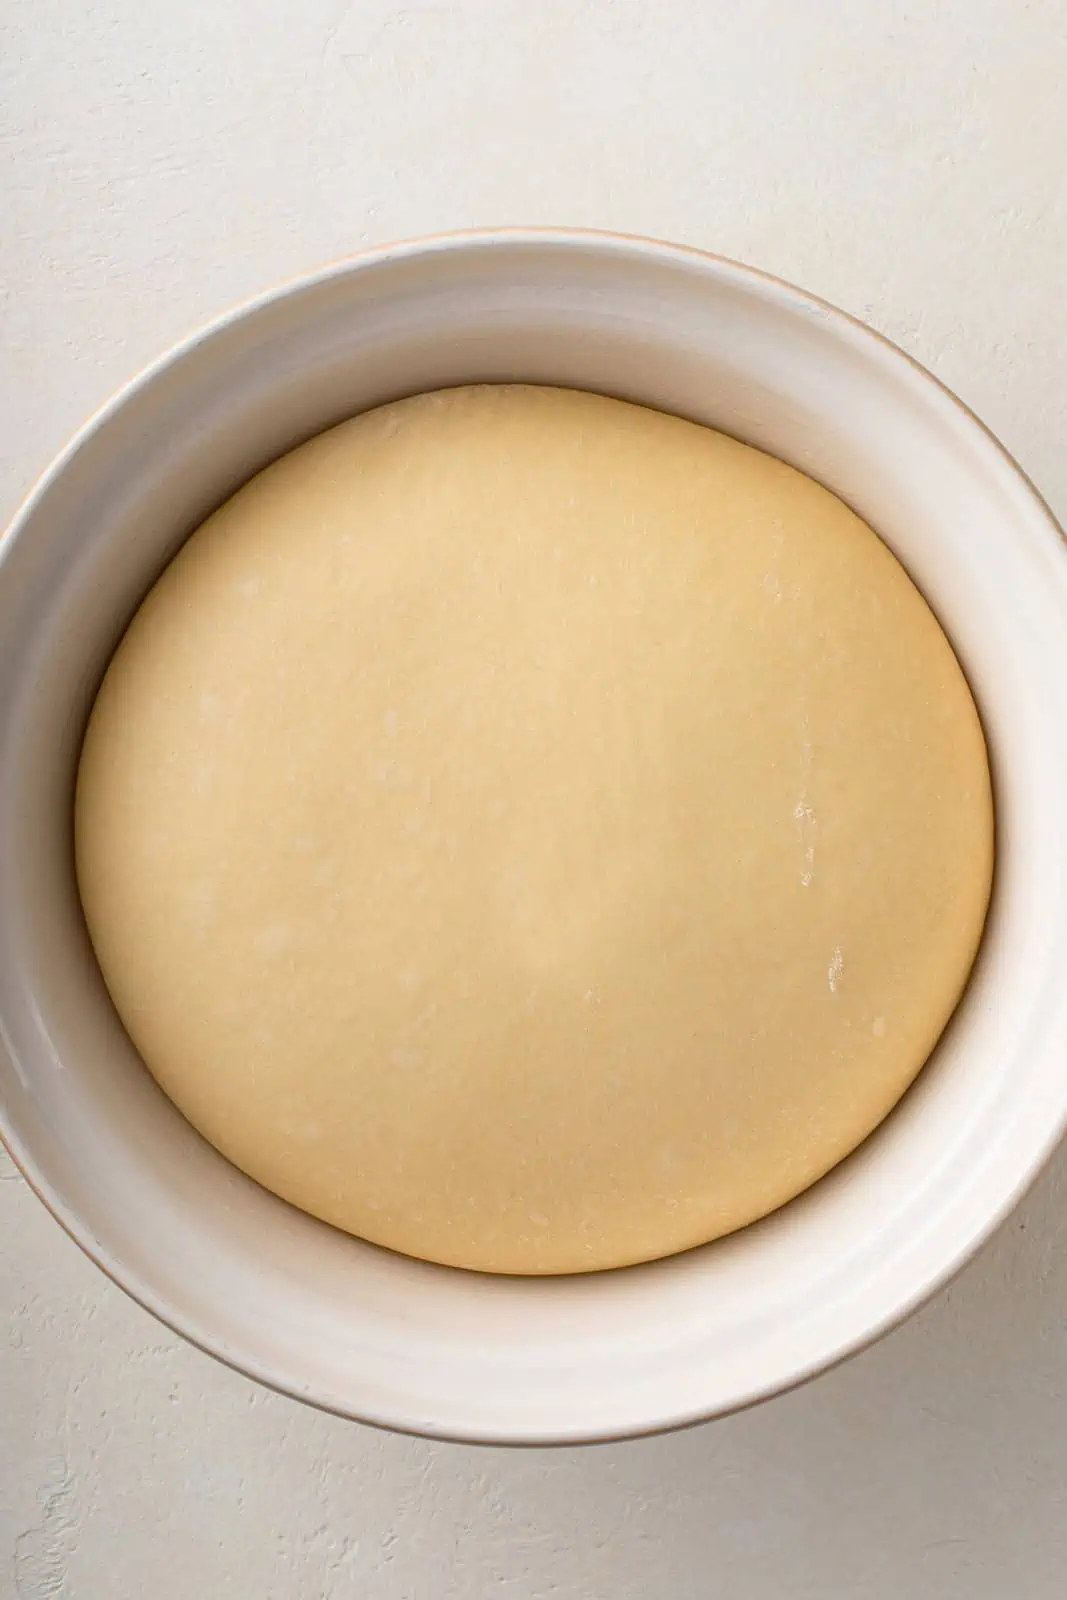
Pop the dough into a greased bowl and cover it with plastic wrap or a damp towel to prevent it from drying out on top. Let it rise for about an hour, until it has doubled in size.
Shaping and decorating
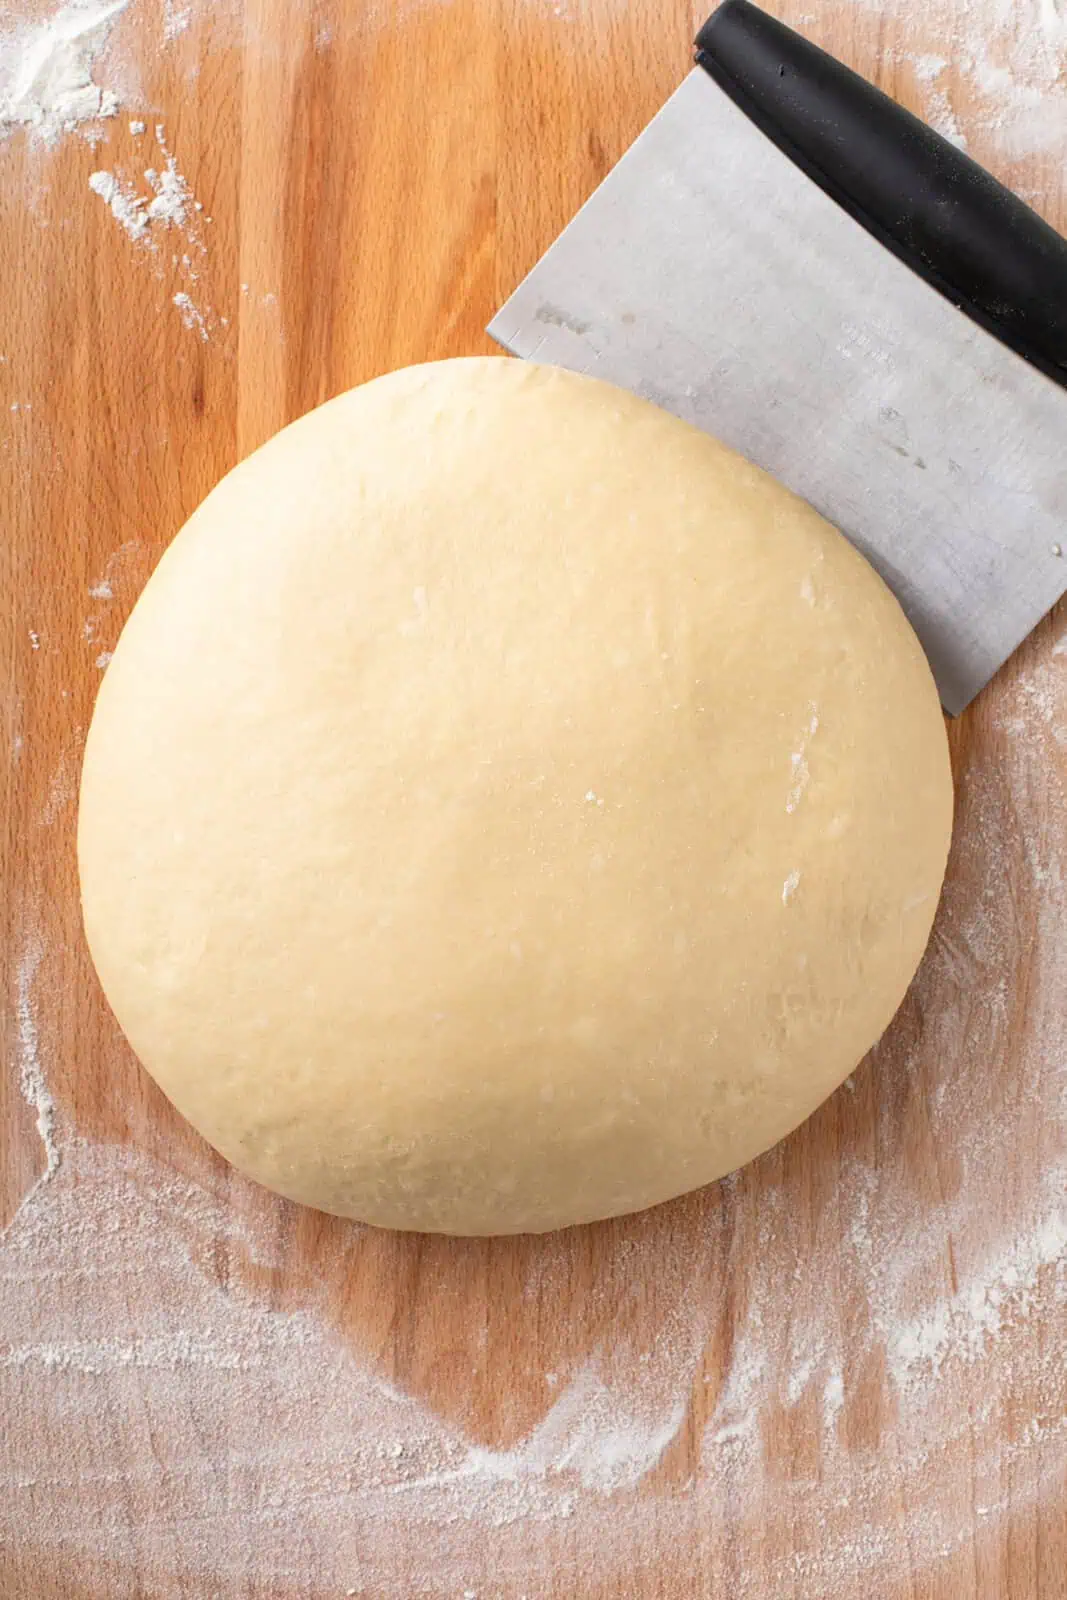
When the dough has risen, turn it out onto a lightly floured surface. Divide off about ¼ to ⅓ of the dough and set this aside for decorations later. Place this piece back in the bowl and cover it again.
Divide the remaining dough in half and shape each portion into a round or loaf shape, depending on if you’re cake or loaf pans. Place them in the greased pans.
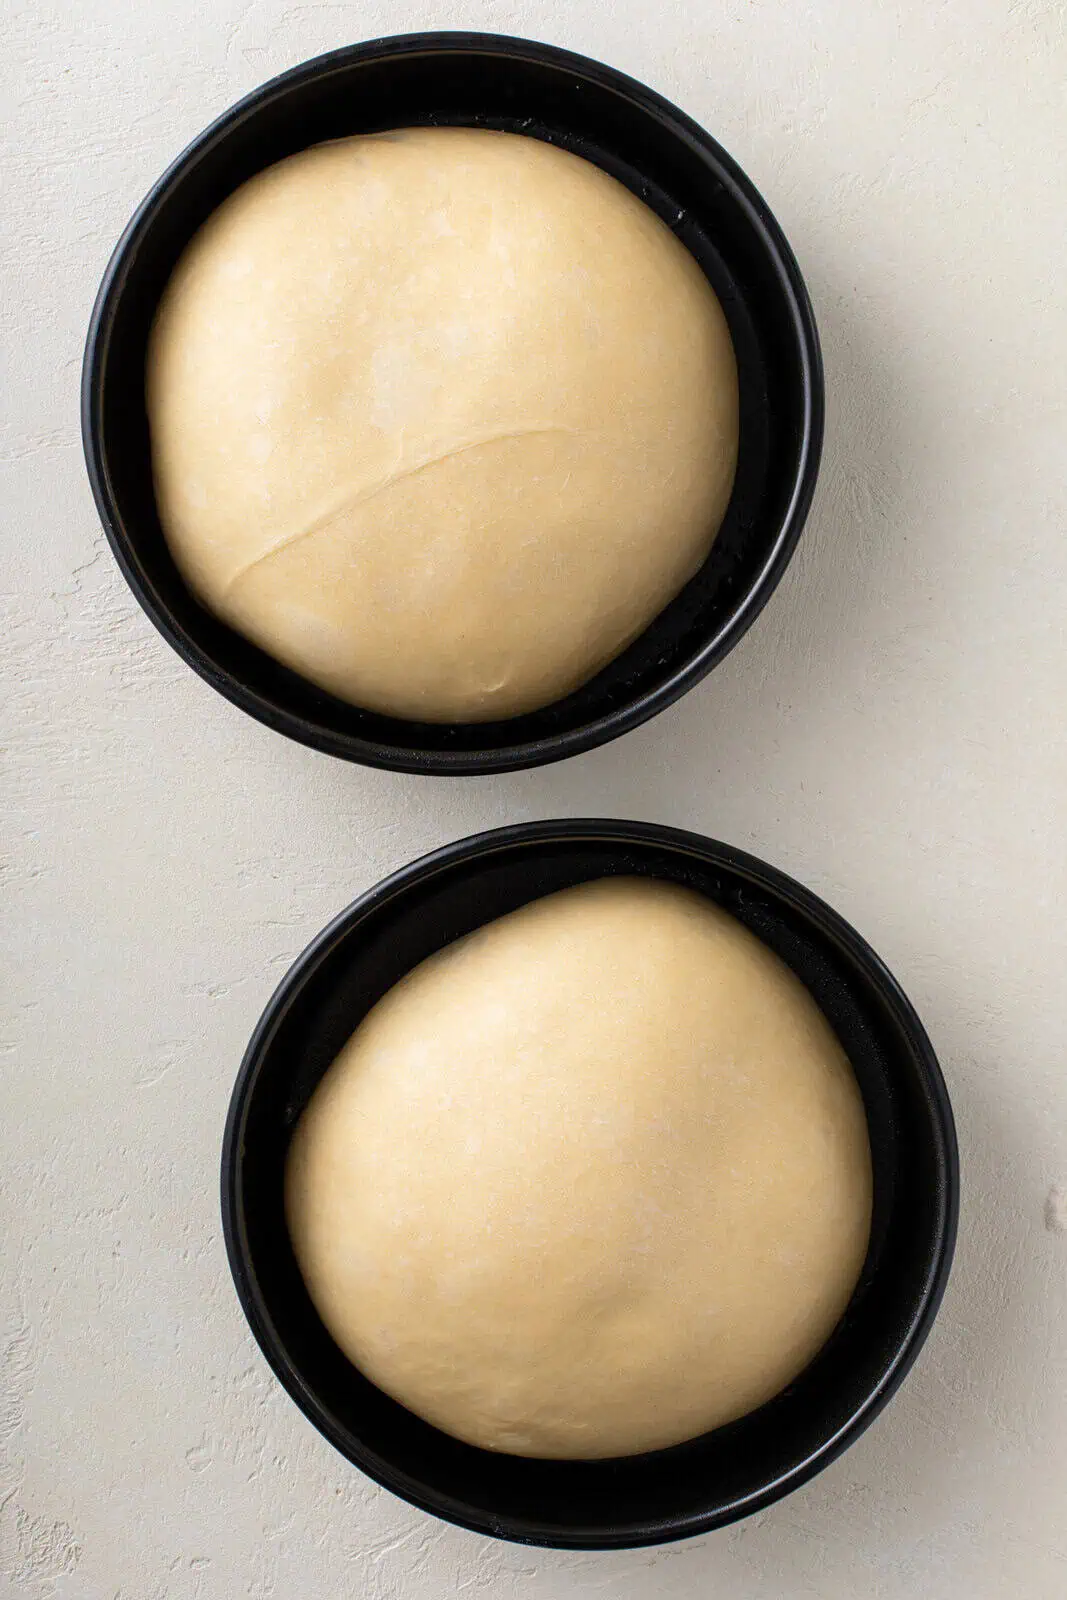
Cover the loaves and let them rise for about another hour, until they have doubled in size again.
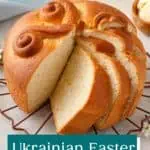
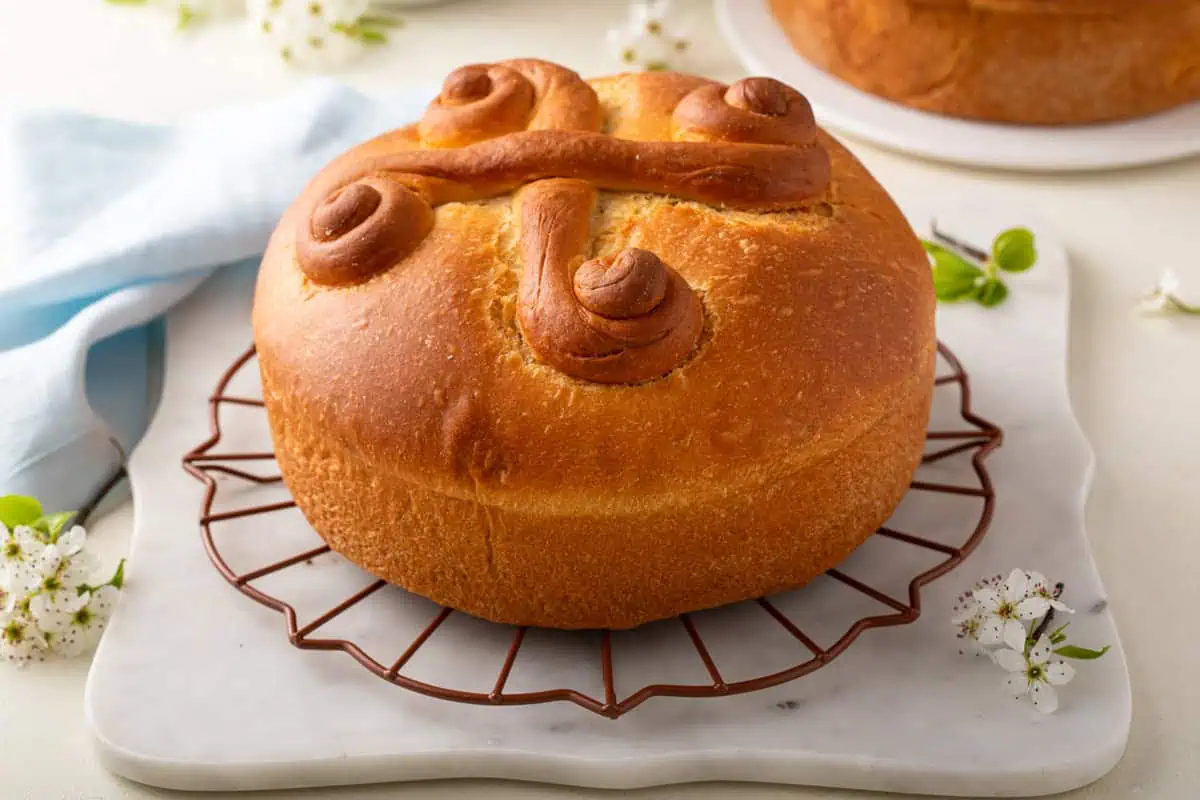
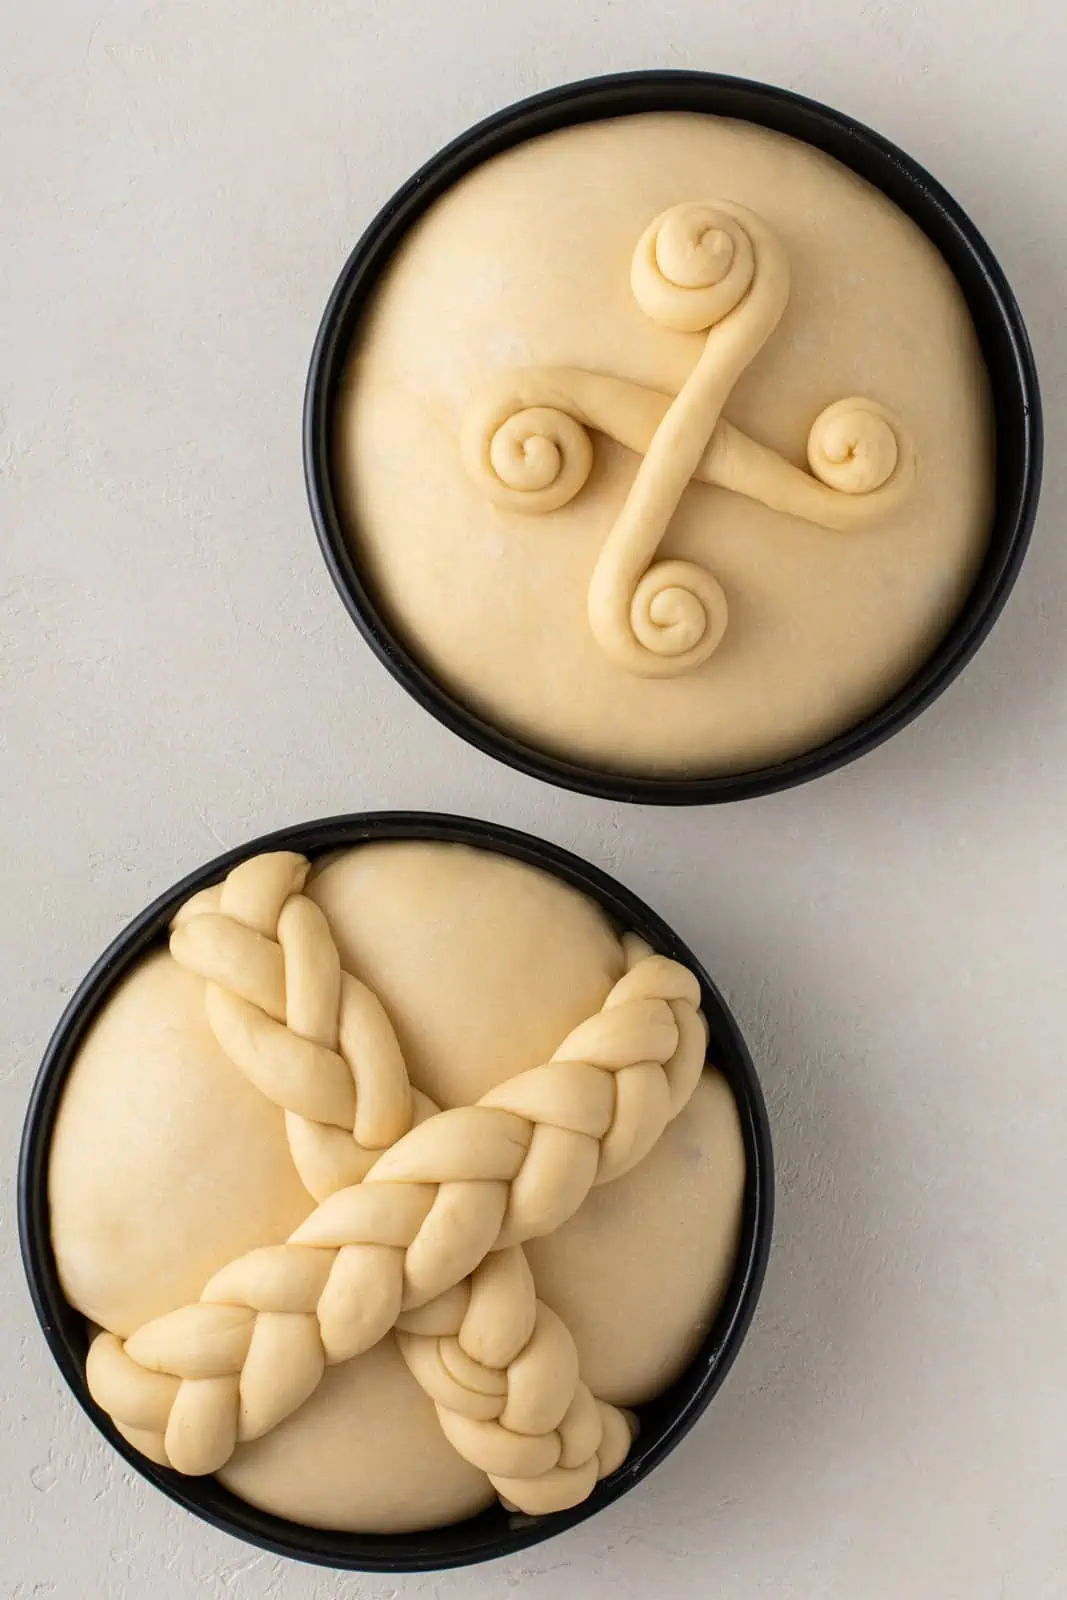
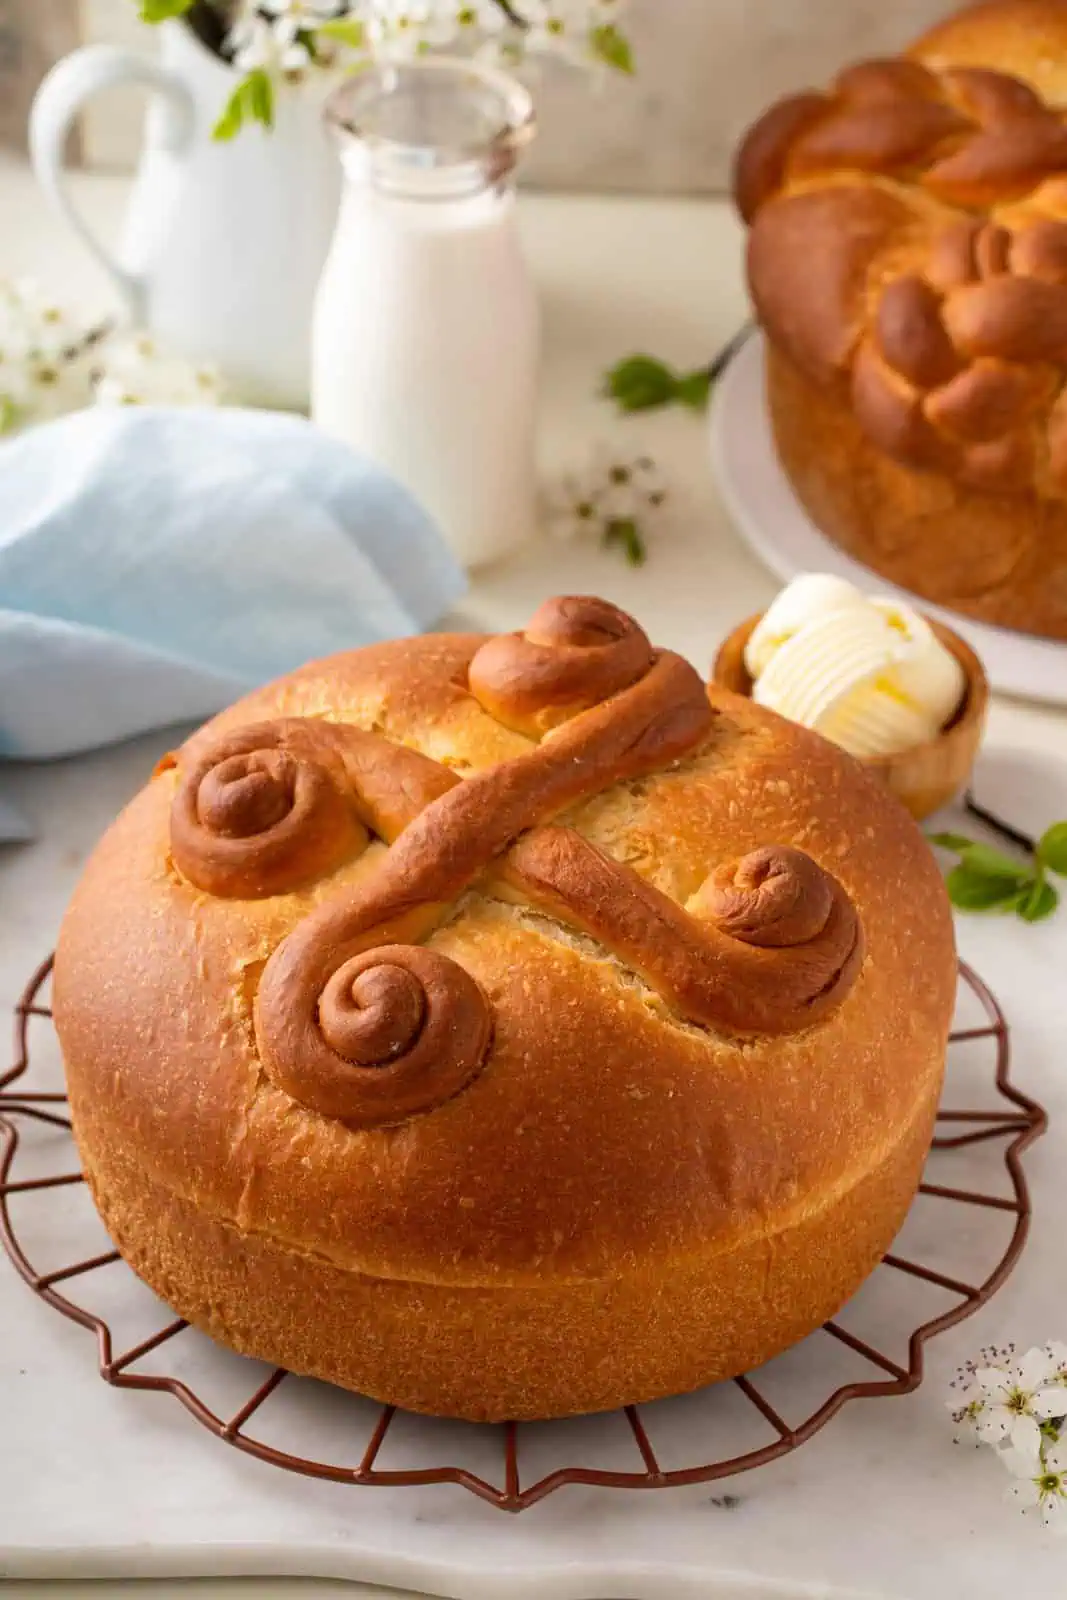
Now it’s time to decorate. Use the dough you reserved to make the designs you want – braids, crosses, and spirals are traditional. For these loaves, I decorated one with braids and the other with spirals. Place the decorations on the risen loaves.
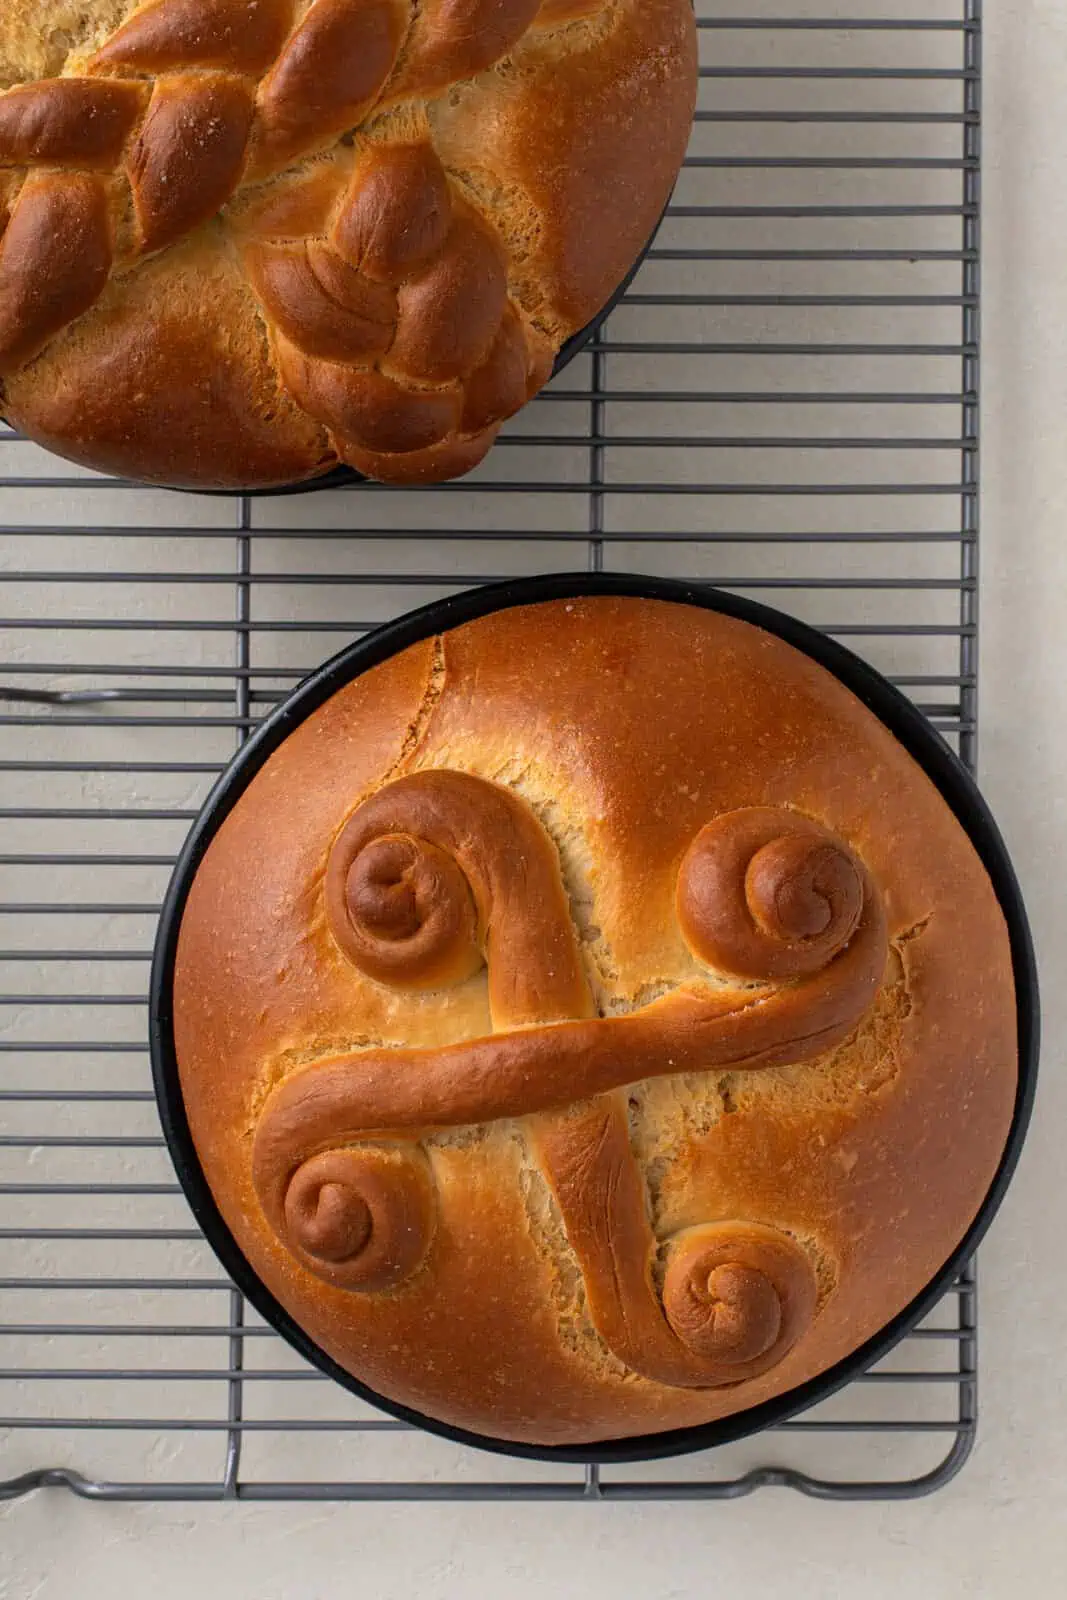
Let the decorated loaves rest while your oven preheats to 400°F, then bake them at 400°F for 15 minutes. Lower the heat to 350°F and bake for another 40-50 minutes.
The loaves are done when they are deeply golden and the bottoms of the loaves sound hollow when you knock on them. The internal temperature of the bread should be around 190°F on an instant-read thermometer.
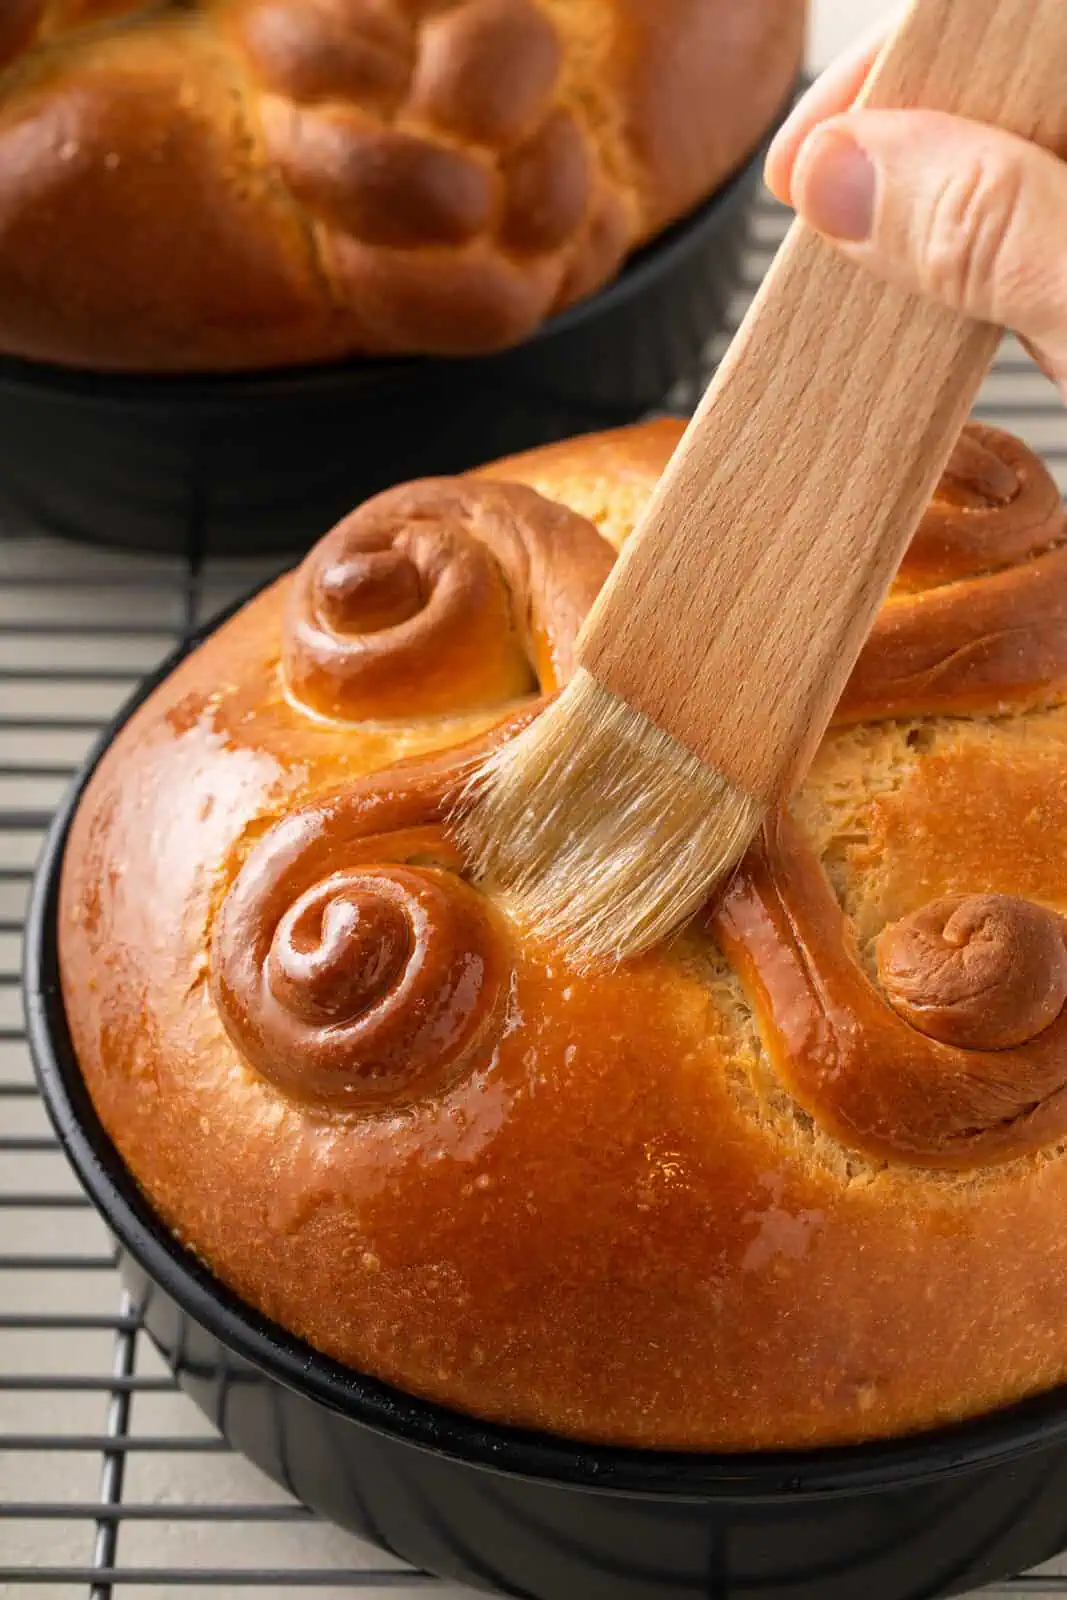
Once the loaves come out of the oven, brush the tops with melted butter, then turn them out of the pans to cool on a wire rack.
Serving suggestions
As Stephanie suggests, Paska is delicious when served simply with some cream cheese or butter alongside an uncomplicated breakfast of yogurt bowls. Take things up a notch by making your own flavored cream cheese or even some cinnamon honey butter.
A drizzle of honey would be incredible, too. And if you’re my daughter, you can never go wrong with a smear of homemade strawberry jam, either.
This bread also makes the most incredible French toast!
Storage tips
Like most yeast breads, this Paska is of course its freshest and at its best the day it is made. If you have any leftover, storing it in a reusable bread bag is the way to go. Storing bread in plastic can encourage moisture to build up and make the crust soft.
You can also freeze your Paska. Wrap the fully cooled bread tightly in plastic wrap (press-and-seal wrap works great) and then place it in a zip-top freezer bag. Freeze for up to 3 months.
Let the bread thaw at room temperature before slicing, toasting, and enjoying!
Frequently asked questions
When you’re making any kind of yeast bread, pay the closest attention to the visual cues in the recipe for when the dough is done rising and ready for the next step. For example, if the recipe says that the dough should be “doubled in size.”
The times given in the recipe will give you an idea of how long this might take, but the exact time will vary depending on how warm your kitchen is.
One easy way to know if the dough is done rising is by using the “poke test.” Gently press an indentation into the dough with your fingertip. If the dough slowly springs back, it’s ready for the next step. If the dough does not spring back, it needs more time to rise.
If your house is pretty cold, it can cause your dough to rise much more slowly than normal. Set your dough in a warm, but not hot, place while it rises.
Many ovens these days have a “proofing” setting that works great. It keeps the oven at the perfect temperature for the dough to rise, but not so hot that it will kill the yeast.
If your oven doesn’t have this feature, some good options include: turn on only the oven light (this will warm the inside of the oven enough to help the dough rise); set the dough on top of or near the oven while it preheats; in the laundry room on top of the dryer while it is running.
Without being in your kitchen with you, it’s hard to know exactly what might have happened for your Paska dough to not rise, but there are a few common issues that can happen:
Make sure your yeast is fresh. If your yeast isn’t fresh, it won’t rise. I store my yeast in the freezer; this will keep it good for much longer than storing it in the pantry.
Another common issue is that the milk mixture was too hot when you mixed it with the other ingredients. If the milk is too hot, it can kill the yeast, which will keep the dough from rising. I recommend using an instant-read thermometer to make sure your milk has cooled to around 110℉.
If your dough is rising but just rising more slowly than you think it should, your kitchen might be a bit too cold. Follow the recommendations above for warm spots to set your dough while it rises.
Stephanie Malm can be reached at [email protected], or check out what she is doing via her website.

Paska (Ukrainian Easter Bread)
Equipment
- 2 9-Inch cake pans OR
Ingredients
Yeast Preparation:
- 1 package active-dry yeast 2 1/4 teaspoons
- ¼ cup warm water about 100°F to 110°F
- 2 teaspoons granulated sugar
For the Bread:
- 2 cups whole milk
- 1 cup unsalted butter
- 4 large eggs
- 1 cup granulated sugar
- 1 teaspoon fine sea salt
- 6 to 8 cups all-purpose flour plus more for kneading
- Melted butter for finishing
Instructions
Bloom the yeast:
- In a small bowl, stir together the yeast, warm water, and 2 teaspoons of sugar. If you are using an instant-read thermometer, the water should be between 100°F–110°F. Set this aside for about 10 minutes, until the yeast becomes bubbly or foamy on top.1 package active-dry yeast, ¼ cup warm water, 2 teaspoons granulated sugar
Make the dough:
- Add the milk to a medium saucepan over medium heat. Allow the milk to heat, stirring frequently, until small bubbles form around the edge of the pan and the milk is steaming. Do NOT allow the milk to boil.2 cups whole milk
- Add the butter to the scalded milk and stir until melted. Remove from the heat and set aside to cool for 10-15 minutes. You don’t want the milk to be any hotter than the water you used to bloom the yeast (no hotter than 100°F–110°F).1 cup unsalted butter
- Whisk the eggs and add them to the cooled milk mixture.4 large eggs
- In a large mixing bowl or in the bowl of a stand mixer fitted with the dough hook, whisk together 1 cup sugar and the salt. Add the bloomed yeast mixture and the milk mixture.1 cup granulated sugar, 1 teaspoon fine sea salt
- Turn the mixer to low and slowly add 6 cups of the flour, scraping down the sides of the bowl with a rubber spatula as needed.6 to 8 cups all-purpose flour
- Add the remaining 2 cups of flour, ½ cup at a time, until a very soft, very sticky, but kneadable dough has formed. You may not need the entire 2 cups of flour.
- Turn the dough out onto a generously floured work surface. Knead the dough for about 6-8 minutes, adding more flour as needed until the dough is smooth but still slightly sticky.
- Place the dough in a lightly greased bowl and cover with a damp tea towel or plastic wrap that has been lightly sprayed with nonstick spray. Let rise in a warm place until doubled in size, about 45 minutes to 1 hour.
Shape and decorate the loaves:
- When the dough has doubled in size, gently turn the dough out onto a lightly floured surface. Set aside about 1/4 to 1/3 of the dough for decorations and divide the remaining dough into two equal portions. Place the reserved dough for decoration back in the greased bowl and recover with the damp towel or plastic wrap.
- Grease (2) 9×2-inch round cake pans or (2) 10×4-inch loaf pans or (1) of each.
- Shape each of the larger dough portions into a round or loaf shape (depending on the shape of your pans) and place into the prepared pans. Cover the pans lightly with a clean tea towel and set in a warm place to rise until doubled in size, about 45 minutes to 1 hour.
- After the loaves have completed their second rise, use the reserved dough to decorate the loaves. Traditional designs include braids, crosses, and spirals. This dough is sticky, so use a bit of flour to coat your hands and work surface as needed while you roll out and create your designs.
- Preheat the oven to 400°F. Let the decorated loaves rest while the oven preheats.
- Bake the loaves at 400°F for 15 minutes, then lower the oven temperature to 350°F and continue baking for an additional 40-50 minutes, or until the crust is a deep golden color and the bottom of the loaves sound hollow when you knock on them. If you are using an instant-read thermometer, the internal temperature of the loaves should be 190°F.
- Brush the tops of the loaves with melted butter while they are still hot from the oven. Remove the loaves from the pans onto a wire rack to cool completely.Melted butter
Notes
- Makes 2 loaves in 9-inch round or 10×4-inch loaf pans.
- If you do not have a stand mixer, you can easily mix this dough together by hand with a wooden spoon or silicone spatula.
- Decorations can be very simple or quite intricate. Highly decorated loaves will require more dough for decoration, while simple decorations will require less.
- If you overestimate how much decoration you’ll make on the bread, no problem! You can roll out pieces into long strands and tie them into a knot. Stephanie’s mom adds raisins for eyes on one end and cuts slightly into the other end to make a tail so that it looks like a dove.
- If the tops of the loaves or the decorations start to get too brown before the loaves are cooked through, tent the tops or cover the decorations with foil to prevent further browning while the loaves finish baking.
- For a deeper golden color, you may brush the loaves with an egg wash (1 egg whisked with 2 tablespoons of water or milk) before putting them in the oven. Note that this will make them brown very quickly, so you will likely need to cover the tops with foil to keep them from burning before the bread is fully baked.
- Store in a reusable bread bag or in a bread box at room temperature for up to 3 days or tightly wrap and freeze for up to 3 months.
Very good! Reminds me of my grandmother’s bread.
Hi. Can you use instant yeast for this recipe instead?
Hi Joyce – I haven’t tried it myself, but that should be fine. You won’t need to bloom the instant yeast, so you should be able to just add those ingredients at step 4.
Hi Steph & Joyce. I have 2 loaves in the oven as I write. I used quick-rise instant yeast and just added it to the dry ingredients. Followed the recipe for bread directions exact and both loaves rose beautifully.
I made this! Easy to follow instructions. I used 9×3” cake pans and my loaves were beautiful. I am going to try adding raisins and decorating the tops for Easter. This bread took me back to my Easter’s as a child❤️
I am going to bake today. Like others have said looks like bread that Gramma used to make. I am wondering how this will freeze. Any suggestions?
It should freeze just fine if you wrap it in plastic wrap and store it in a zip-top freezer bag!
Just pulled my two loaves out of the oven! The tops are split. What do you think happened? I cannot wait to taste.
Oh my! Turned out beautifully!