


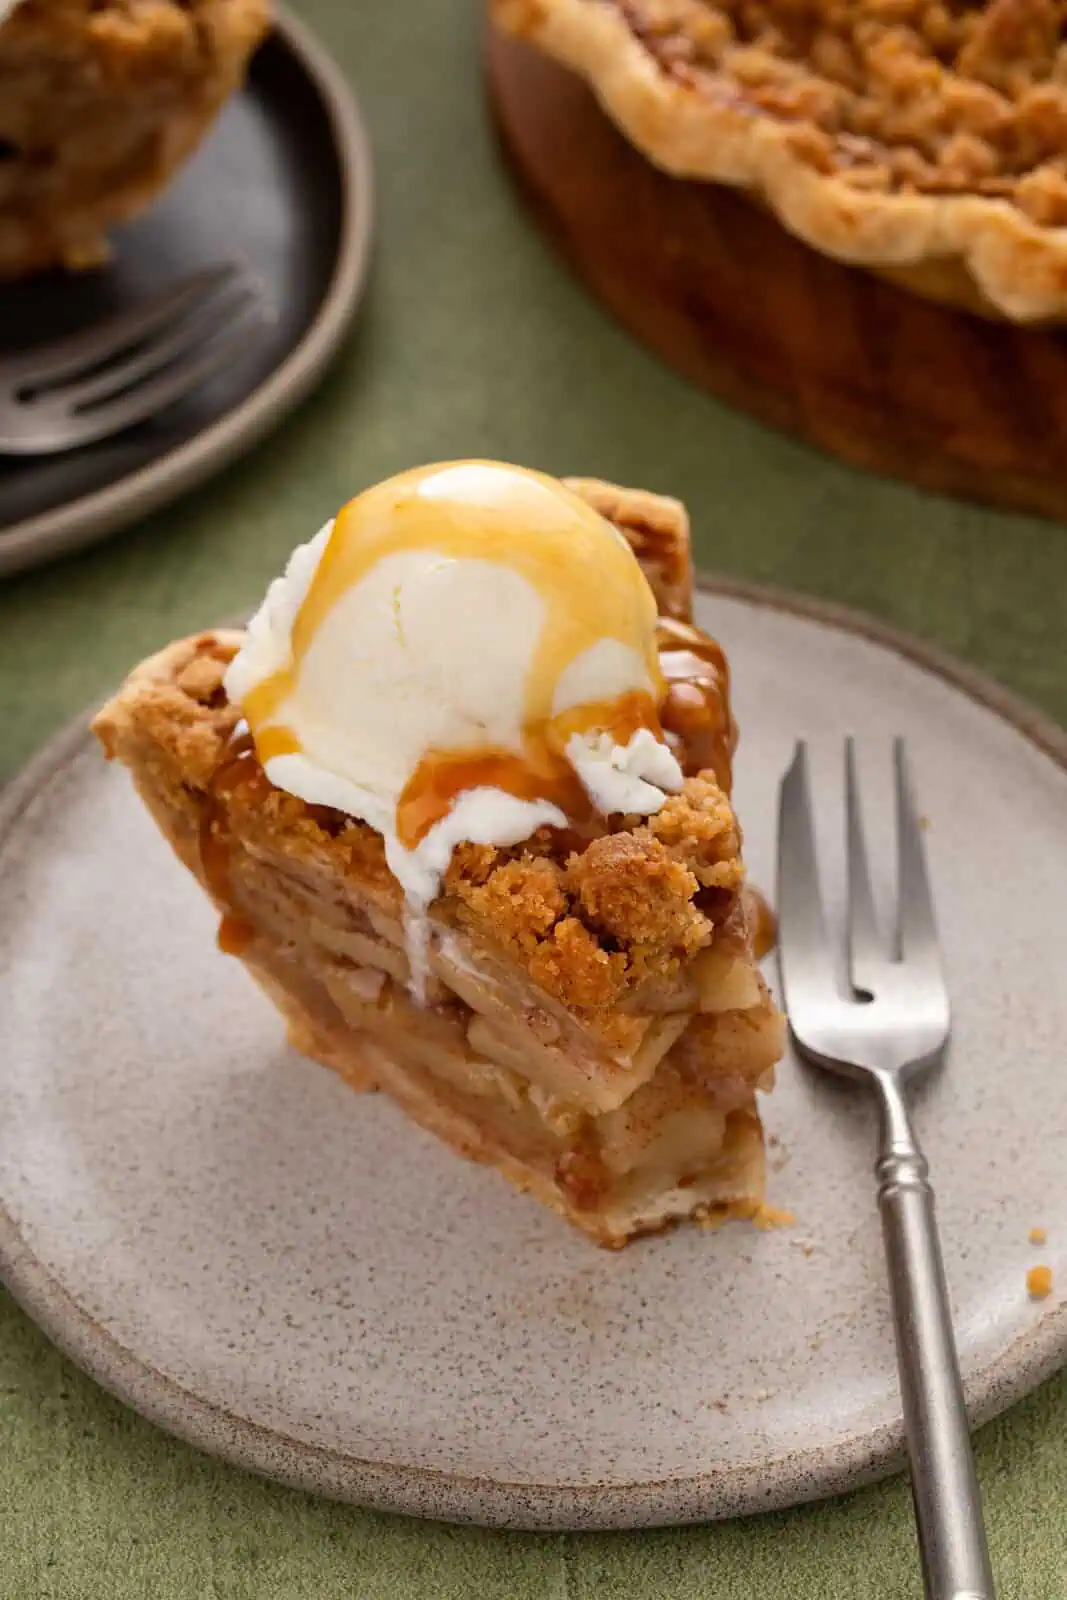
Dutch apple pie is a fall classic just begging to be topped with a scoop of vanilla ice cream. Pile spiced apple slices mile high in a deep-dish pie crust before finishing the pie with a buttery crumb topping. This recipe bakes for over an hour, but the end result is well worth it: tender, sweet apples that hold their shape without becoming mushy.
Want to save this recipe for later?
It’s no secret by now that pie recipes are kind of my specialty. And I really love fruit pies with a double crust, like my blackberry pie recipe.
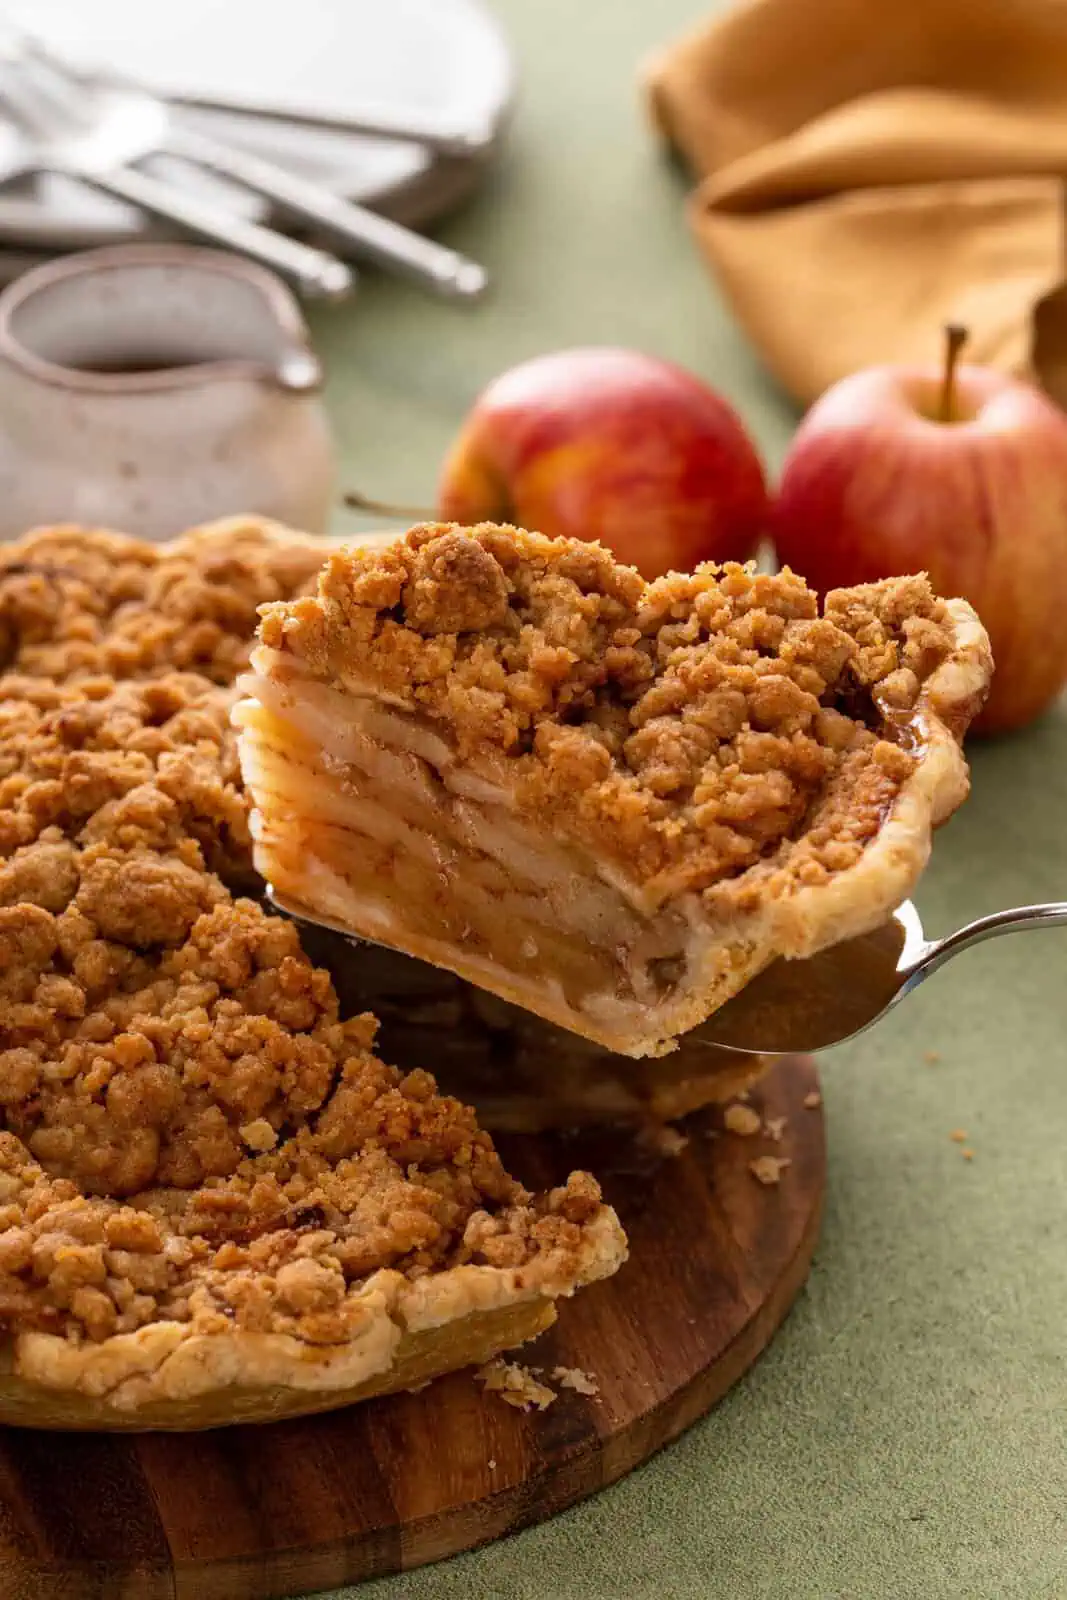
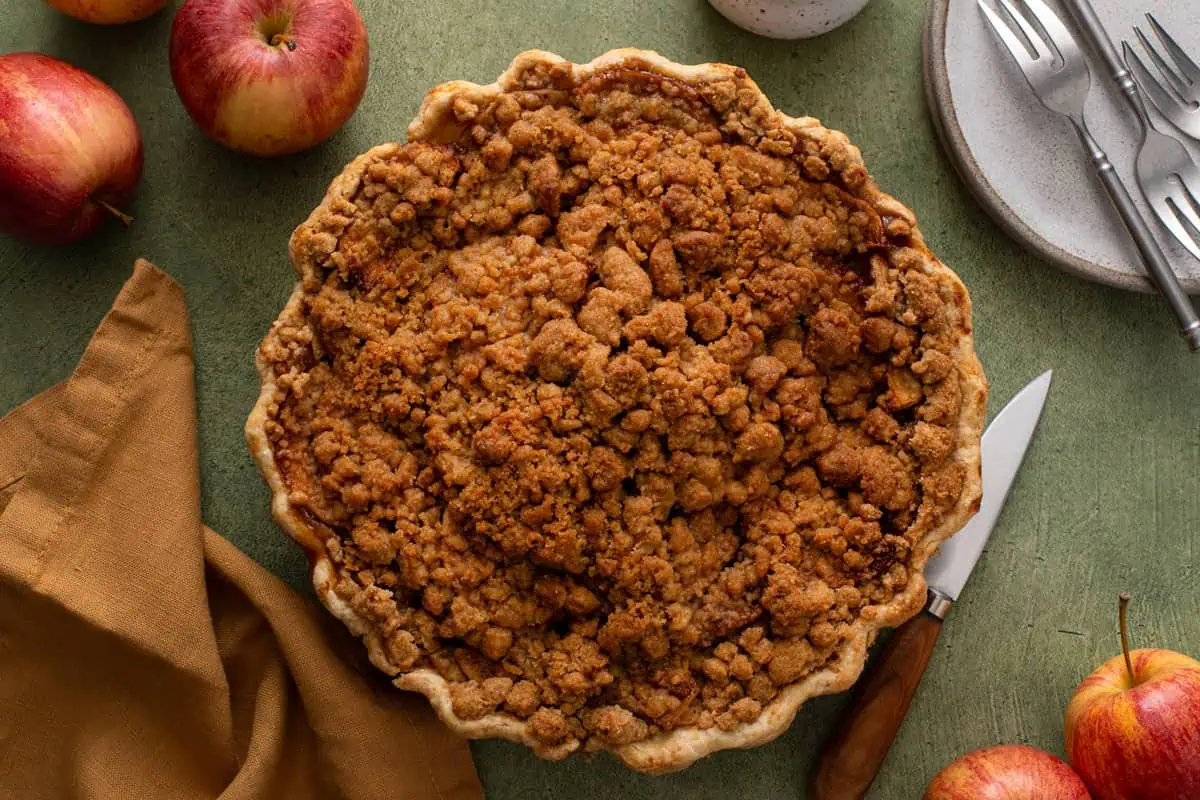
But there’s something really special about Dutch apple pie. Unliked a traditional apple pie with a top and bottom pie crust layer, Dutch apple pie features a layer of flaky crust on the bottom, tender apple filling, and a buttery crumble on top.
This particular Dutch apple pie is also a deep-dish apple pie. The sliced apples are layered a mile high; as they bake, they become tender without getting mushy, leaving you with just the right balance of flavor and texture in every bite.
You’ll need a few hours for this recipe; it needs well over an hour to bake and you should let it cool before slicing into it. But I can promise that your patience will be rewarded! My friends have said this is one of the best apple pies they’ve ever had, and I bet yours will agree.
Stephie’s testing tips
- Use a mix of apples. In my opinion, the best apple pies are the ones that use 2-3 varieties of apples rather than just one. Scroll down to “what kind of apples are best” for more details on my preferred varieties when making this Dutch apple pie recipe.
- Add a bit of flour and sugar to the bottom crust before adding the filling. I take a page out of my classic rhubarb pie recipe with this one. Adding a layer of flour mixed with granulated sugar over the crust before adding the filling helps create a bit of a barrier as the pie bakes, preventing a soggy bottom crust.
- Don’t pre-cook the apple filling. I know there are plenty of apple pie recipes that call for cooking the apples before they go into the pie. Personally, I prefer to skip this step, instead letting the apples cook entirely in the oven. The apples still cook through, but they also maintain some of their texture instead of becoming mushy.
- Don’t skip placing the pie on a rimmed baking sheet. We’re going to pile the filling up really high, so there’s a good chance the juices will overflow the pie plate at some point during baking. Keep the pie on a rimmed sheet pan to prevent a huge mess in the bottom of your oven.
What kind of apples are best?
Granny Smith might be one of the most famous baking apples, but that doesn’t mean they’re the only variety or even the best when making your apple pie filling.
For the best flavor, I always aim to use 2-3 varieties of apples. Each type of apple has a different flavor profile. Using a mix means that you get more nuanced apple flavor in the finished pie.
My default combination is a mix of Granny Smith, Golden Delicious, and Honeycrisp or Cosmic Crisp apples. All three of these are readily available year-round at most grocery stores around here.
In the fall when I can get to the apple orchard, I like to add McIntosh, Jonathan, Braeburn, or Jonagold apples into the mix. You don’t often see these in grocery stores, but they’re some of my favorite apples for using in my fresh apple cake recipe, dipping into easy apple dip, or baking into this pie.
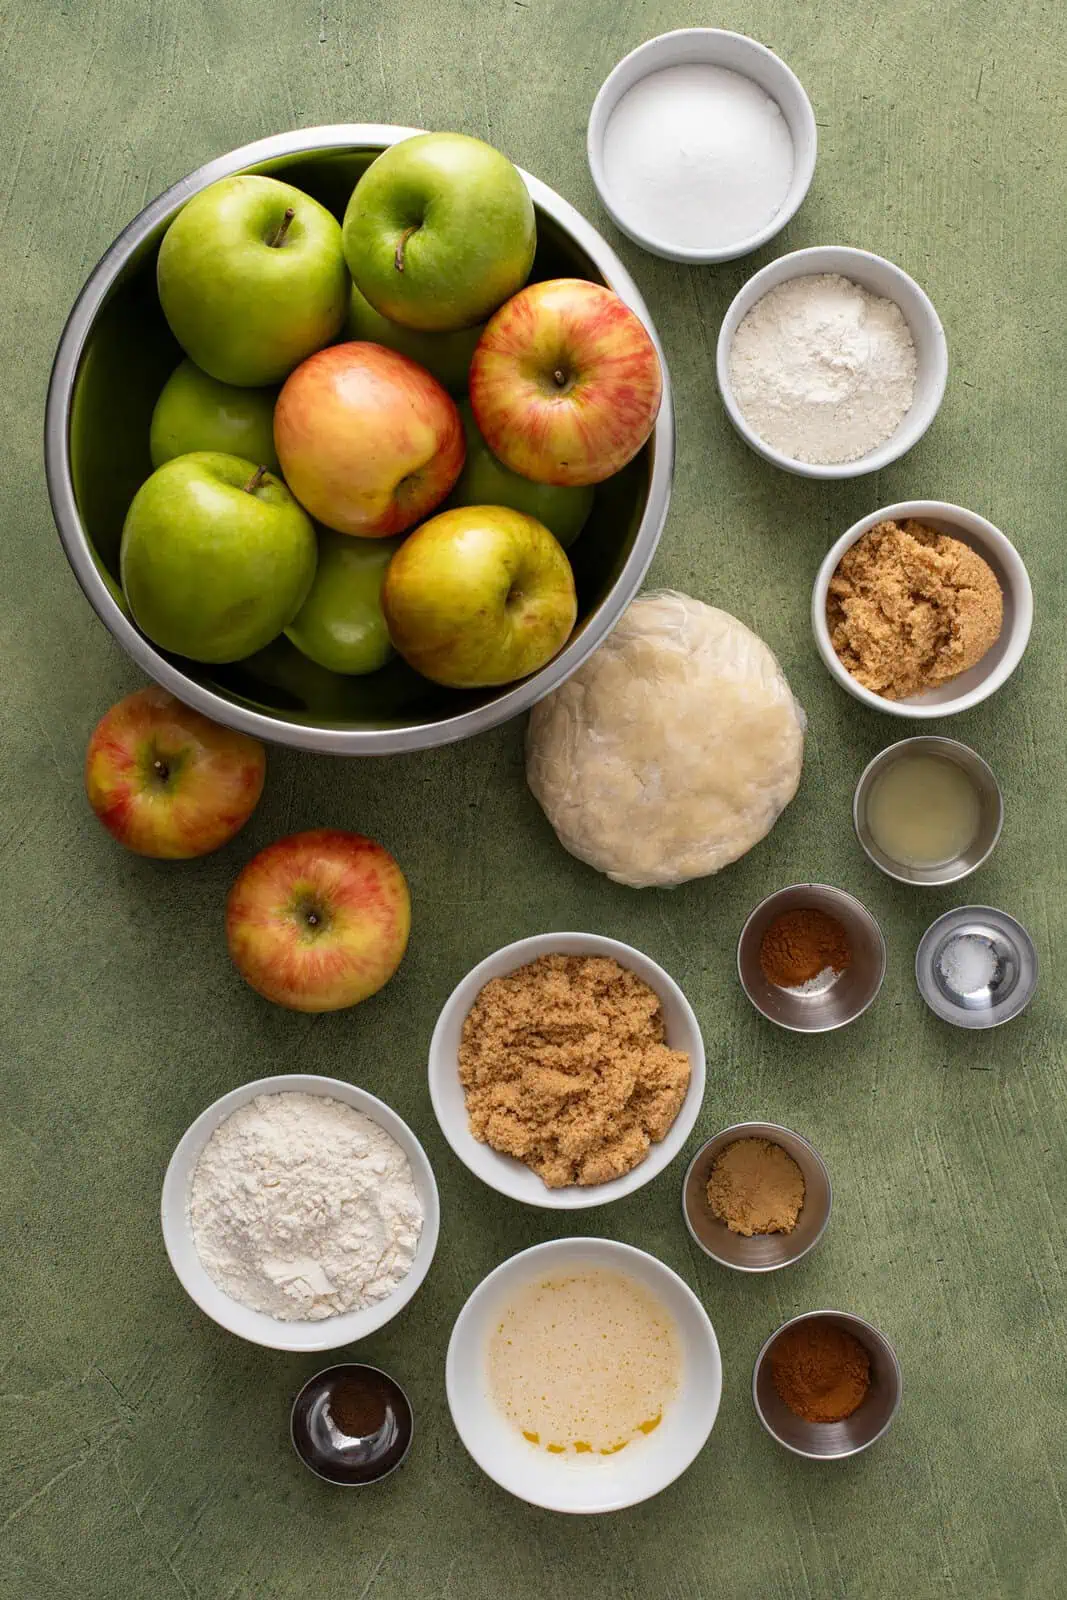
Other ingredient notes
Beyond the apples, the rest of the ingredients for this Dutch apple pie recipe are pretty simple. Keeping the ingredients list simple allows the fresh apples to really be the star of the show.
- Pie crust: Use a half batch of my homemade pie crust or one refrigerated crust to line the bottom of the pie plate. You could also use a frozen deep-dish pie crust.
- Flour: For both the filling and the crumb topping.
- Sugar: A mix of granulated sugar and light brown sugar for the filling, and brown sugar for the topping. Using some brown sugar in the filling gives it a light caramel note.
- Lemon juice: Just like when we make peach blueberry pie, a bit of lemon juice lowers the pH of the filling. This in turns helps the natural pectin in the fruit to set.
- Spices: I like a mix of ground cinnamon, ground ginger, and just a bit of allspice in this pie. You could also swap all of the spices for apple pie spice if you happen to have it on hand.
- Butter: For the crumble topping.
How to make my Dutch apple pie
My biggest tip for streamlining the assembly of this apple pie recipe is to use an apple peeler/corer/slicer to make quick work of the apples. This has the added bonus of cutting the apple slices evenly so they cook evenly.
Peel, core, and slice all of your apples. Gently toss the slices with 4 tablespoons each of the flour and granulated sugar, and all of the brown sugar, lemon juice, and spices. Set this mixture aside.
Stir together the remaining flour and granulated sugar. Add your pie dough to a 9-inch deep-dish pie plate and trim and crimp the edges, then sprinkle this flour/sugar mixture over the bottom of the crust.
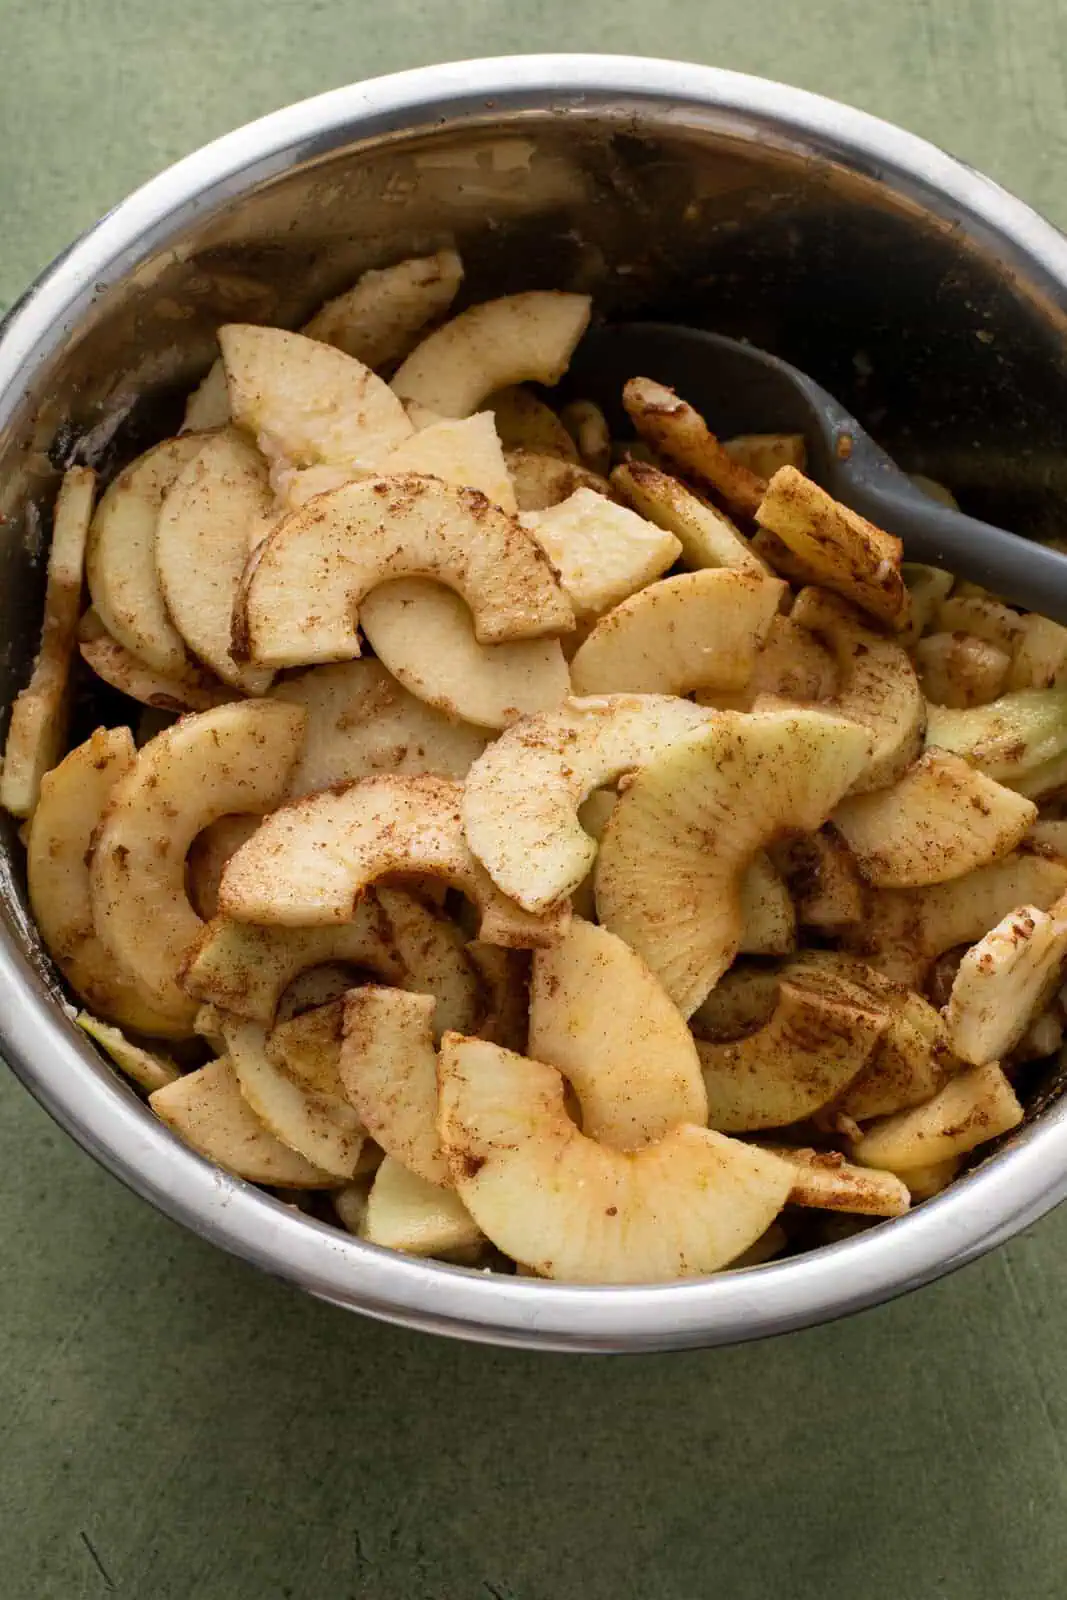
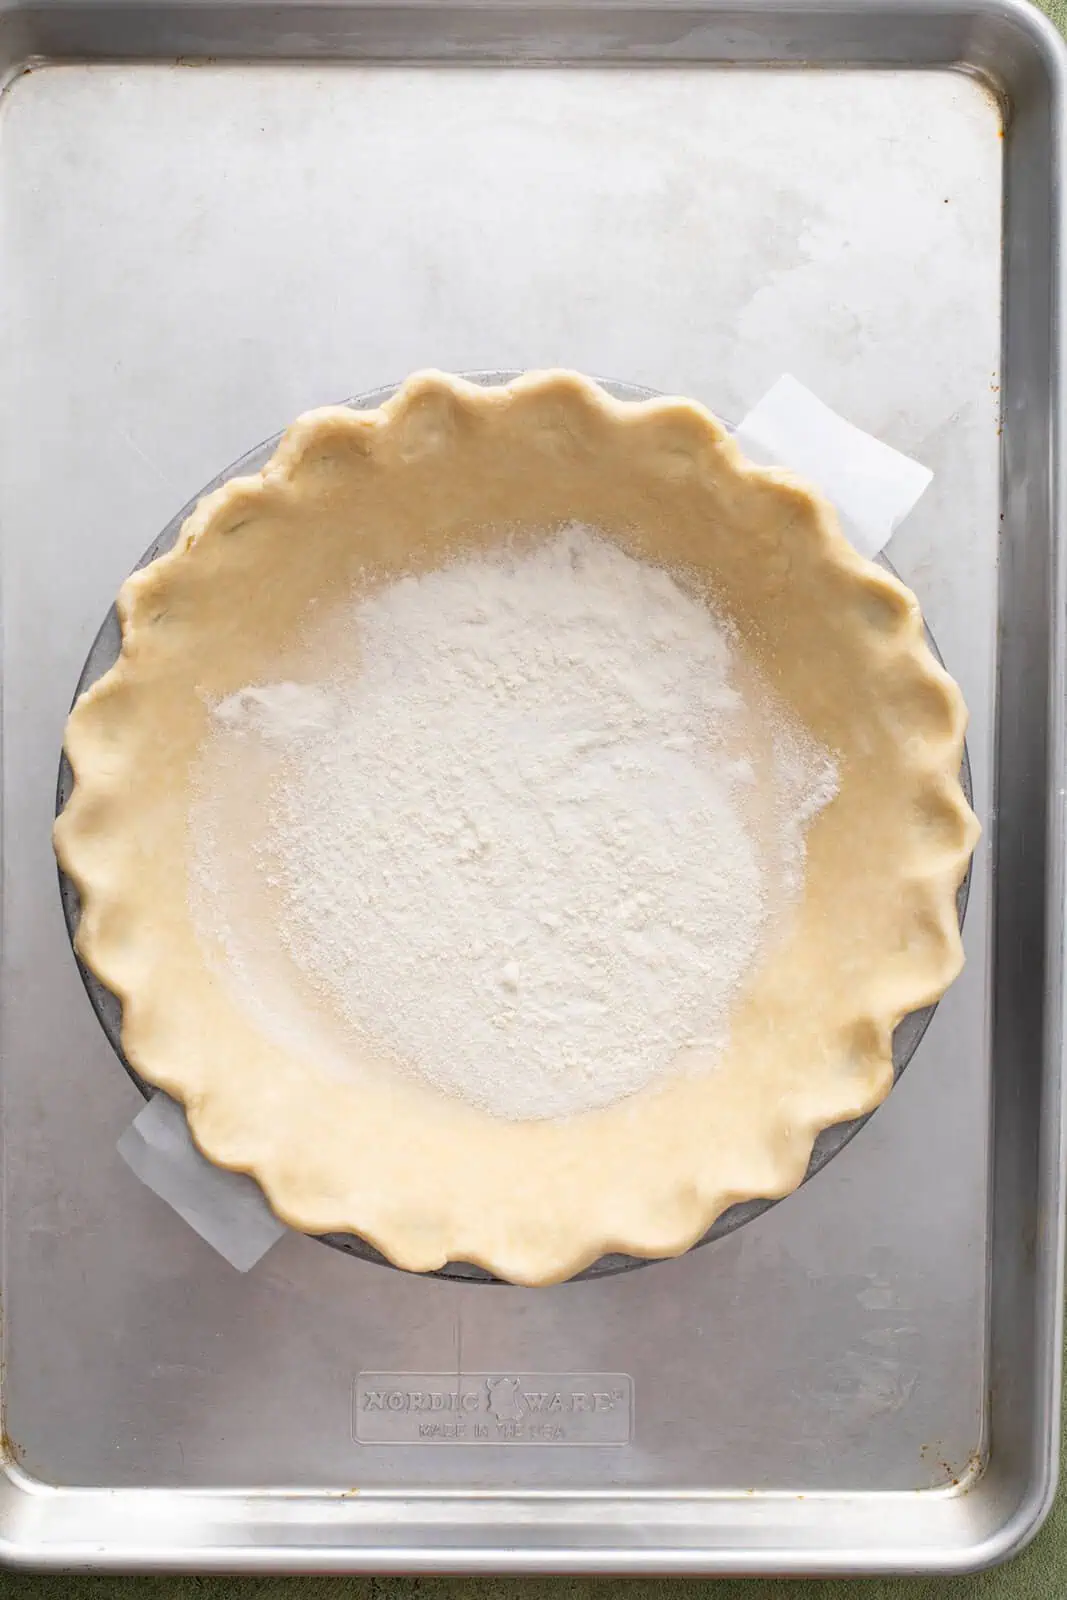
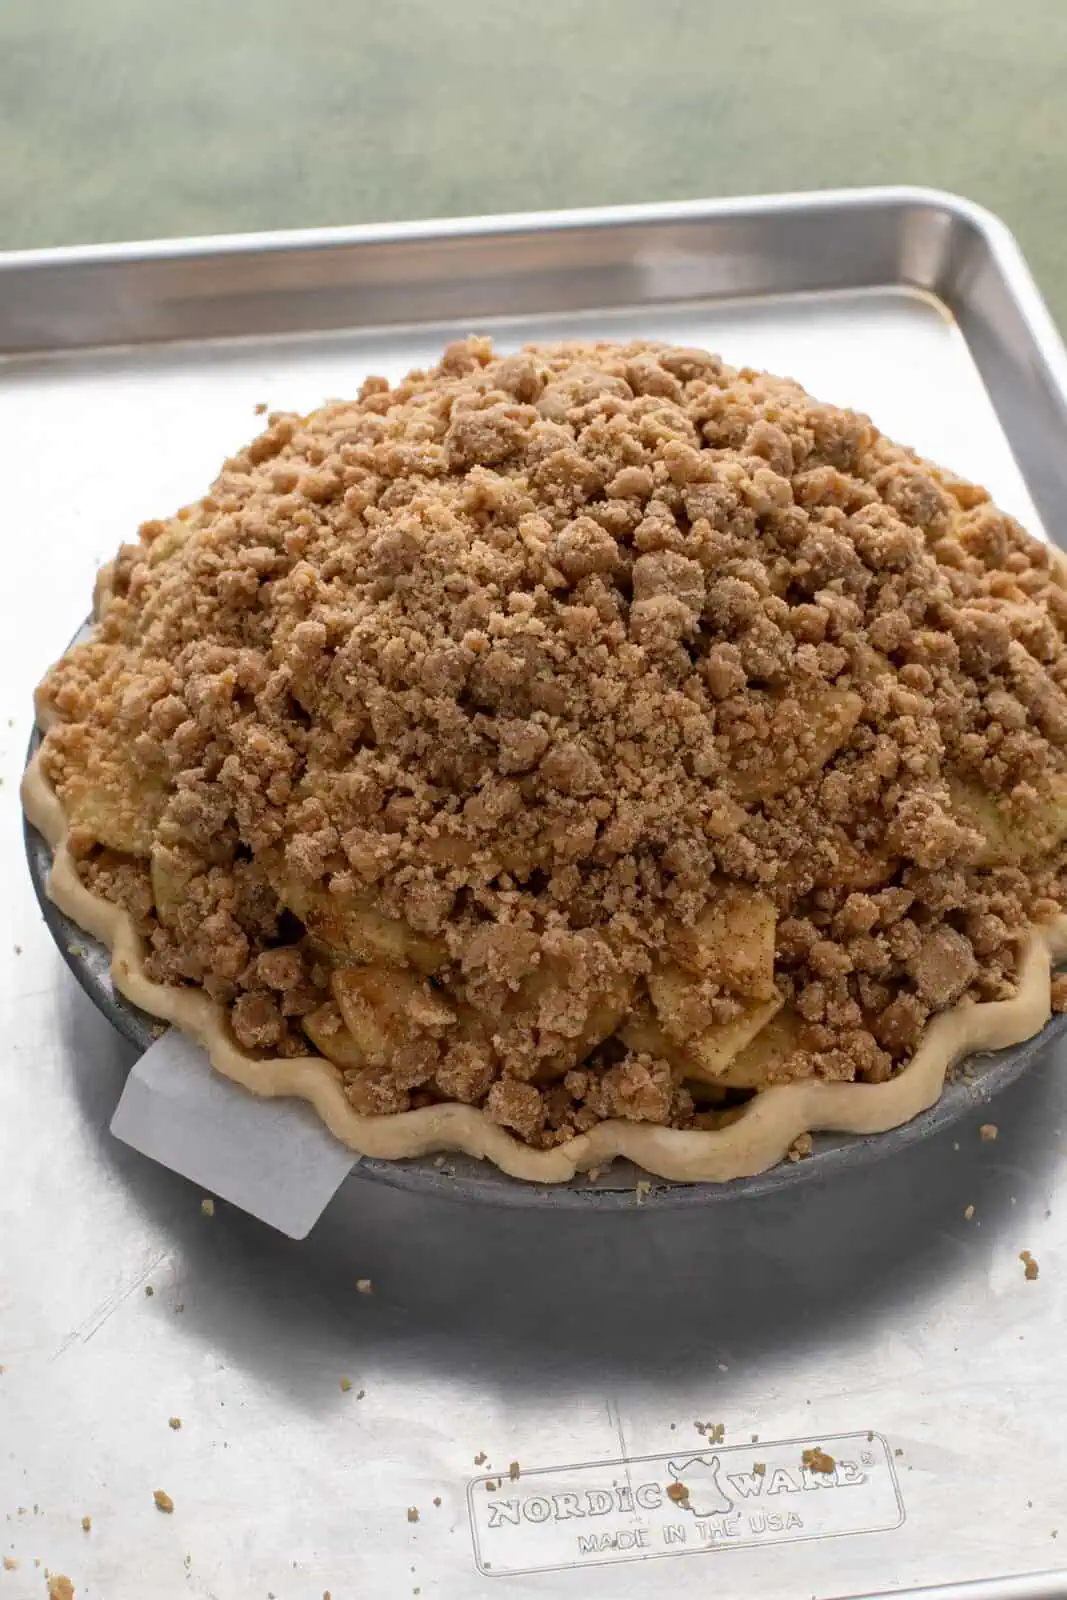
Now it’s time to add the filling. You will need to mound the apples up in the center. It’ll seem like a LOT, but trust me—everything works out in the oven.
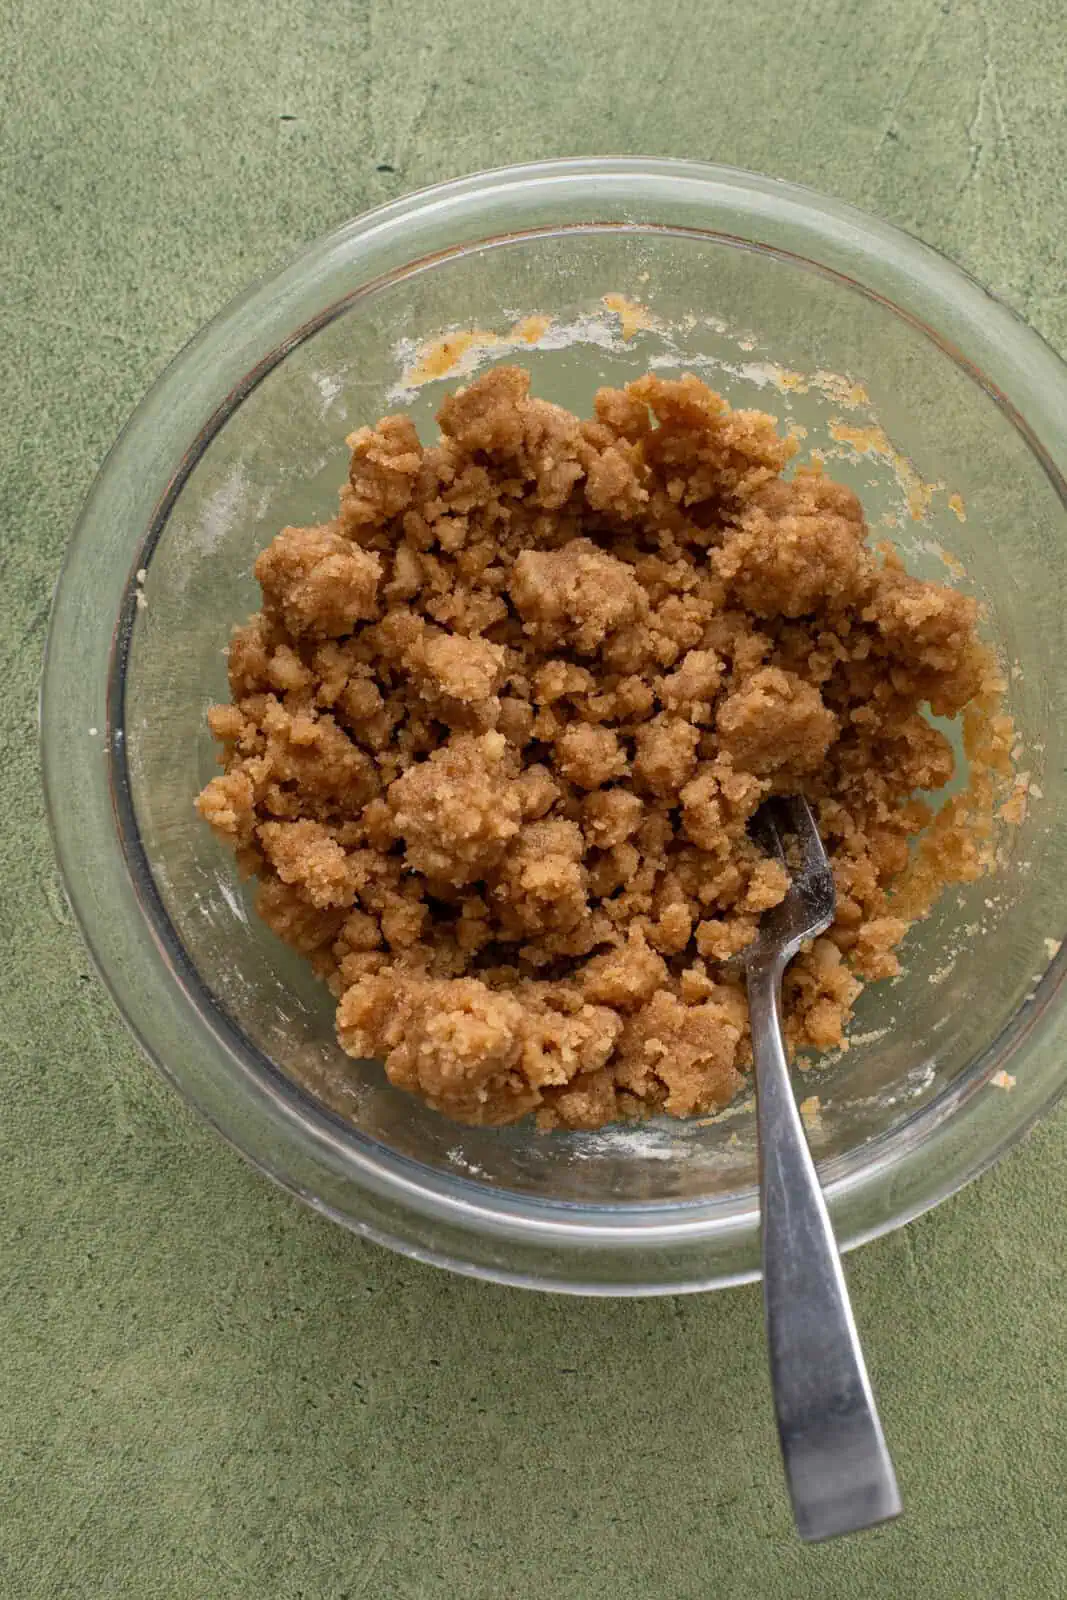
To make the characteristic Dutch apple pie topping, stir together the dry ingredients, then use a fork to mix in the melted butter. Once crumbs form, press the topping over the filling. I like to use my hands to press it on so it sticks to the mounded apples.
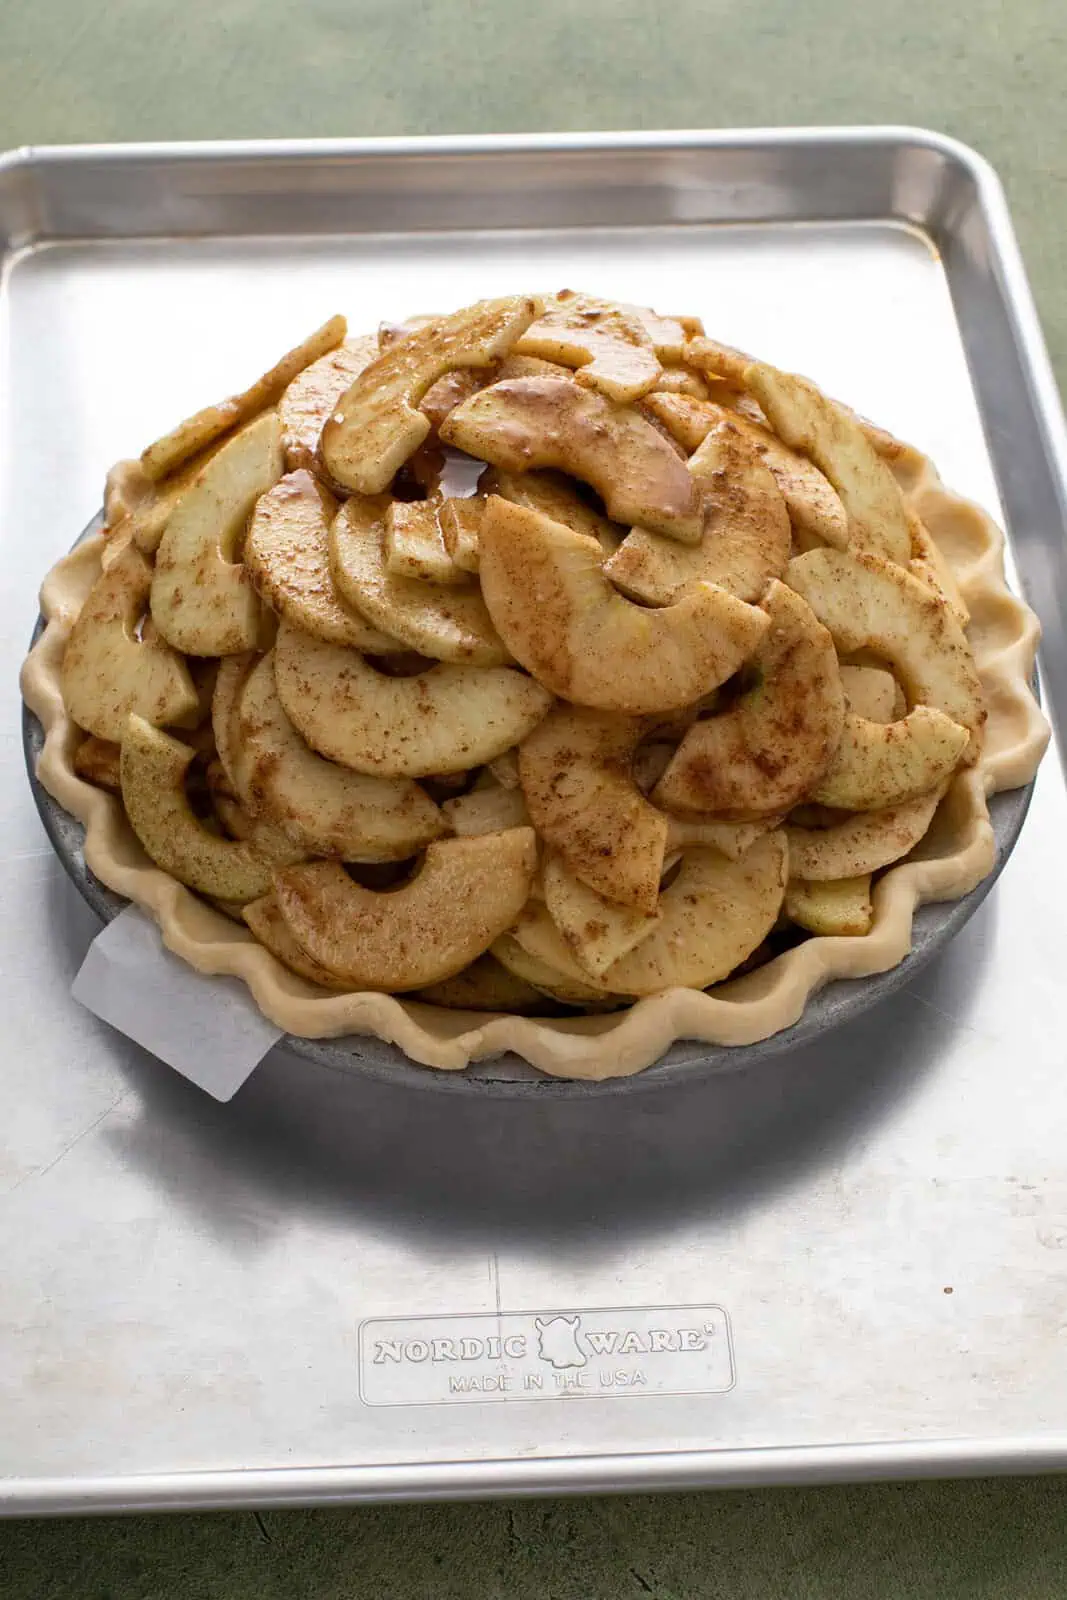
Set the pie pan on a rimmed baking sheet. Bake in the center rack of the oven for 75-90 minutes. Yes, it’s a long time. Yes, it needs that long.
The pie is done when the filling bubbles around the edges, the crumbs and crust are deeply golden, and the apples in the center are tender. Use a sharp paring knife or a cake tester to check the apples. If you can easily insert the knife or tester into the center of the pie without resistance, it’s done!
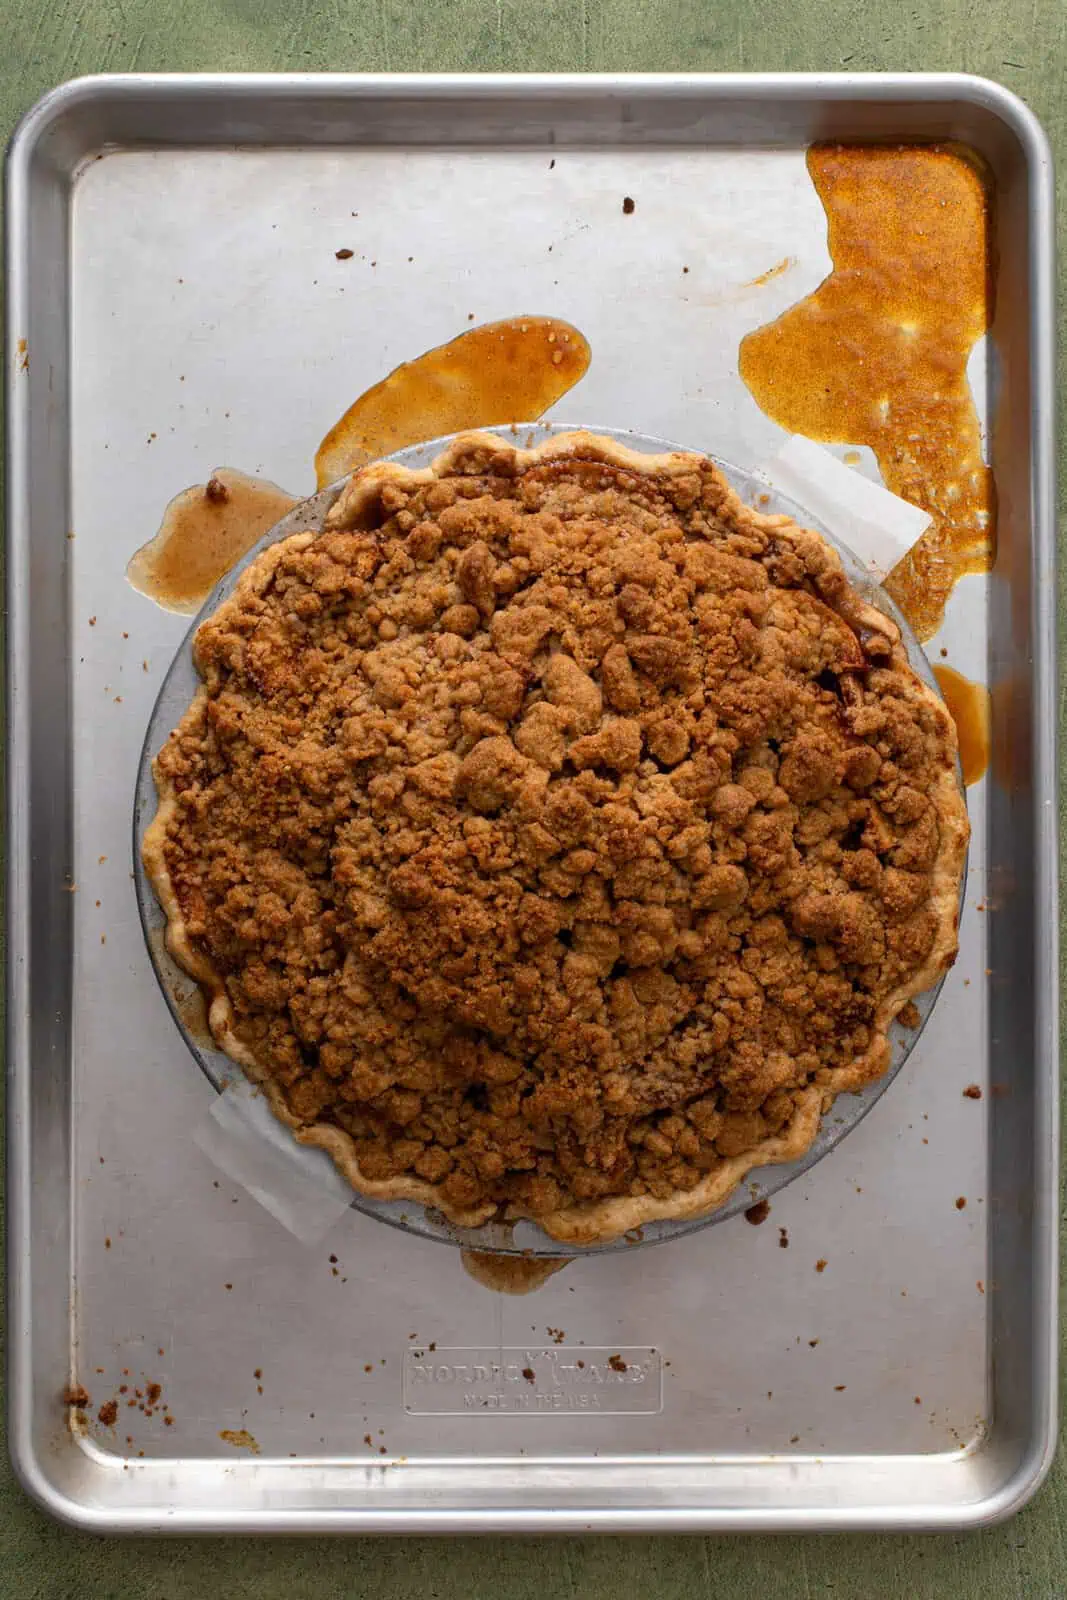
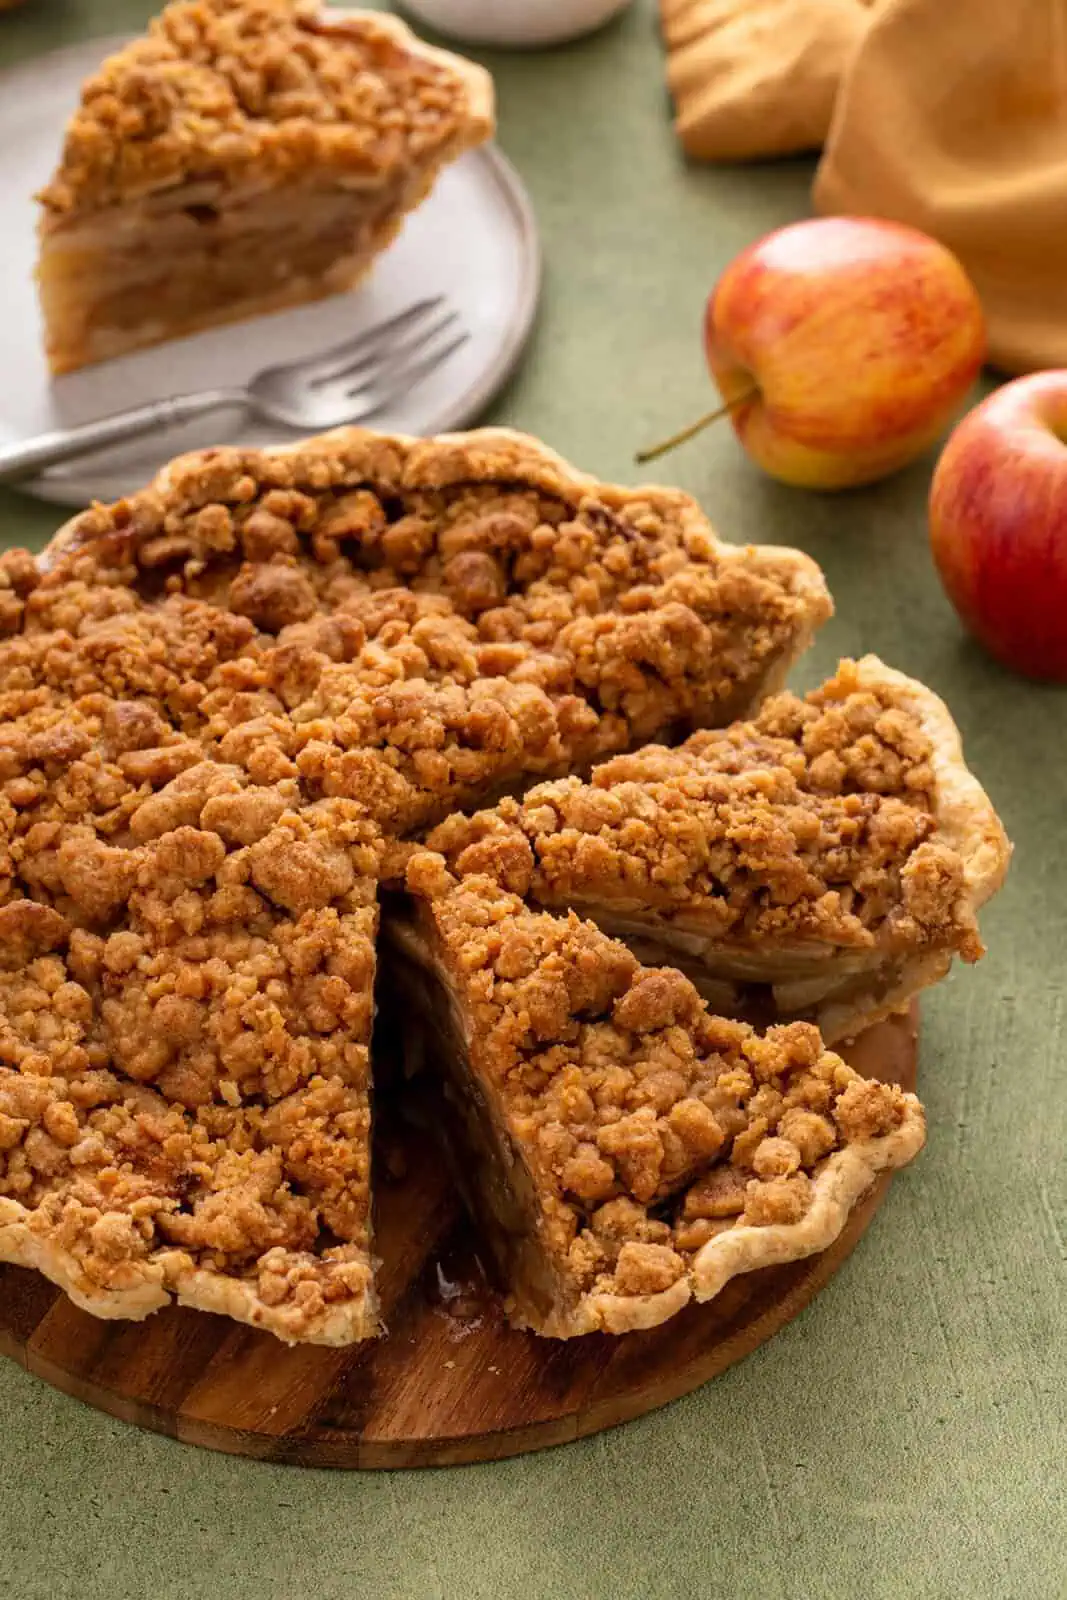
I know it’s hard, but let the pie cool before slicing it. This lets the filling set so you can get beautiful, clean slices!
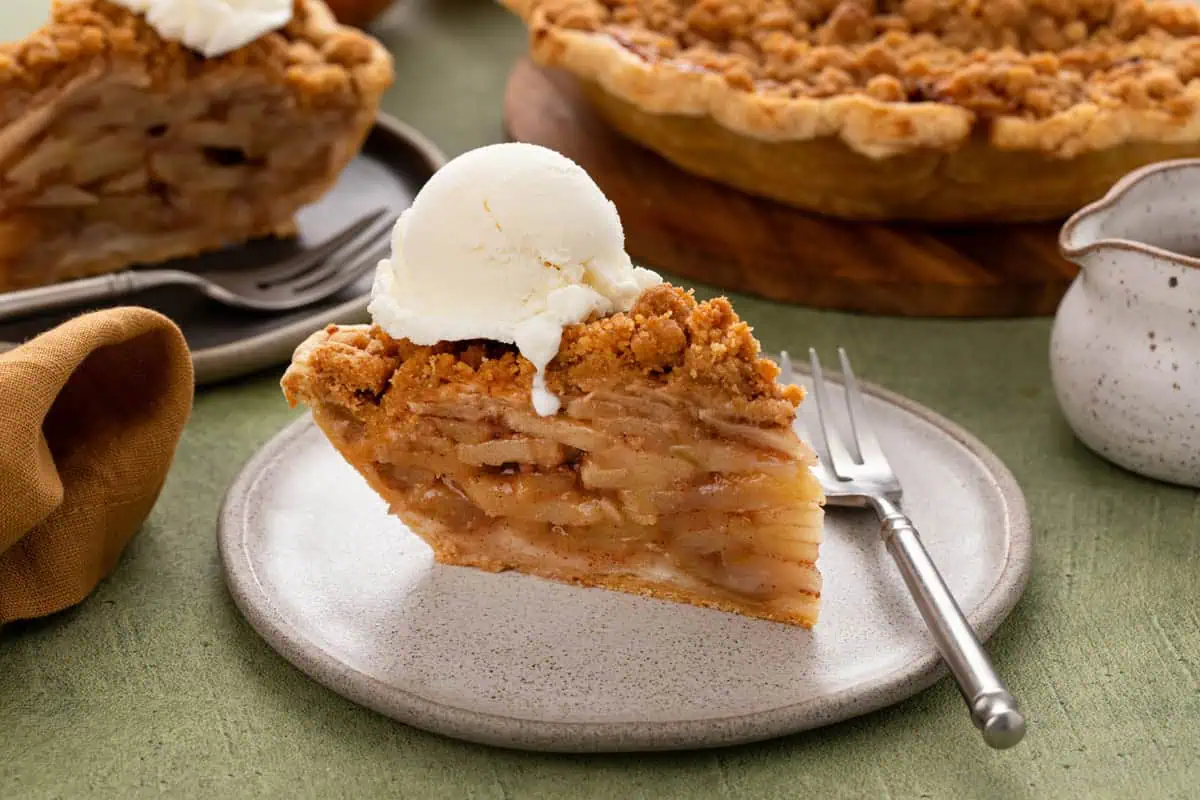
Adding a scoop of vanilla or dulce de leche ice cream or a dollop of whipped cream is optional, but highly recommended.
Storage tips
Store leftovers in a covered container at room temperature for up to 1 day or in the fridge for up to 3 days.
If you want to go the freezer route, let the baked pie cool completely. Transfer to the freezer for a few hours; once the pie is frozen solid, wrap tightly in plastic wrap followed by a layer of heavy-duty foil.
Freeze for up to 1 month. Thaw in the refrigerator overnight or at room temperature for several hours. For a warmed pie, place in a low (300°F to 325°F) oven until warmed through, about 25-35 minutes. Tent the top with foil to prevent further browning if needed.

If you plan to freeze the pie for later, I recommend using a metal pie tin instead of a glass or ceramic pie plate.
Dutch Apple Pie
Ingredients
For the pie:
- 4 pounds baking apples see notes
- 5 tablespoons all-purpose flour divided use
- 6 tablespoons granulated sugar divided use
- ¼ cup lightly packed light brown sugar
- 1 tablespoon lemon juice
- 2 teaspoons ground cinnamon
- 1 teaspoon ground ginger
- ¼ teaspoon ground allspice
- 1 pie crust for a 9-inch single crust pie
For the crumb topping:
- ¾ cup all-purpose flour
- ½ cup lightly packed light brown sugar
- ½ teaspoon ground cinnamon
- 1 Pinch fine sea salt
- 5 tablespoons unsalted butter melted
Want to save this recipe for later?
Instructions
- Preheat oven to 350°F. Place a rack in the center of the oven.
- Peel, core, and slice the apples. In a large bowl, gently stir the apple slices with 4 tablespoons of the flour, 4 tablespoons of the granulated sugar, all of the brown sugar, lemon juice, cinnamon, ginger, and allspice. Set aside.4 pounds baking apples, 4 tablespoons all-purpose flour, 4 tablespoons granulated sugar, ¼ cup lightly packed light brown sugar, 1 tablespoon lemon juice, 2 teaspoons ground cinnamon, 1 teaspoon ground ginger, ¼ teaspoon ground allspice
- In a small bowl, stir together the remaining 1 tablespoon flour and 2 tablespoons granulated sugar. Set aside.1 tablespoons all-purpose flour, 2 tablespoons granulated sugar
- Place the pie crust in a 9-inch deep-dish pie plate. Trim and crimp the edges. Place the pie plate on a rimmed baking sheet.1 pie crust for a 9-inch single crust pie
- Evenly sprinkle the sugar and flour mixture over the bottom of the pie crust. Add the apples and any accumulated juices, carefully mounding the apples up in the center of the pie plate. Set aside.
- Make the crumb topping: In a medium bowl, stir together the flour, brown sugar, cinnamon, and salt. Use a fork to stir in the melted butter until crumbs form and no dry ingredients remain.¾ cup all-purpose flour, ½ cup lightly packed light brown sugar, ½ teaspoon ground cinnamon, 1 Pinch fine sea salt, 5 tablespoons unsalted butter
- Carefully add the crumb topping to the pie. You will need to gently press the crumbs to help them stick to the sides of the mounded apples.
- Bake on the center rack for 75 to 90 minutes, or until the crust and crumble topping are golden, the juices are bubbly, and the apples in the center of the pie are tender (use a cake tester or a paring knife to check this).
- Let cool completely before slicing.
Notes
Ingredients
- For the best flavor, I prefer to use a mix of apples in this pie. I typically use a combination of Granny Smith, Golden Delicious, and Honeycrisp or McIntosh apples, depending on what is available. For a more tart pie, use 2 pounds of Granny Smith along with 1-2 other varieties. For a sweeter pie, reduce the Granny Smith to 1 pound or use another variety altogether.
- If you have apple pie spice on hand, you can replace the spices in the filling with 3 teaspoons (1 tablespoon) apple pie spice.
- If you do not wish to make a homemade pie crust or a refrigerated crust, you could also use a frozen deep-dish pie crust.
Assembly
- There will likely be a moment when you are adding the filling to the pie where you will think it is too much filling for the pie plate. Don’t panic; simply mound the apples up in the center and press the topping on. The long bake time will cook the apples down while still giving you a perfect mile-high slice of pie in the end.
Baking time
- If the edges or top of the pie start to brown too much before the pie is done, cover the edges of the pie with a pie shield or gently tent a piece of foil over the top of the pie to prevent further browning while the pie finishes baking.
Nutrition
About Stephie
Stephie is the creator of Stephie Cooks, a food blog that focuses on creating memories around the food we share, with family recipes at the site’s heart. Stephie lives in Central Illinois with her husband, daughter, and a menagerie of cats and dogs. When she’s not in the kitchen or at her computer writing, you can usually find her curled up with a book or working on one of her many grandma-esque hobbies. Learn more >
Just made your delicious deep dish apple pie looks so good. Can’t wait to taste once it’s done.
I couldn’t make this exactly as written, but it was excellent none the less! Yummy!
Looks amazing!! I haven’t made many apple pies, so I really appreciate your tips (especially the cinnamon one).
This is a seriously gorgeous apple pie. I love the tips. For some reason I’ve never used a mixed variety of apples in my pies. I have no idea why (I needed a genius like you to tell me Stephie!). Anyway… it’s winter here now so it’s perfect apple pie season. Cold, wet, grey and dismal. I am going to make this gorgeous crumble-topped wonder over the weekend and devour it with a huge jug of vanilla custard. Yum xx
That’s my girl. xoxo
There is nothing better than apple pie…NOTHING!
Oh now you are speaking my language: PIE! I love apple pie and will have to try your recipe! It looks amazing!
I am pretty sure pie is my real love language. 🙂
Can’t. Speak. Just. Want. Pie. YUM.
I love Crumb Topped Apple Pie, thanks so much for sharing your recipe with Foodie Friends Friday party this week. I’ve pinned and shared.
We look forward to seeing you soon with another delicious recipe.
Joanne/WineLadyCooks
This pie looks incredible!!